
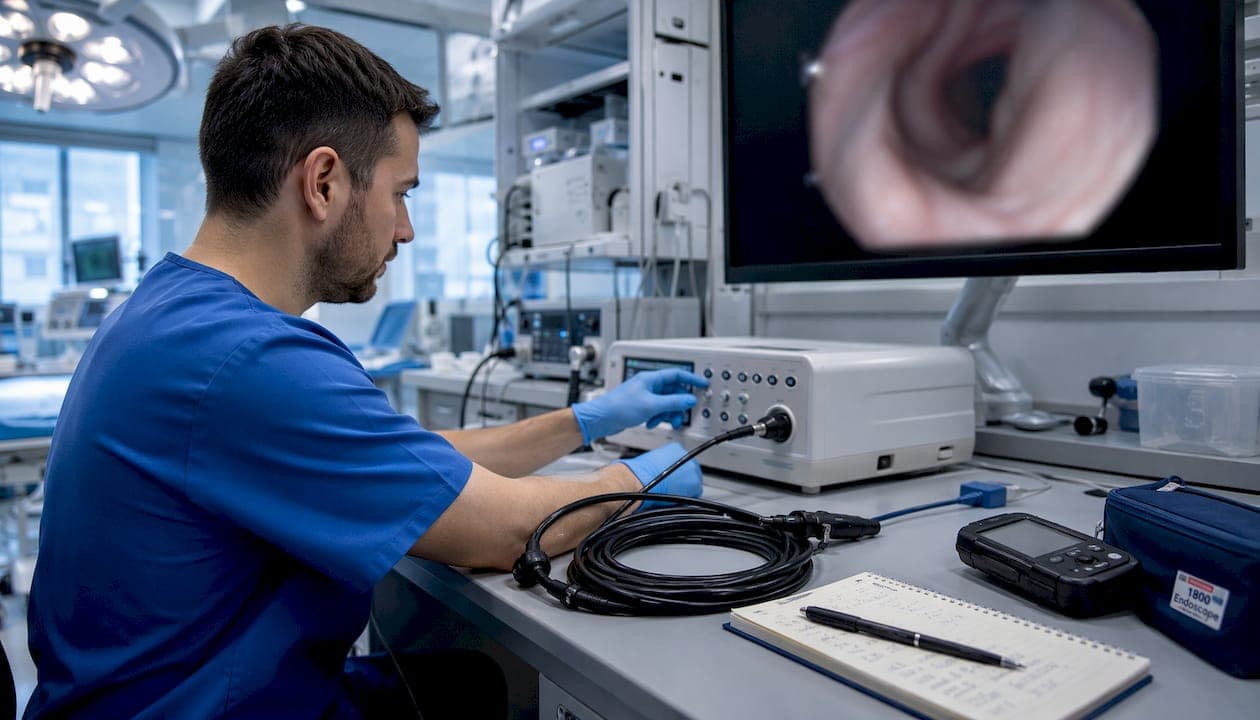
Image brightness changes what the sensor records and what the human eye or an AI model can actually interpret. When exposure is off, pixels clip to pure white or crush to pure black, and that information is gone permanently. Controlled experiments confirm a positive correlation between brightness variation and loss of detection accuracy across state-of-the-art neural networks. The American College of Radiology recommends reading room illuminance within a moderate range, and AAPM TG18 sets concrete surround-luminance targets for diagnostic displays. For hardware that gives you stable illumination from the start, 1800endoscope stocks veterinary and industrial endoscope systems built for repeatable acquisition.
Immediate actions to take right now:
- Check your camera's exposure readout or histogram for clipped highlights (blown-out white) or crushed shadows before the procedure begins.
- Reduce light source output or insert a neutral-density filter if the cavity is highly reflective; increase output or gain if the image is dim and noisy.
- Confirm monitor brightness and surround luminance before reviewing images. A surround set to roughly 15–20% of the monitor's maximum luminance keeps contrast stable when room light changes.
- Re-acquire the sequence with adjusted illumination if clipping is already present in saved frames. Post-hoc display tweaks cannot recover clipped pixels.
- Log the light source setting, exposure value, and gain with each saved frame so later review or AI processing can normalize reliably.
Pro Tip: Before every session, power on the light source and let it warm up for at least two minutes. LED sources stabilize faster than xenon, but both drift during the first minutes of operation, skewing your baseline exposure.
Table of Contents
- How does brightness change what the sensor actually records?
- How does ambient light affect what you see on the monitor?
- How does brightness variation degrade AI detectors on endoscopic images?
- What does a reliable acquisition and display setup look like?
- Quick troubleshooting when images look wrong during a procedure
- When display tweaks aren't enough: hardware that actually fixes the problem
- Key Takeaways
- The case for treating illumination as a clinical control, not an afterthought
- Upgrade your imaging hardware with 1800endoscope
- Useful sources and further reading
How does brightness change what the sensor actually records?
Every image sensor has a finite dynamic range, the gap between the darkest signal it can distinguish from noise and the brightest signal before it clips. Push exposure above that ceiling and highlights blow out to featureless white. Drop below the noise floor and shadow detail disappears into grain. Neither failure is recoverable in post-processing.
In endoscopy, this matters more than in general photography because the targets are small, low-contrast, and often surrounded by highly reflective tissue or metal surfaces. A mucosal lesion or a hairline crack in a turbine blade can occupy just a few dozen pixels. If those pixels clip, the feature is gone.
| Exposure condition | Sensor effect | Diagnostic consequence |
|---|---|---|
| Overexposed (clipping) | Highlight pixels saturate to pure white | Surface texture, color, and edge detail lost |
| Correct exposure | Full dynamic range used | Maximum feature visibility and SNR |
| Underexposed | Shadow noise dominates | Low-contrast targets buried in grain |
| Gain boosted to compensate | SNR drops sharply | Small objects become unreliable to detect |
Signal-to-noise ratio (SNR) drops as you push gain to compensate for low light. A proximal caries study found that extreme brightness and contrast adjustments produced over- and underestimation errors even when moderate adjustments showed no significant AUC difference. The lesson: capture at the right exposure rather than fix it on the display.
Read the histogram before you start. A spike jammed against the right edge means clipping. A spike against the left edge with a flat middle means underexposure and high noise. Neither is a display problem — both are acquisition problems.
Statistic: Controlled experiments show a positive correlation between brightness variation and loss of detection accuracy in state-of-the-art neural networks, with small objects especially vulnerable even at nominal brightness levels. (MDPI Sensors)
How does ambient light affect what you see on the monitor?
The display is not a neutral window onto the image. Room light reflects off the screen surface, raising the apparent black level and compressing perceived contrast. That effect is worst when the monitor surround is very dark (0–5% of maximum luminance), because the eye adapts to the bright screen and loses sensitivity to subtle differences.
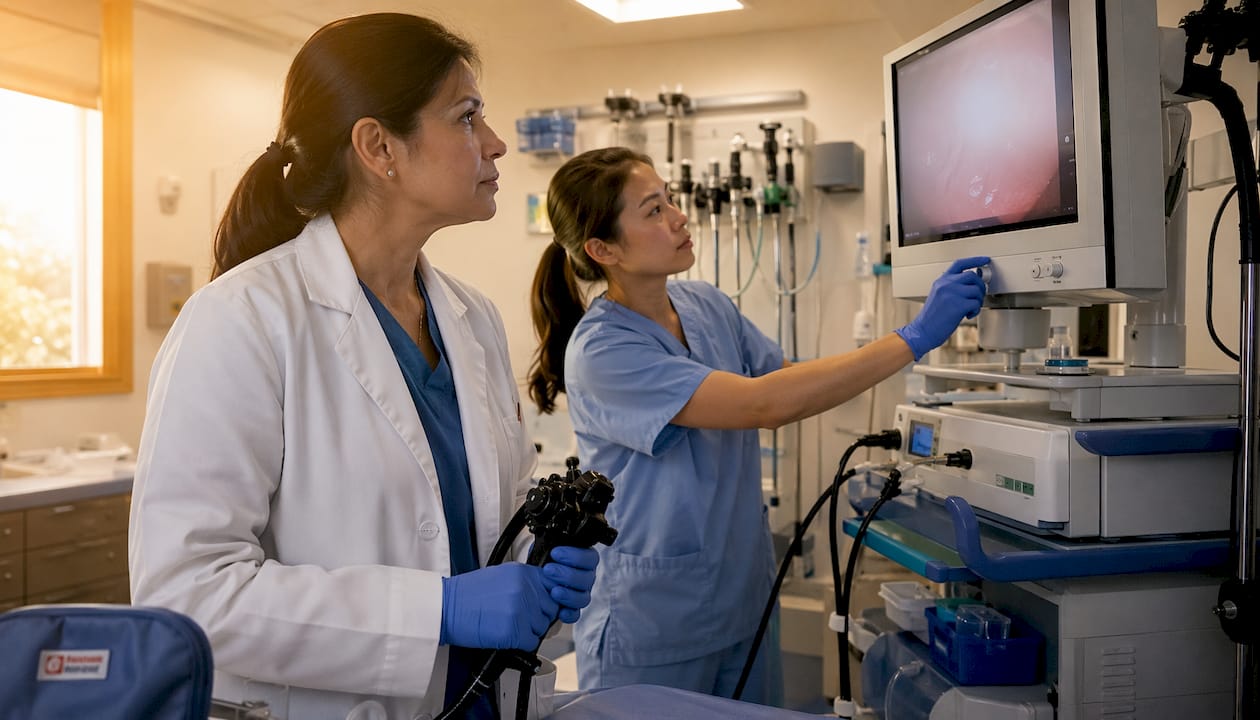
Research on monitor calibration shows that a surround luminance of roughly 15–20% of the monitor's maximum, combined with room illuminance below 15 lux, yields acceptable practical settings that minimize contrast loss from ambient light. AAPM TG18 and DICOM Part 14 both reference controlled surround luminance as part of diagnostic display QC.
An AJR study on wrist radiograph viewing found optimal performance at around 25–40 lux, with large reductions in false-positive rates under lower ambient light. But the same research notes that extreme low-light conditions (around 7 lux) can cause eye fatigue without improving accuracy. Stability matters more than chasing the darkest possible room.
A 2026 Frontiers study found no statistically significant difference in hemorrhage detection between bright and dark conditions for board-certified neuroradiologists using modern high-resolution displays. Modern anti-reflective monitors reduce but do not eliminate the ambient-light problem, particularly for lower-end or older displays common in field settings.
Pro Tip: Excessive screen brightness in a dark room induces veiling glare and pupil constriction, which can paradoxically reduce your ability to see subtle low-contrast features. Balance monitor luminance with indirect ambient light rather than cranking brightness to maximum.
Display setup checklist:
- Set monitor surround luminance to a moderate fraction of the display's maximum luminance.
- Keep room illuminance consistent across sessions and avoid direct overhead fluorescent lights above the workstation.
- Use indirect or backlit ambient fixtures with dimmers.
- Avoid specular reflections on the screen from windows or overhead lights.
- Over-adjusting brightness or contrast during review can create Mach Band edge illusions that mimic lesions in normal anatomy. Always correlate adjusted views with original frames.
How does brightness variation degrade AI detectors on endoscopic images?
Brightness shifts are a form of domain shift. A model trained on well-exposed images sees a different data distribution when the input is underexposed or overexposed, and accuracy drops even when the underlying anatomy or defect is unchanged.
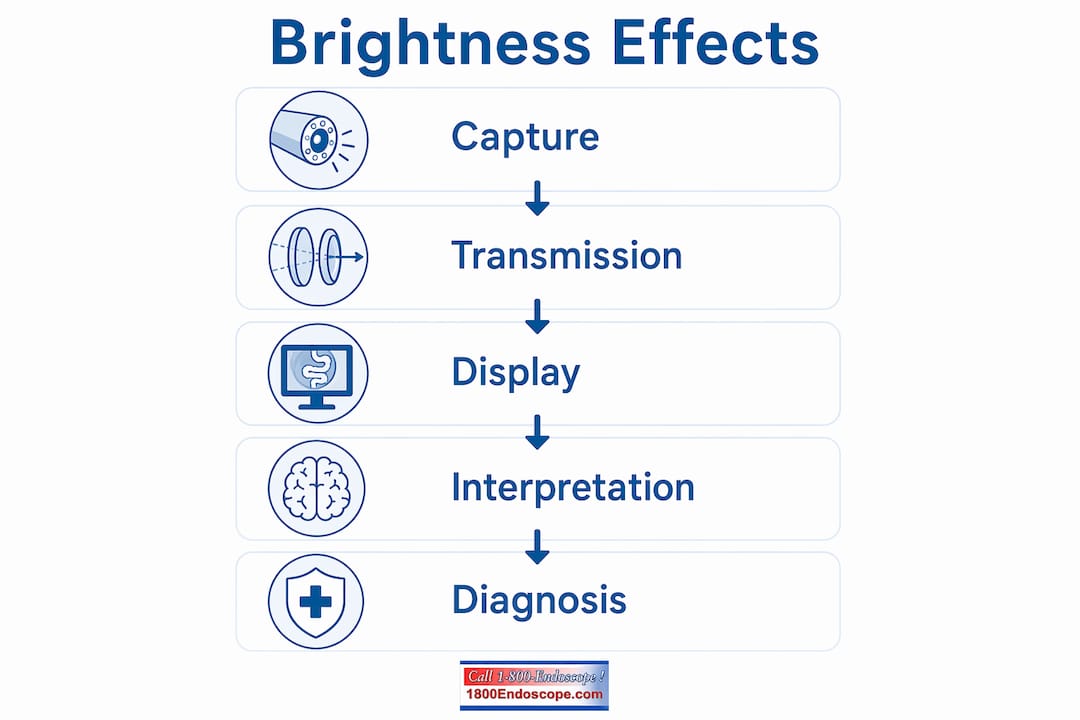
MDPI Sensors experiments demonstrate that lower illumination conditions reduce detector performance, and that degradation is proportional to the deviation from the training distribution. Small objects are especially vulnerable: detection methods fail on small targets even at adequate brightness, and adding noise or reducing illumination compounds the problem sharply.
Clipping is particularly damaging for AI. When highlights blow out, edge and texture features that convolutional layers rely on simply vanish. The model cannot hallucinate what the sensor never recorded.
Mitigation steps for AI-assisted endoscopy:
- Apply histogram matching or normalization before inference to reduce brightness-induced domain shift.
- Use data augmentation with brightness variation during model training (techniques like AugMix improve robustness against brightness shifts).
- Enable on-device auto-exposure logging so you can flag frames acquired outside the trained brightness envelope.
- Re-acquire sequences when the light source output has drifted significantly from the training-data conditions.
- For small-diameter scopes inspecting small targets, prioritize stable LED illumination over post-hoc software correction.
What does a reliable acquisition and display setup look like?
Follow this sequence every session. It takes under three minutes and prevents the most common brightness-related errors.
- Power on the light source and let it stabilize for at least two minutes before inserting the scope.
- Set light source output to a documented baseline for the target cavity type (e.g., 60% for gastric, 80% for tracheal).
- Confirm camera exposure mode: use manual or locked auto-exposure for repeat inspections so frames are comparable.
- Check the live histogram for clipping before advancing. Adjust light output or insert a neutral-density filter if highlights are blown.
- Set white balance with the scope tip pointed at a neutral gray or white reference surface.
- Verify monitor brightness and surround luminance match your documented setup.
- Log light source output, exposure value, gain, and white balance with the first saved frame.
Equipment priorities:
- Prefer LED light sources with stable, documented drivers. For guidance on matching sources to your scope, see choosing the best light source for veterinary endoscopy.
- Use neutral-density filters for highly reflective cavities (metal pipes, equine dental surfaces).
- Choose monitors with high native luminance and anti-reflective coatings for field use.
Pro Tip: Save exposure metadata with every video clip: light source output percentage, camera gain, and exposure time. When AI processing or a second reviewer revisits the footage, those fields allow normalization without guesswork. Most modern videoscopes embed this in file headers or allow manual annotation.
Quick troubleshooting when images look wrong during a procedure
Detect the problem first, then fix it.
- Check for clipping: are highlights blown to solid white or shadows crushed to black? If yes, this is an acquisition problem, not a display problem.
- Verify monitor settings: has the display brightness shifted (screen saver reset, ambient light change)? Restore to your documented baseline.
- Check for ambient reflections: is a window or overhead light reflecting off the screen? Reposition or dim the source.
- Isolate camera vs. light source: switch to a known-good light source or scope to determine which component is causing the issue.
Immediate fixes:
- Reduce lamp output or insert a neutral-density filter for overexposed frames.
- Switch to manual exposure if auto-exposure is hunting between bright and dark regions.
- Wipe the scope optics. A fogged or contaminated lens scatters light and creates uneven illumination that looks like an exposure problem.
- Reposition the light guide connection if illumination is patchy on one side.
- Change the viewing angle slightly to reduce specular reflection from tissue surfaces.
For a broader set of field fixes, the animal endoscopy troubleshooting guide covers scope-level issues that overlap with brightness problems.
When display tweaks aren't enough: hardware that actually fixes the problem
If subtle features disappear even after you have corrected exposure and monitor settings, the sensor or illumination system has hit its physical limits. Display adjustments cannot recover data the sensor never captured.
Signs you need a hardware upgrade or re-acquisition:
- Clipping persists across multiple targets and light source settings.
- Noise is high at exposures that should be diagnostic (sensor dynamic range is insufficient).
- AI models fail systematically on a specific illumination range despite normalization.
- Small targets are consistently missed even at correct exposure.
Specs that materially reduce brightness-related errors:
- Dynamic range measured in stops: more stops means more headroom before clipping or noise floor intrusion.
- Native luminance (cd/m²) for monitors: higher maximum luminance allows a wider surround-luminance ratio without dimming the image.
- Color Rendering Index (CRI) or TLCI for light sources: higher values mean colors and contrast are rendered accurately, reducing false color cues.
- Anti-reflective monitor coatings: reduce veiling glare from ambient light without requiring a completely dark room.
When AI models fail on certain illumination ranges, consult your vendor about re-training on acquisition data that matches your actual field conditions. Hardware with logged exposure metadata makes that process far more tractable.
Key Takeaways
Brightness controls what the sensor records and what humans and AI models can interpret — stable acquisition and a calibrated display are the two highest-leverage controls in any endoscopic workflow.
| Point | Details |
|---|---|
| Clipping destroys data permanently | Overexposed or underexposed pixels cannot be recovered by display adjustments; fix exposure at acquisition. |
| Monitor surround and ambient light matter | A surround of roughly 15–20% of maximum luminance with room illuminance below 15 lux minimizes contrast loss. |
| Brightness variation degrades AI detectors | Performance drops proportionally to deviation from training-data brightness; small objects are most vulnerable. |
| Log exposure metadata every session | Recording light source output, gain, and exposure time enables reliable normalization for review and AI inference. |
| 1800endoscope offers hardware for stable acquisition | Portable endoscope systems, LED light sources, and accessories from 1800endoscope address the root hardware causes of brightness-related errors. |
The case for treating illumination as a clinical control, not an afterthought
The conventional framing treats brightness as a display problem: something you fix by sliding a monitor control after the fact. That framing is wrong, and it leads to a specific failure mode: clinicians and inspectors spend time adjusting the display while the underlying acquisition data is already compromised.
The more useful mental model is that illumination and exposure are clinical controls, the same way probe placement or scope insertion depth are clinical controls. They determine what information enters the diagnostic record. A monitor adjustment can shift perceived contrast, but it cannot add back a mucosal texture that clipped to white or a crack edge that disappeared into sensor noise.
Modern high-luminance, anti-reflective displays have genuinely reduced the need for extreme dark-room conditions, and the Frontiers 2026 data supports that for experienced readers on high-quality hardware. But that finding applies to trained specialists on calibrated systems, not to field inspectors using portable scopes in variable ambient light. For most veterinary and industrial users, consistent indirect lighting and a documented acquisition protocol remain the single most reliable controls for repeatable results.
Upgrade your imaging hardware with 1800endoscope
Persistent brightness problems usually trace back to hardware limits: a light source that drifts, a sensor with insufficient dynamic range, or a monitor without anti-reflective coating. 1800endoscope stocks the equipment that addresses those root causes directly.

Browse the full catalog for portable endoscope systems with integrated monitors and exposure controls, or explore the borescope and endoscope catalog for industrial and veterinary options with stable LED illumination. The product range covers portable videoscopes, dedicated light sources, neutral-density accessories, and calibrated display options, so you can match hardware to the specific brightness demands of your inspection environment. Visit 1800endoscope.com to find the right system for your workflow.
Useful sources and further reading
The recommendations in this article draw on peer-reviewed studies and published technical standards. The sources below are the primary references.
- MDPI Sensors — "The Impact of Noise and Brightness on Object Detection Methods": Quantitative experiments on YOLO and Faster-RCNN detectors showing performance degradation with reduced illumination and added noise; small-object vulnerability documented. Read the study
- PMC — "Effect of Room Illuminance on Monitor Black Level Luminance and Monitor Calibration": Establishes the 15–20% surround-luminance recommendation and the practical role of AAPM TG18 and DICOM Part 14 in display QC. Read the study
- AJR — "Ambient Lighting: Effect of Illumination on Soft-Copy Viewing of Radiographs of the Wrist": Documents optimal ambient lux ranges and the fatigue risk of extreme low-light conditions. Read the study
- Frontiers in Radiology — "Bringing Light to the Reading Room" (2026): Finds no significant diagnostic difference between bright and dark conditions for board-certified neuroradiologists on modern displays; supports re-evaluation of older dark-room guidelines. Read the study
- PMC — "Influence of Brightness and Contrast Adjustments on the Diagnosis of Proximal Caries Lesions": Documents Mach Band risks and the limits of post-hoc display adjustments for diagnostic accuracy. Read the study
Suggested search terms for deeper research:
- "endoscope exposure logging metadata"
- "monitor surround luminance AAPM TG18"
- "brightness impact on object detection deep learning"
- "DICOM Part 14 display calibration"
When troubleshooting, always cross-reference your device manual for manufacturer-specified exposure ranges and check saved frame metadata before assuming a display or software fix will resolve the issue.