
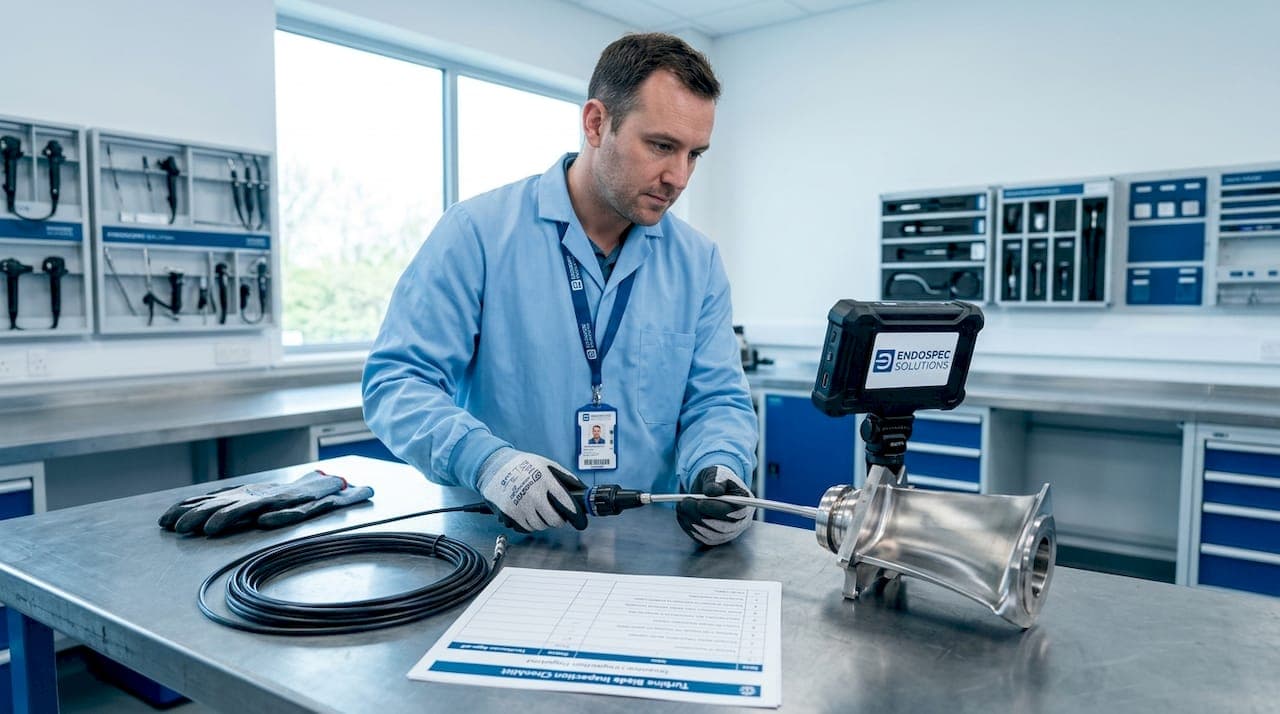
Experienced NDT professionals know that camera resolution gets most of the attention when teams evaluate endoscopic inspection systems. But a surprising number of image interpretation errors trace back to the quality and type of illumination, not to the optics or the inspector's skill. Lighting affects image clarity, color rendering, and overall diagnostic usefulness in ways that a better sensor simply cannot fix. This article covers how light source selection impacts detection accuracy, how to choose the right technology for veterinary and industrial NDT applications, and what a practical optimization checklist looks like in real-world settings.
Table of Contents
- Why lighting matters in endoscopic NDT
- Types of light sources: LED, xenon, and engineered solutions
- How illumination quality affects defect detection
- Advanced illumination strategies for challenging inspections
- Optimizing your NDT lighting setup: practical checklist
- Why illumination is the overlooked driver of NDT accuracy
- Upgrade your NDT with advanced lighting and endoscopy systems
- Frequently asked questions
Key Takeaways
| Point | Details |
|---|---|
| Lighting drives image quality | The type and quality of illumination control what defects you can reliably see in endoscopic NDT. |
| Technology choice matters | LED, xenon, and spectrally engineered sources each have strengths and trade-offs that suit specific inspection needs. |
| Uniformity prevents error | Uneven illumination creates shadows and false readings, making regular checks essential for accurate results. |
| Advanced lighting expands detection | Multispectral and narrow-band systems improve visibility of hard-to-detect or low-contrast flaws. |
| Optimization is critical | Integrate lighting evaluation and adjustment into every endoscopic NDT protocol for best outcomes. |
Why lighting matters in endoscopic NDT
Think of endoscopic inspection as a visual chain. Every link matters: the light source, the fiber bundle or light guide, the objective lens, the image sensor, and the analyst reviewing the footage. But the chain is only as strong as its weakest link, and in practice, the light source is the link that gets the least scrutiny.
"In endoscopic NDT, the light source is part of the 'visual chain': it largely determines brightness, color balance, and the visibility of subtle surface and defect features, which then drives downstream measurement and decision quality."
This matters because lighting does not just illuminate a surface. It shapes what you see and, critically, what you miss. A crack running parallel to the light direction may be nearly invisible. The same crack, lit from a slightly different angle or with a different spectral profile, becomes obvious. That is not a camera problem. That is a lighting problem.
Here are the core ways illumination drives NDT outcomes:
- Brightness and dynamic range: Insufficient light forces the camera to amplify signal, which adds noise and obscures fine detail.
- Color rendering: A light source with poor color rendering index (CRI) can make corrosion or biological tissue discoloration look normal.
- Uniformity: Non-uniform illumination creates artificial shadows that mimic cracks or hide real ones.
- Spectral content: Some defect types only become visible under specific wavelengths, especially in materials with low surface contrast.
The invisible pitfall here is that non-uniform lighting creates artificial textures. A shadow cast by a degraded fiber bundle can look exactly like a surface crack to an analyst reviewing still images. Teams blame the camera, replace the scope, and the problem persists because the light source was never evaluated. Browsing the endoscopy systems catalog with illumination quality as a primary filter, rather than an afterthought, changes the outcome significantly.
Pro Tip: Before assuming your optics are the problem, run a flat-field test. Point the scope at a uniformly white surface and check for dark patches or gradients. If you see them, the light source or fiber bundle is the culprit, not the camera.
Types of light sources: LED, xenon, and engineered solutions
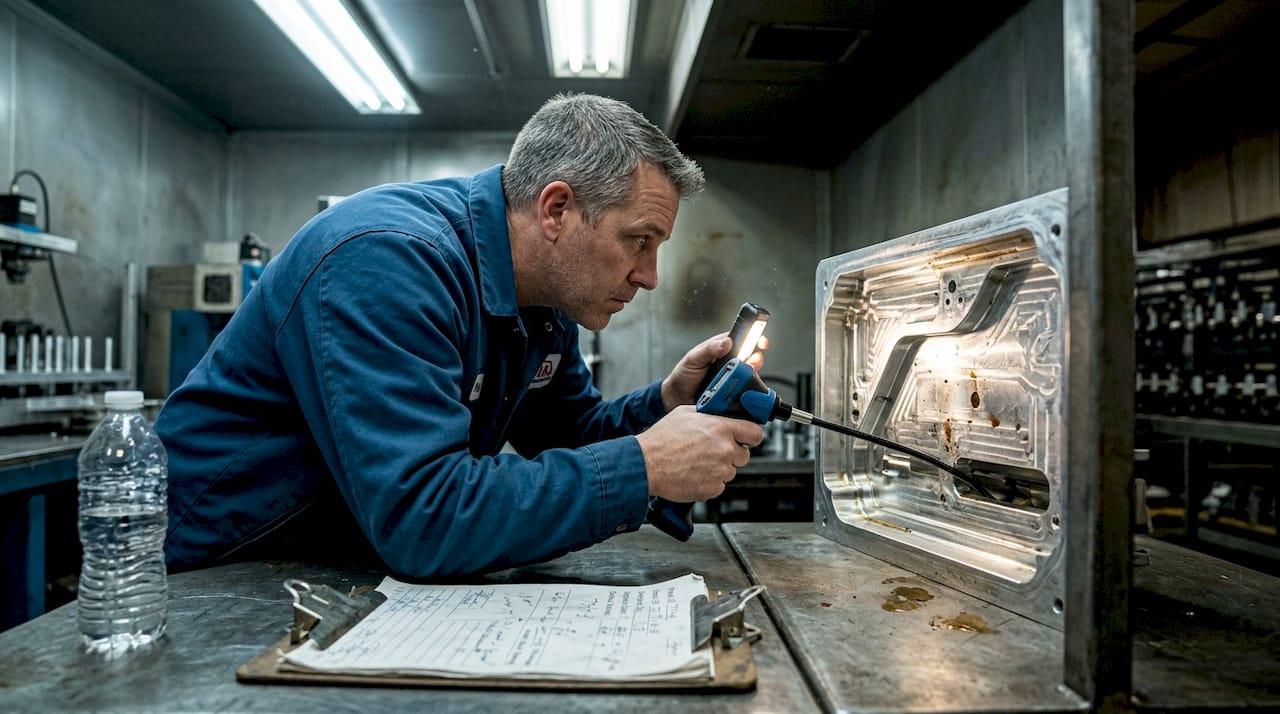
Understanding the differences between light source technologies is not an academic exercise. It directly determines whether your inspection catches a fatigue crack in a turbine blade or misses a lesion in an equine airway. Reviewing endoscopy device options across technology types reveals meaningful performance differences that affect real inspection outcomes.
Borescopes used in industrial inspection are typically equipped with LED light sources to illuminate the inspection area and deliver clear, detailed images and video. LEDs have become the dominant technology for good reasons, but they are not universally superior in every scenario.
Comparison of major light source types for endoscopic NDT:
| Feature | LED | Xenon | Multispectral/Engineered |
|---|---|---|---|
| Lifespan | 30,000+ hours | 500 to 2,000 hours | Varies by design |
| Heat output | Low | High | Low to moderate |
| Color rendering (CRI) | 70 to 95+ | 95 to 100 | Tunable |
| Spectral flexibility | Limited | Broad visible | NIR, NBI, custom |
| Cost | Low to moderate | Higher | High |
| Best application | Routine inspection | High-fidelity color work | Difficult contrast targets |
Choosing between LED and xenon involves real trade-offs in brightness, color rendering, heat output, and lifespan. Xenon still holds an edge in raw color accuracy and intensity for certain veterinary diagnostic procedures where tissue color differentiation is critical. But the heat xenon generates is a practical problem in compact, portable systems.
Here is a numbered breakdown of how to approach light source selection for your specific application:
- Define your target defect type. Surface cracks, corrosion, biological lesions, and resin inclusions each respond differently to spectral content and angle.
- Assess the inspection environment. Tight, enclosed spaces favor low-heat LED systems. Open cavities with more working distance may tolerate xenon.
- Evaluate portability requirements. Field NDT work, especially with a 6mm portable airway endoscope, demands battery-efficient LED solutions.
- Check color rendering requirements. If tissue color differentiation matters, as it does in veterinary airway or GI work, prioritize CRI above 90.
- Consider inspection frequency. High-volume operations benefit enormously from LED longevity. Replacing xenon bulbs adds downtime and cost.
- Evaluate whether standard visible light is sufficient. If your targets include transparent materials, biological tissue layers, or low-contrast surface features, engineered or multispectral solutions may be necessary.
For dental and small-cavity inspection work, a dental inspection videoscope with a well-calibrated LED source provides excellent results for routine procedures. But for specialized applications, the default LED may not be enough.
Pro Tip: When comparing LED systems, look at the spectral power distribution chart, not just the lumen output. Two LEDs with identical brightness ratings can produce dramatically different results if their spectral peaks differ by even 20 nanometers.
How illumination quality affects defect detection
Visibility of fine cracks, corrosion pitting, or soft tissue lesions depends on achieving both bright and uniform lighting simultaneously. Brightness alone is not sufficient. Uneven illumination from poor fibers or optical delivery produces shadows and reduces visibility of real defects.
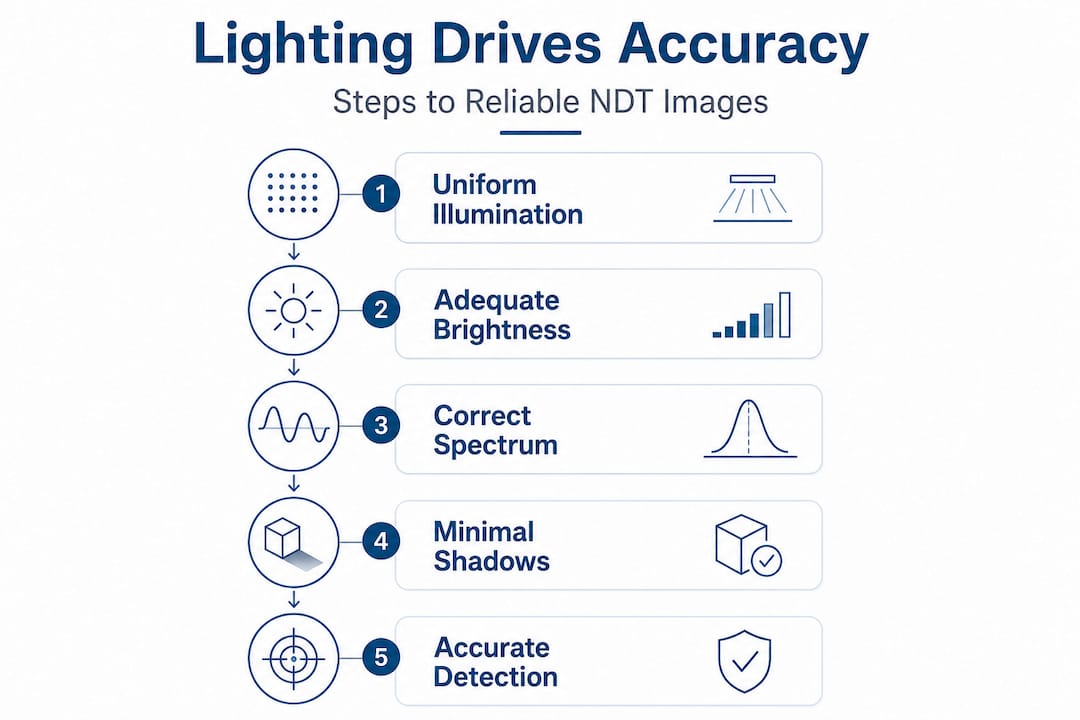
Consider a practical industrial scenario: a technician inspects a weld seam inside a heat exchanger tube. The fiber bundle has minor degradation from repeated flexing. The light delivered to the tip is slightly brighter on the left side of the field of view. The resulting image shows what appears to be a linear shadow on the right side. The analyst logs it as a potential crack. A follow-up destructive test finds nothing. The "crack" was an artifact of uneven illumination.
Common defect visibility outcomes by illumination condition:
| Illumination condition | Likely outcome |
|---|---|
| Uniform, adequate brightness | Accurate defect identification |
| Non-uniform, degraded fiber bundle | False positives from artificial shadows |
| Insufficient brightness | Missed defects, especially fine cracks |
| Excess brightness (glare) | Surface detail washed out, shallow defects missed |
| Wrong spectral content | Low-contrast targets invisible |
Misinterpreting shadows or glare as defects because illumination non-uniformity or inappropriate brightness creates artificial texture and contrast patterns is one of the most common and costly errors in endoscopic NDT. The dental NDT inspection examples on small-cavity applications demonstrate how controlled, uniform lighting changes the reliability of findings.
Practical tips for verifying illumination accuracy before each inspection:
- Perform a white-balance and flat-field check at the start of each session.
- Inspect the light guide bundle visually for dark spots or discoloration that indicate fiber damage.
- Compare a reference image of a known standard target under your current lighting before proceeding to the actual inspection.
- Document light source settings and fiber condition in your inspection log so patterns of degradation become visible over time.
Advanced illumination strategies for challenging inspections
Standard visible-light LEDs handle the majority of routine NDT work well. But there is a class of inspection challenges where they fall short, and this is where spectrally engineered and multispectral solutions become relevant.
"Spectrally engineered" means the light source is designed to emit specific wavelengths rather than a broad white spectrum. Narrow band imaging (NBI) uses blue and green wavelengths to enhance surface contrast for biological tissue inspection. Near-infrared (NIR) multispectral systems extend detection capability into wavelengths the human eye cannot see, which is particularly useful for materials that appear identical under visible light.
NIR multispectral LED arrays can achieve approximately 96% accuracy in distinguishing visually similar resins that are completely indistinguishable under standard white light. That is a significant operational advantage when you are dealing with composite materials in aerospace or automotive NDT, or when you need to differentiate tissue types in veterinary endoscopy.
Here is where advanced illumination succeeds where standard LEDs fail:
- Transparent or translucent materials: NIR penetrates surface layers, revealing subsurface features invisible to visible light.
- Biological tissue differentiation: NBI enhances vascular patterns and mucosal surface detail in veterinary airway and GI inspections.
- Low-contrast surface features: Subtle fatigue cracks in polished metal surfaces become visible under specific wavelength combinations.
- Composite material inspection: Resin inclusions, delamination, and fiber misalignment in carbon fiber components respond to NIR imaging.
- Contamination detection: Certain biological or chemical contaminants fluoresce under UV or NIR excitation, making them immediately visible.
For teams working with rigid endoscopy lighting in veterinary settings, the shift from standard LED to spectrally tailored illumination can change diagnostic outcomes in tissue assessment procedures.
Pro Tip: If your inspection involves materials or tissue types that look similar under white light, request a spectral sensitivity chart from your endoscope supplier. Matching the light source spectrum to the spectral reflectance difference between your target and background is the most direct path to better contrast.
Optimizing your NDT lighting setup: practical checklist
Lighting optimization is not a one-time configuration task. It is an ongoing discipline that should be integrated into your standard operating procedures. Treating light source selection and control as a first-order variable alongside optics and camera resolution is the approach that separates high-performing NDT teams from those that repeatedly chase false positives or miss critical defects.
Here is a six-step checklist for lighting optimization in endoscopic NDT:
- Select the light source technology matched to your target defect and material. Do not default to whatever came with the system. Evaluate LED, xenon, or engineered options against your specific inspection requirements.
- Verify fiber bundle and light guide integrity before each session. Check for dark spots, color shifts, or reduced output that indicate fiber damage. A portable NDT endoscope with a degraded light guide delivers unreliable results regardless of sensor quality.
- Set brightness to the minimum level that achieves clear detail. More is not better. Excess brightness causes glare and washes out shallow surface features.
- Confirm uniform illumination across the full field of view. Use a flat reference surface to check for gradients or dark patches before beginning the actual inspection.
- Adjust spectral settings if your system supports it. For low-contrast targets or specialized materials, switch to NBI or NIR mode and compare the image quality directly.
- Document settings and outcomes for every inspection. Pattern recognition across multiple sessions reveals whether your light source is degrading, whether specific settings consistently produce better results, and where adaptive strategies are needed.
Pro Tip: Keep a dedicated inspection log that records light source model, brightness setting, fiber bundle condition, and any anomalies observed. After 20 to 30 inspections, review the log for patterns. You will often find that specific brightness or spectral settings correlate with more reliable defect detection on particular material types.
Why illumination is the overlooked driver of NDT accuracy
After years of working with veterinary and industrial endoscopy professionals, one pattern stands out clearly: the teams with the best detection records are not necessarily using the most expensive cameras. They are the ones who treat illumination as a primary variable, not a background assumption.
The conventional purchasing decision in NDT endoscopy focuses heavily on image resolution, working length, and articulation range. These are important. But the reality is that a 4K sensor fed by a degraded or mismatched light source will consistently underperform a modest HD sensor paired with a well-calibrated, spectrally appropriate light source. Resolution cannot recover information that was never captured because the lighting made a defect invisible.
The most instructive cases come from field reports where teams changed nothing about their scope or camera, only adjusted the light source angle or switched to a narrowband spectrum, and suddenly detected a flaw that had been missed across multiple previous inspections. That is not a coincidence. That is physics. The flaw was always there. The lighting was not right for it to be visible.
Veterinary professionals face the same challenge from a different angle. Tissue color differentiation in airway or GI inspections depends on spectral accuracy in ways that industrial metal inspection does not. A light source with poor CRI makes healthy and compromised tissue look similar. The diagnostic miss that follows is not a failure of clinical judgment. It is a failure of illumination.
The uncomfortable truth is that most NDT teams are leaving detection capability on the table every day because they have not revisited their light source assumptions. Reviewing endoscopy system selection with illumination as the primary filter is a straightforward way to start closing that gap.
Upgrade your NDT with advanced lighting and endoscopy systems
The gap between a missed defect and a confident finding often comes down to one variable: the quality and suitability of your light source. At 1800endoscope.com, the product range is built around exactly this kind of operational precision.

Whether you need a portable airway NDT endoscope for field inspections, a USB airway inspection videoscope for connected workflow integration, or purpose-built veterinary rigid endoscopy options with calibrated illumination for clinical diagnostics, the catalog covers the full spectrum of professional needs. Each system is selected for real-world performance in veterinary and industrial NDT settings, with illumination quality as a core specification, not an afterthought. Explore the full range and match your next system to your actual inspection requirements.
Frequently asked questions
What is the main advantage of using LED over xenon light sources in NDT?
LEDs offer longer lifespan and lower heat output, and they support customizable spectral profiles, making them the practical choice for routine and extended inspection work.
How does poor light delivery affect NDT image interpretation?
Uneven illumination from degraded fibers creates shadows and glare patterns that are easily mistaken for real defects, or that hide actual defects behind artificial contrast.
When should multispectral or engineered lighting be considered in NDT?
Use these solutions when targets are low-contrast, when materials look similar under visible light, or when subsurface features need to be detected. NIR multispectral systems are particularly effective for composite materials and biological tissue differentiation.
Is brighter always better when choosing a light source for endoscopic NDT?
No. Excess brightness causes glare and washes out shallow surface features. Uniformity and spectral match to the target material matter just as much as raw output intensity.
What is the most common lighting-related pitfall in NDT endoscopy?
Failing to verify uniform illumination across the field of view is the most frequent error, leading to artificial shadows that are logged as defects or real defects that are masked and missed entirely.
Recommended
- Pre-Owned Olympus� Pentax� Fujinon� Endoscopes, Endoscopy Systems 1800Endoscope.com
- Olympus� Pentax� Fujinon� Storz Welch Allyn Video Endoscopy Tower Systems! 1800Endoscope.com
- History of Endoscopy Endoscopes Endoscope Museum Olympus� Pentax� Fujinon� ACMI�
- Endoscope Endoscopy FAQ and Inspection Procedures, Endoscopy Museum!