
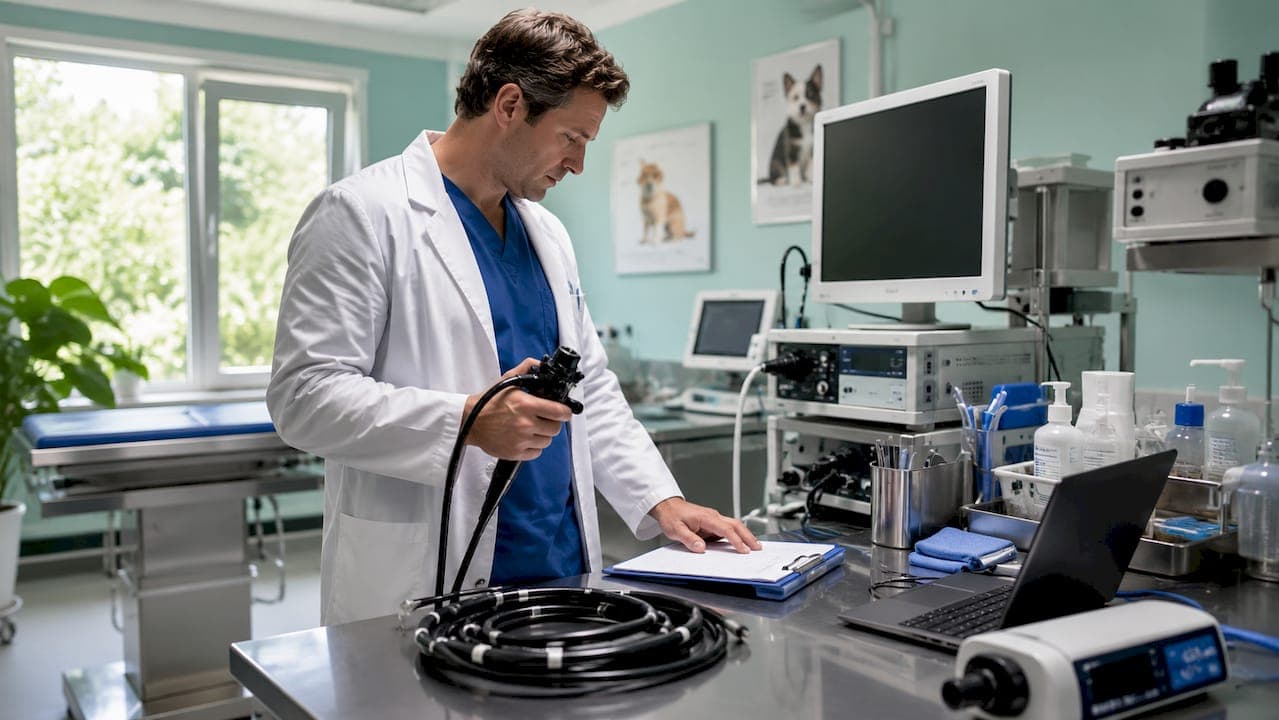
Animal endoscopy troubleshooting is the systematic process of identifying and resolving equipment, image, and procedural failures that interrupt diagnostic procedures in veterinary practice. This animal endoscopy troubleshooting guide covers the full diagnostic chain: flexible and rigid scopes, light sources, camera systems, video cables, and software settings used in gastrointestinal, respiratory, and rectal endoscopy procedures. Prompt troubleshooting reduces anesthesia time, protects patient safety, and prevents costly equipment damage. Whether you are working with a small animal videoscope or a large animal flexible scope, the same structured approach applies.
What are the essential prerequisites for animal endoscopy troubleshooting?
Effective veterinary endoscopy troubleshooting steps begin before you touch the scope. The most common diagnostic errors come from skipping a pre-procedure system check, not from equipment failure itself. A complete system check takes under five minutes and eliminates the majority of avoidable procedure interruptions.
Your pre-procedure checklist should cover every component in the signal chain:
- Endoscope: Inspect insertion tube for kinks, cracks, and bending section damage
- Light source: Confirm bulb status, intensity setting, and fiber optic cable connection
- Camera head: Check attachment security and lens clarity
- Video cables: Test with known-good short cables to rule out cable faults before suspecting the scope
- Monitor: Verify input source selection and display settings match the camera output
- Software/recording device: Confirm the current software version is installed and the device is recognized
A first-pass connection checklist using known-good short cables is the fastest way to isolate signal compatibility issues. Bypassing cable extenders and switching boxes removes variables that mask the true source of a no-image or flickering problem.
System compatibility is a separate check from physical condition. Confirm that your camera, video processor, and monitor share the same resolution, frame rate, and color space settings before every procedure. Mismatched signal parameters are a leading cause of image instability that gets misdiagnosed as scope failure.
Pro Tip: Keep a dedicated "test kit" tray at your endoscopy station containing one known-good short BNC or HDMI cable, a spare bulb, and a lint-free lens cloth. Running through this tray first saves you from pulling apart a functioning scope.
How to identify and resolve common image quality issues during animal endoscopy?
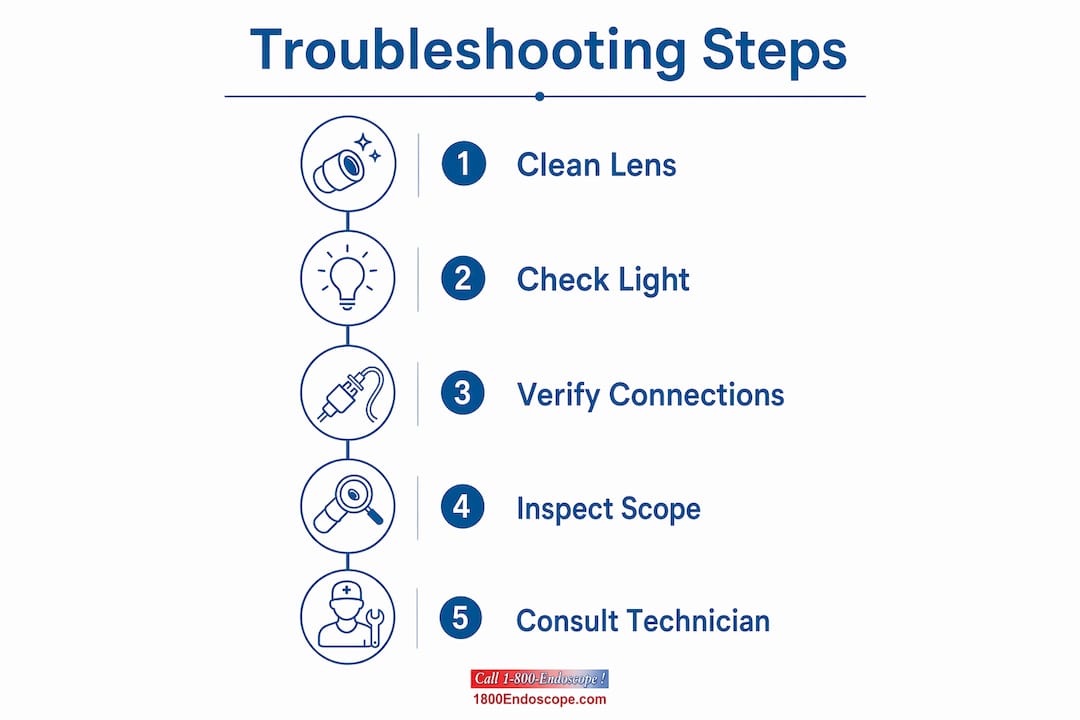
Image problems are the most frequently reported endoscopy issues in pets and large animals alike. Most are resolved in under two minutes with the right sequence of checks. Work through these steps in order before assuming the scope is damaged.
Step-by-step image quality diagnosis
- Clean the lens first. Lens cleaning with a soft, lint-free cloth is the primary fix for fogging, blurriness, and residue artifacts. Protein deposits from mucus and blood dry onto the distal lens between procedures and cause images that appear permanently out of focus.
- Check the light source. Replacing burned-out bulbs or increasing light source intensity restores image brightness when the field appears dark or indistinct. Attenuated light makes tissue detail impossible to read clinically.
- Inspect all video cables. Swap each cable individually with a known-good replacement. A single damaged BNC or HDMI cable produces artifacts, rolling lines, or complete image loss that mimics camera failure.
- Verify signal parameter compatibility. Mismatches in resolution, frame rate, bit depth, and color space between the camera processor and monitor cause color distortion and unstable images. This is one of the most under-recognized causes of poor image quality in veterinary endoscopy systems.
- Adjust monitor display settings. Brightness, contrast, and color temperature settings on the monitor itself can wash out or distort tissue color. Reset to factory defaults as a baseline, then calibrate for clinical use.
Pro Tip: When fogging recurs mid-procedure despite a clean lens, the issue is usually condensation from temperature differential between the scope tip and the body cavity. Warm the distal end of the scope in warm saline for 30 seconds before insertion.
The table below shows the most common image problems alongside their most likely causes and first-line fixes.
| Image problem | Most likely cause | First fix |
|---|---|---|
| Blurry or foggy image | Lens contamination or condensation | Clean lens with lint-free cloth; warm scope tip |
| Dark or dim image | Burned-out bulb or low light intensity | Replace bulb or increase light source output |
| Color distortion | Signal parameter mismatch | Confirm resolution and color space match on camera and monitor |
| Rolling lines or artifacts | Damaged video cable | Swap cable with known-good replacement |
| Unstable or flickering image | Frame rate mismatch or loose connection | Verify frame rate compatibility; reseat all connections |
What mechanical and operational issues commonly affect animal endoscopes?
Physical failures in flexible endoscopes follow predictable patterns. Recognizing the early signs prevents minor issues from becoming expensive repairs.
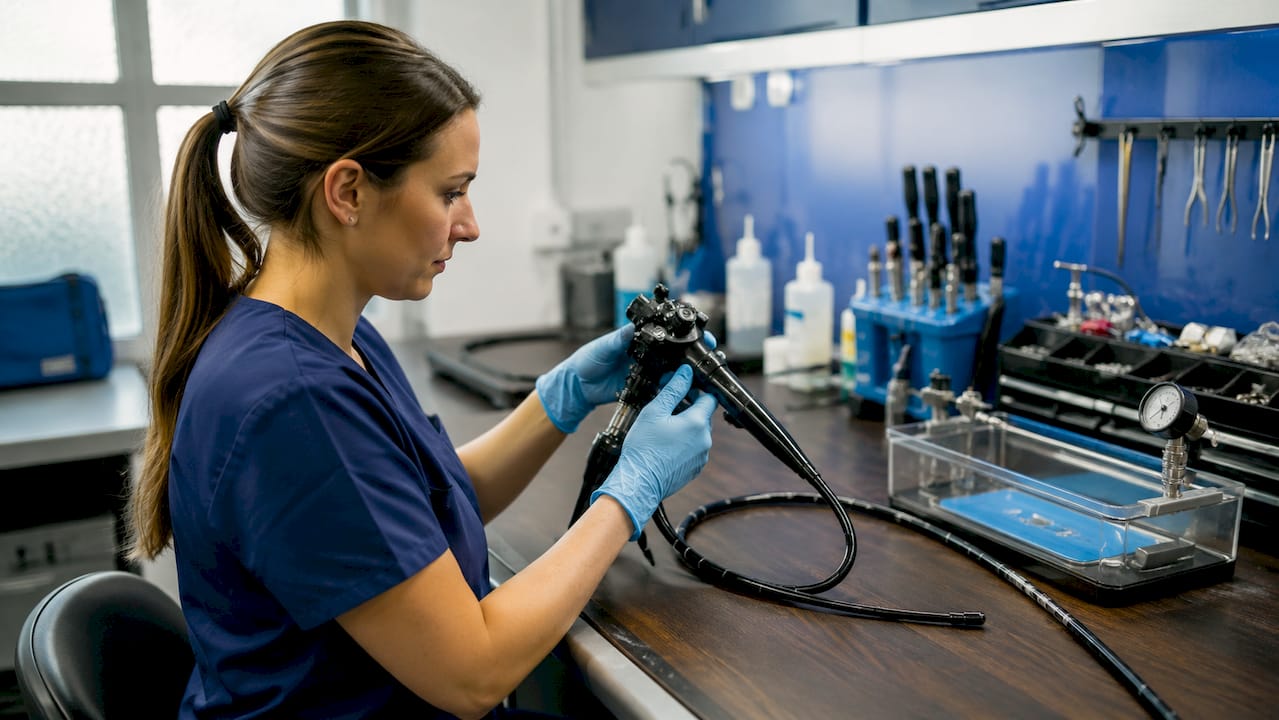
Leaks are the most common cause of endoscope repair, and most result from improper handling rather than manufacturing defects. Rough bending of the insertion tube, forcing the scope through tight angles, and submerging a scope with a damaged seal all introduce moisture into the internal channels. Internal moisture causes electrical shorts, image failure, and corrosion that voids most manufacturer warranties.
Watch for these mechanical warning signs before and after every procedure:
- Stiff or unresponsive angulation controls, which indicate frayed or stretched control cables
- Visible kinks, cracks, or abrasions on the insertion tube
- Bubbles during leak testing, which confirm a breach in the outer sheath
- Unusual resistance when advancing the scope, which suggests internal channel obstruction
- Moisture or condensation visible inside the eyepiece or camera head
Routine leak checks and careful handling extend endoscope lifespan and reduce the frequency of costly repairs. Many endoscope failures are entirely preventable with consistent inspection habits. Run a leak test after every procedure, not just when you suspect a problem.
When angulation controls are stiff, do not force them. Lubricate control cables according to the manufacturer's specification. If stiffness persists after lubrication, the cable requires replacement by a qualified technician. Forcing a stiff control mechanism tears the cable and turns a minor repair into a major one.
Escalate to a professional repair technician when you find confirmed leaks, broken angulation wires, or internal channel damage. Attempting field repairs on flexible endoscopes without proper tools and training causes additional damage. The cost of professional repair is consistently lower than the cost of replacing a scope that was improperly serviced in the clinic.
Pro Tip: Store flexible scopes hanging vertically in a ventilated cabinet, never coiled tightly in a drawer. Tight coiling stresses the bending section and accelerates control cable wear.
How to troubleshoot software and connectivity issues in animal endoscopy systems?
Software and connectivity failures are the least intuitive category of endoscopy equipment troubleshooting because the scope itself appears physically intact. The system simply stops communicating. Outdated software and incorrect network settings are the two most common causes of device communication failures and video recording interruptions.
Work through these steps in sequence:
- Check software version. Open the endoscopy workstation software and confirm you are running the current release. Manufacturers push updates that resolve known compatibility bugs. An outdated version may fail to recognize newer camera processors or recording devices.
- Restart all connected devices. Power cycle the camera processor, monitor, and recording workstation in sequence. Many connectivity errors clear after a full restart because they originate from memory allocation errors, not hardware faults.
- Verify network and device settings. If your system uses a networked PACS or cloud recording platform, confirm the workstation IP address, subnet, and gateway settings match your clinic network configuration. A single incorrect digit in the IP address blocks all data transfer.
- Test with a direct cable connection. Bypass any network switches, video distribution amplifiers, or wireless adapters and connect the camera processor directly to the monitor and recording device. If the image and recording function correctly on a direct connection, the fault is in the intermediate network hardware, not the scope or camera.
- Confirm video format compatibility. Validating the entire video signal chain for compatibility before diagnosing scope unit failure is the correct diagnostic sequence. Confirm that the camera output format, the cable type, and the monitor input all support the same video standard.
For optimizing video recording setups in veterinary practice, dedicated endoscopy workstations with fixed software configurations outperform general-purpose computers. General-purpose machines receive operating system updates that can break device driver compatibility without warning.
Key takeaways
Effective animal endoscopy troubleshooting requires a structured sequence: clean the lens, verify the light source, test cables, confirm signal compatibility, and check software before concluding any component has failed.
| Point | Details |
|---|---|
| Start with a pre-procedure checklist | Inspect every component in the signal chain before the procedure begins to prevent avoidable interruptions. |
| Lens cleaning resolves most image issues | A soft lint-free cloth removes residue causing fogging and blurriness faster than any other fix. |
| Leaks are the top repair cause | Routine leak testing and careful handling prevent the most common and costly endoscope failures. |
| Signal compatibility drives image stability | Confirm resolution, frame rate, and color space match across camera, processor, and monitor. |
| Software updates prevent connectivity failures | Outdated software and incorrect network settings cause most device communication breakdowns. |
What I have learned from years of watching endoscopy systems fail
The uncomfortable truth about most veterinary endoscopy failures is that they are not equipment failures at all. Poor diagnostic outcomes are most often caused by neglected maintenance and mismatched system components, not by defective scopes. I have seen clinics replace expensive camera processors because of a color distortion problem that turned out to be a $15 HDMI cable with a bent pin.
The second pattern I keep seeing is the assumption that a new scope will fix a problem that lives in the monitor or the workstation software. Neglecting routine maintenance and inconsistent clinical habits are the real reasons systems underperform. A fully integrated system where every component is confirmed compatible and every technician follows the same pre-procedure checklist will outperform a more expensive but poorly maintained setup every time.
There is also a clinical dimension that gets overlooked in purely technical troubleshooting discussions. In respiratory endoscopy, for example, retrieving around 60% of instilled saline during bronchoalveolar lavage and observing a foamy surfactant layer confirms alveolar contact and sample quality. If your image system is unreliable, you cannot make that call confidently. Equipment reliability and clinical judgment are not separate concerns. They depend on each other.
My strongest advice: build a written pre-procedure checklist specific to each scope type in your clinic, train every technician on it, and review it quarterly. The clinics that do this rarely call for emergency repairs. The ones that skip it call often.
— Endoscope
How 1800endoscope supports your troubleshooting workflow
When equipment checks reveal that a component needs replacement rather than repair, having access to reliable, compatible veterinary endoscopy systems matters. 1800endoscope carries portable and durable scopes, replacement light sources, video cables, and accessories designed for the full range of animal endoscopy procedure steps, from small animal GI work to large animal airway inspection.

The portable 6mm airway endoscope system from 1800endoscope is a practical example: it combines direct monitor display with SD card video recording in a format that travels between exam rooms without a dedicated workstation. For clinics building out or upgrading their setup, the full veterinary endoscopy catalog covers rigid and flexible options with compatible accessories. Proactive equipment selection reduces the troubleshooting burden before it starts.
FAQ
What is the first step in animal endoscopy troubleshooting?
Clean the distal lens with a soft, lint-free cloth before any other diagnostic step. Lens contamination from mucus, blood, or residue is the most common cause of blurry and fogged images in veterinary endoscopy.
How do you fix a dark or dim image during a veterinary endoscopy procedure?
Replace the light source bulb or increase the light intensity setting on the light source unit. Attenuated or burned-out bulbs are the primary cause of dark, clinically unreadable images.
What causes color distortion in animal endoscopy video?
Color distortion most often results from a mismatch between the video processor output settings and the monitor's input configuration, specifically resolution, color space, or frame rate. Confirming exact compatibility across all devices in the signal chain resolves this.
How do you prevent leaks in flexible veterinary endoscopes?
Run a leak test after every procedure and avoid forcing the insertion tube through tight angles or rough bends. Most flexible endoscope leaks result from improper handling rather than manufacturing defects.
When should you escalate an endoscope problem to a professional repair technician?
Escalate when you confirm a leak, broken angulation wires, or internal channel damage. Field repairs on flexible endoscopes without proper tools cause additional damage and increase total repair cost.