
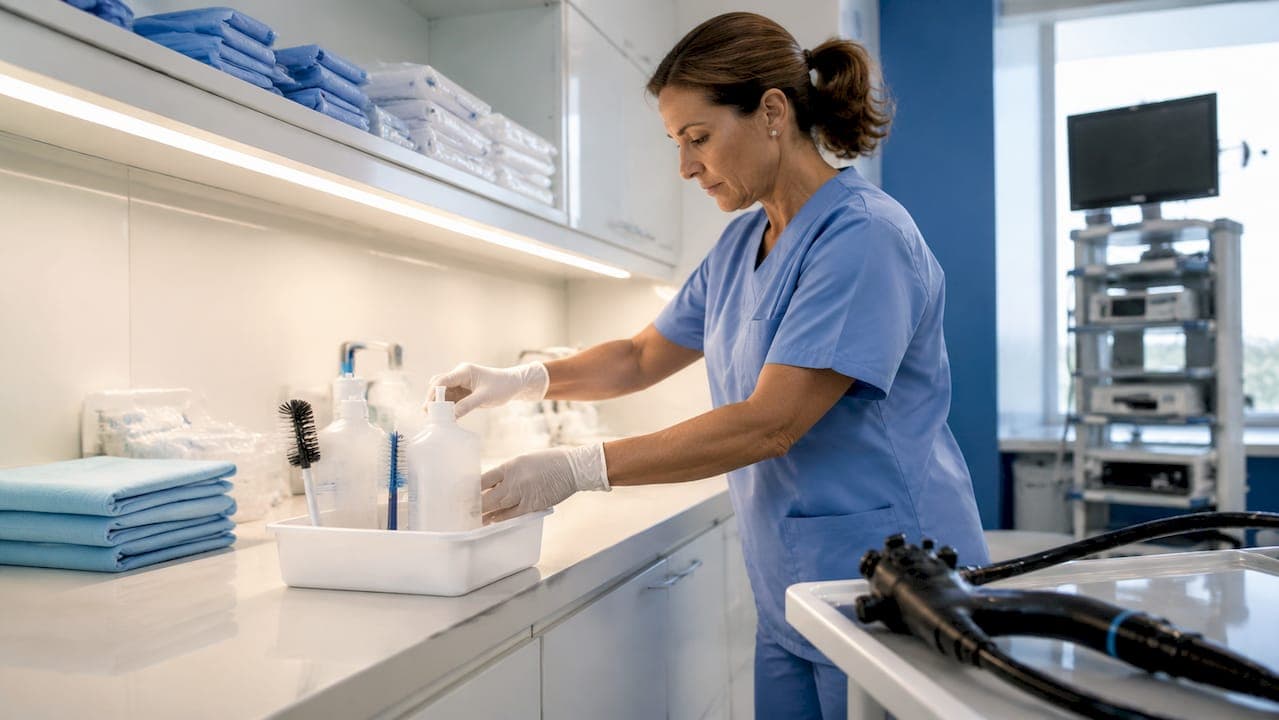
Prepping an endoscope for inspection is the process of cleaning, leak testing, and visually examining the device to confirm it is safe and functional before use. This sequence is not optional. Skip or rush any step, and you risk biofilm formation, undetected damage, and failed procedures. Whether you are a veterinary technician working with a flexible gastroscope or an industrial inspector running a borescope through a turbine housing, the same core discipline applies: clean immediately, test integrity, then verify visually. This guide covers every step in that sequence, including 2026 expert consensus on enhanced visual and borescope inspection techniques.
What tools do you need before prepping an endoscope?
The right materials on hand before you start determine whether your prep is thorough or just a formality. Missing one item mid-process forces shortcuts that compromise the entire sequence.
| Tool Category | Specific Items | Purpose |
|---|---|---|
| Cleaning agents | Enzymatic detergent, pre-cleaning wipes | Break down protein and organic soil |
| Leak testing | Mechanical or electronic leak tester per IFU | Confirm watertight integrity before immersion |
| Visual inspection | 5X–10X magnifier, focused light source | Detect surface cracks, debris, and coating damage |
| Internal inspection | Flexible borescope with HD imaging | Examine internal channels for retained debris |
| PPE | Gloves, face shield, fluid-resistant gown | Protect staff from contaminated fluids |
| Storage | Padded case, dedicated borescope cabinet | Prevent physical damage between uses |
Enzymatic detergents are the standard cleaning agent for endoscope reprocessing. They break down proteins, fats, and carbohydrates that mechanical brushing alone cannot remove. Your specific detergent must match the manufacturer's instructions for use (IFU) for your scope model.
Leak testers come in mechanical and electronic versions. Electronic testers give a precise pressure reading and are faster to interpret. Always use the tester specified in your scope's IFU. Using the wrong tester can give a false pass on a compromised scope.
Pro Tip: Set up your prep station before the scope arrives. Pre-measure detergent, lay out brushes by channel diameter, and have your leak tester charged and ready. Scrambling for supplies after scope withdrawal costs you the critical pre-cleaning window.
Borescopes require dedicated storage and routine software updates to maintain imaging quality and prevent workflow disruptions. A borescope stored loosely in a drawer is a liability, not an asset.
How to perform step-by-step endoscope preparation
The industry term for this full sequence is endoscope reprocessing. Prepping the scope for inspection is the front half of that process. Every step below must happen in order.
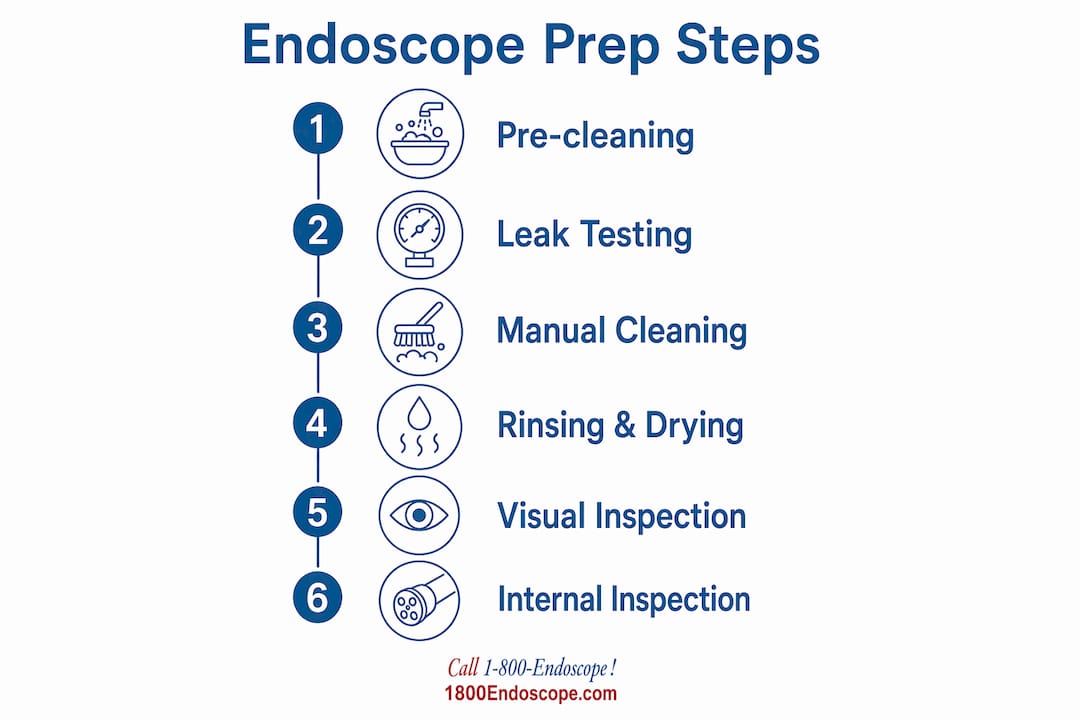
Step 1: point-of-use pre-cleaning
Begin pre-cleaning within seconds of scope withdrawal. Manual cleaning removes over 99% of bioburden when performed immediately, but delay causes biofilm to form that resists all downstream disinfection. Wipe the insertion tube with a damp enzymatic cloth. Flush all channels with enzymatic solution using the scope's air and water controls. Cap the scope per IFU before transport to the reprocessing area.
Step 2: leak testing
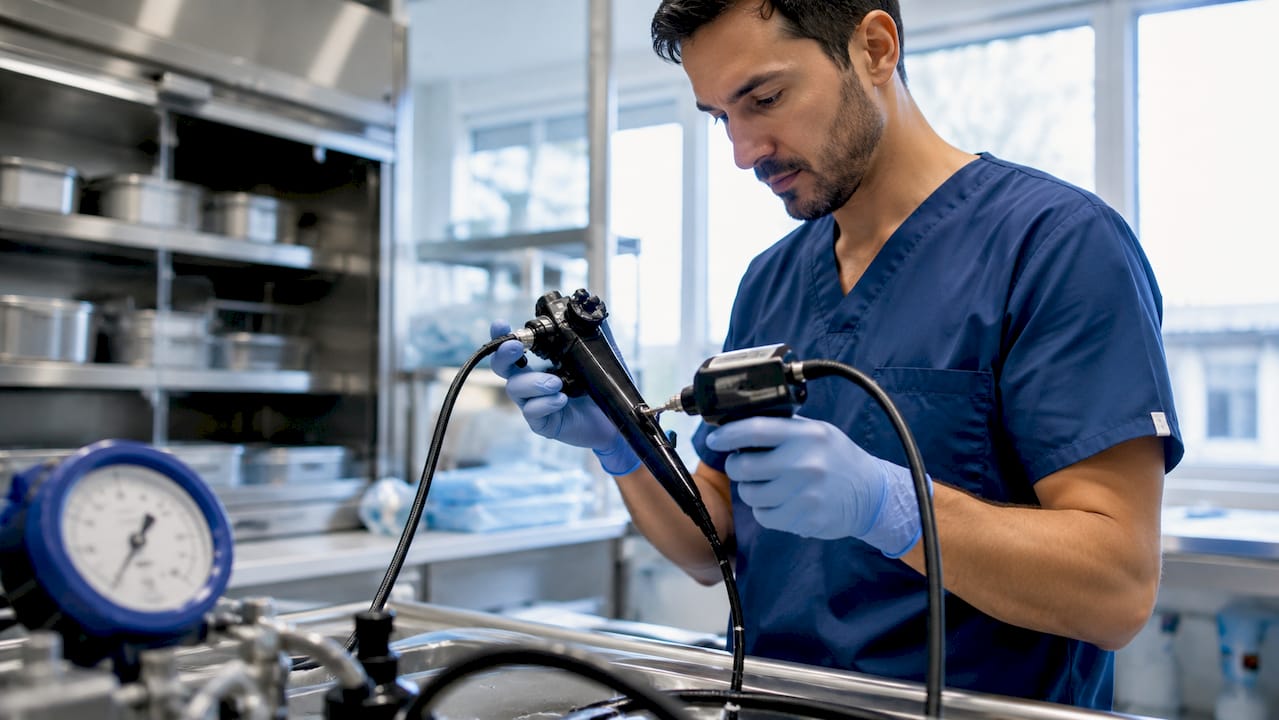
Leak testing must occur after pre-cleaning and before immersion, strictly following manufacturer IFUs. Attach the leak tester, pressurize the scope, and submerge it in water. Watch for continuous bubbles, which indicate a breach. A single failed leak test requires you to stop immediately, label the scope as compromised, and follow manufacturer containment instructions. Do not re-test or attempt further cleaning on a failed scope.
Step 3: manual cleaning
Immerse the scope in fresh enzymatic detergent solution at the manufacturer-specified dilution and temperature. Brush every accessible channel using the correct diameter brush for each port. Draw the brush fully through each channel, rinse it, and repeat until no visible debris appears on the brush. Wipe the exterior with a soft cloth. This step is where most prep failures occur because technicians underestimate how many passes each channel requires.
Step 4: rinsing and drying
Rinse all channels and the exterior thoroughly with clean water to remove detergent residue. Residual detergent can interfere with high-level disinfection chemistry. Dry channels using forced air per IFU. Moisture left in channels promotes microbial growth even after disinfection.
Step 5: enhanced visual inspection
Examine the exterior under 5X to 10X magnification with a focused light source. Look for cracks in the insertion tube, peeling coatings, damaged biopsy port covers, and any retained debris. This level of magnification reveals damage invisible to the naked eye. Document every finding.
Step 6: borescope internal channel inspection
Insert a flexible borescope into each internal channel to check for retained debris, scratches, or structural damage. Borescope inspection is required periodically or whenever damage is suspected as a quality assurance measure. Record images or video for your maintenance log.
| Step | Timing | Key Check |
|---|---|---|
| Pre-cleaning | Seconds after withdrawal | No dried soil on exterior or channels |
| Leak test | Before immersion | Zero continuous bubbles |
| Manual cleaning | Per IFU soak time | Clean brush on final pass |
| Rinse and dry | Immediately after cleaning | No detergent residue, dry channels |
| Visual inspection | After every cleaning cycle | No cracks, debris, or coating damage |
| Borescope inspection | Periodically or on suspicion | Clear, undamaged internal channels |
Pro Tip: Log the time of scope withdrawal on a sticky note attached to the scope transport container. If more than five minutes pass before pre-cleaning starts, flag it in your documentation. Timing adherence is the single most auditable part of your prep process.
What are the most common mistakes when prepping endoscopes?
Most prep failures trace back to a handful of repeatable errors. Recognizing them is the first step to eliminating them from your workflow.
-
Delayed pre-cleaning. Delayed or skipped pre-cleaning leads to hardened organic soil and biofilm that enzymatic detergents cannot fully remove. Set a team rule: pre-cleaning starts before the scope leaves the procedure room.
-
Skipping or rushing the leak test. Technicians under time pressure skip the full pressurization time. A partial test misses slow leaks that cause catastrophic internal damage during immersion.
-
Incorrect brush sizing. Using a brush that is too small for a channel leaves debris on the channel walls. Always match brush diameter to the channel specification in the IFU.
-
Overlooking small surface damage. Without magnification, a hairline crack in the insertion tube looks like a shadow. That crack allows fluid ingress and becomes a repair bill or a patient safety event.
-
Improper borescope storage. A borescope left coiled tightly or stored without a padded case develops lens distortion and cable damage. Both degrade image quality and lead to missed findings.
-
No documentation. Verbal confirmation of a clean scope is not a record. A written or digital log with timestamps, findings, and technician initials is the only defensible record.
Pro Tip: Treat a borescope finding as quality assurance, not a failure. Clear policies for managing findings prevent panic decisions like returning a compromised scope to service. Build a written response protocol before you find your first problem.
How does enhanced visual inspection improve endoscope prep quality?
Enhanced visual inspection and borescope inspection are not the same thing, and both are required for a complete endoscope preparation checklist.
Enhanced visual inspection uses 5X–10X magnification and a focused light source to examine the exterior of the scope. Basic visual inspection, done with the naked eye, misses hairline cracks, peeling coatings, and debris lodged in port covers. The difference in detection rate between basic and enhanced inspection is significant enough that enhanced visual inspection after every cleaning cycle is now the standard expectation in high-performing reprocessing teams.
Borescope inspection goes further. It examines the internal channels that no external light source can reach. Visual inspection focus shifts across the scope's lifecycle: mechanical function checks happen before a procedure, debris detection happens after cleaning, and integrity checks happen after use. A borescope covers the debris detection and integrity phases in a single pass.
| Inspection Method | Tool Required | What It Detects | Frequency |
|---|---|---|---|
| Basic visual | Naked eye, ambient light | Gross debris, obvious damage | Every use |
| Enhanced visual | 5X–10X magnifier, focused light | Hairline cracks, coating damage, fine debris | After every cleaning cycle |
| Borescope internal | Flexible borescope with HD imaging | Channel debris, scratches, structural damage | Periodically or on suspicion |
The practical benefit is scope longevity. Catching a hairline crack early means a minor repair. Missing it means fluid ingress, internal corrosion, and a scope that is beyond economical repair. For remote visual inspection in veterinary diagnostics, the same principle applies: early detection protects both the animal and the equipment budget.
Pro Tip: Photograph every enhanced visual inspection finding with a scale reference. A photo library of your scope's condition over time is the most persuasive argument for a repair budget and the fastest way to identify a scope that is deteriorating faster than expected.
Veterinary vs. industrial endoscope prep: key differences
The core prep sequence is the same across both fields, but the contamination types, equipment configurations, and risk profiles differ enough to require field-specific adjustments.
Veterinary endoscopes face organic contamination from blood, mucus, fecal matter, and hair. Flexible gastroscopes used in small animal endoscopy require thorough channel brushing because animal tissue and hair can pack into channels more densely than human tissue. Rigid endoscopes used in equine airway inspection have fewer channels but require careful exterior inspection for impact damage from animal movement. Technicians working with small animal endoscopy should pay particular attention to biopsy channel integrity, since forceps use accelerates wear.
Industrial borescopes face contamination from oil, metal shavings, carbon deposits, and chemical residues. These contaminants are harder on lens coatings than biological material. Industrial inspectors should:
- Use solvent-compatible cleaning agents approved for the scope's lens coating
- Inspect the insertion tube for kinking or abrasion after every use in tight or rough-edged spaces
- Check connector pins and cable integrity before each deployment
- Store scopes in temperature-controlled cases to prevent seal degradation from thermal cycling
Both fields share one non-negotiable: documentation. Whether you are logging a veterinary gastroscope prep or an industrial NDT borescope inspection, a timestamped record of every step is the baseline for quality assurance and liability protection. For industrial teams, flexible borescope diagnostics require the same pre-use integrity checks as clinical scopes, even when the stakes feel different.
Key takeaways
Effective endoscope preparation requires immediate pre-cleaning, strict leak testing, thorough manual cleaning, and both enhanced visual and borescope inspection to protect scope integrity and user safety.
| Point | Details |
|---|---|
| Pre-clean within seconds | Delay causes biofilm that resists all downstream disinfection and cleaning agents. |
| Leak test before immersion | Follow manufacturer IFU exactly; a failed test requires immediate scope isolation, not re-testing. |
| Use 5X–10X magnification | Enhanced visual inspection after every cleaning cycle catches damage the naked eye misses. |
| Add borescope inspection | Internal channel checks detect retained debris and structural damage invisible from outside. |
| Document every step | Timestamped records are the only defensible proof of a complete and compliant prep sequence. |
What most teams get wrong about endoscope prep
Experts at AORN 2026 made a point that stuck with me: pre-cleaning and pretreatment are frequently misunderstood as technical steps when they are actually cultural ones. The technician who knows the protocol but feels rushed by a packed procedure schedule is the real risk factor. No checklist fixes that without leadership backing.
From my experience working with veterinary clinics and industrial inspection teams, the gap is almost never knowledge. Technicians know they should pre-clean immediately. They know the leak test matters. The gap is systems: no timer on the procedure room wall, no dedicated prep station, no written protocol posted where it gets used. When the environment does not support the behavior, the behavior degrades.
The borescope piece is where I see the most upside. Teams that add periodic internal channel inspection catch damage months before it becomes a repair or a patient safety event. The resistance is usually cost and training time. But a single avoided scope replacement pays for years of borescope maintenance. That math is not complicated.
My advice: treat your first borescope finding as a win, not a problem. It means your quality assurance process is working. Build a written response protocol before you find anything, so the decision about what to do with a compromised scope is never made under pressure.
— Endoscope
Explore endoscope and borescope equipment at 1800endoscope
Getting your prep sequence right starts with having the right equipment. 1800endoscope carries a full range of veterinary and industrial endoscopes, borescopes, and accessories built for the exact workflows described in this guide.

The portable airway inspection system is a practical option for veterinary technicians who need a reliable, affordable scope for field and clinic use. For industrial inspectors, the borescope catalog covers flexible and rigid options suited for NDT applications. Veterinary teams can also browse the rigid endoscopy catalog for equine and small animal systems. Visit the main product portal to find the right system for your inspection needs.
FAQ
What is the first step in prepping an endoscope for inspection?
Point-of-use pre-cleaning is the first step and must begin within seconds of scope withdrawal. Delay allows organic soil to dry and form biofilm that resists all downstream cleaning and disinfection.
How often should enhanced visual inspection be performed?
Enhanced visual inspection with 5X–10X magnification should be performed after every cleaning cycle. This frequency catches surface damage before it progresses to a scope failure or patient safety event.
What happens if an endoscope fails a leak test?
A failed leak test requires you to immediately stop all cleaning, label the scope as compromised, and follow the manufacturer's containment instructions. Re-testing or continuing to clean a failed scope is prohibited.
How is veterinary endoscope prep different from industrial borescope prep?
Veterinary scopes face biological contamination like blood, mucus, and hair, requiring enzymatic detergents and thorough channel brushing. Industrial borescopes face oil, metal shavings, and chemical residues, requiring solvent-compatible cleaning agents and close attention to lens coating integrity.
How do you store a borescope after inspection?
Store a borescope in a padded, dedicated case and keep software updated to maintain imaging quality. Tight coiling or loose storage causes lens distortion and cable damage that degrades inspection accuracy over time.