
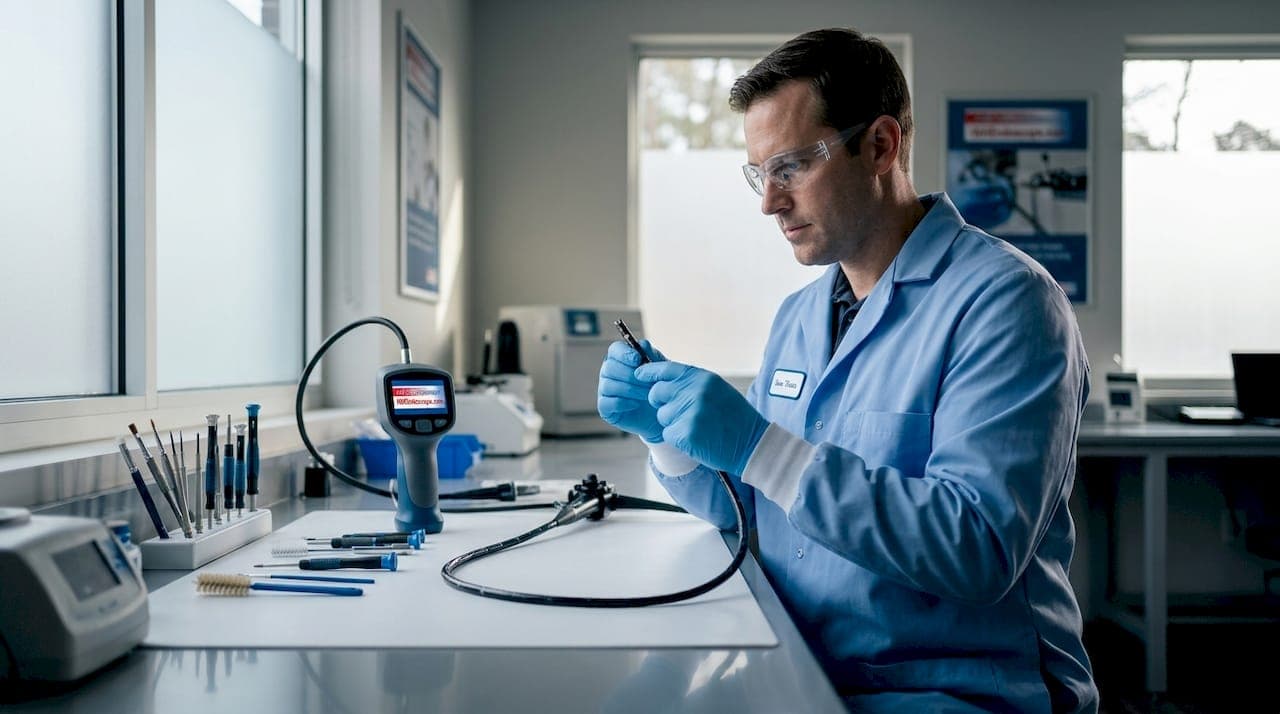
Proper videoscope maintenance is defined as the systematic process of cleaning, inspecting, handling, and storing flexible or rigid endoscopic camera systems to preserve image quality, mechanical function, and service life. Videoscopes, also called video borescopes in industrial contexts, represent a significant equipment investment for veterinary clinics, NDT inspection firms, and medical facilities alike. Skipping or shortcutting upkeep leads to contamination, articulation failure, and costly repairs that could have been avoided. This guide covers every stage of the maintenance cycle, from the tools you need to the moment you send a scope out for professional repair.
What essential tools and supplies do you need for videoscope maintenance?
Effective videoscope upkeep starts with having the right supplies on hand before you ever pick up the scope. Using the wrong cleaning agents or abrasive materials is one of the fastest ways to destroy a lens coating or compromise a seal. The table below outlines the core toolkit every technician should maintain.
| Tool or Supply | Specific Use |
|---|---|
| Microfiber cloths | Wiping external lens surfaces and monitor screens without scratching |
| Soft nylon brushes | Manual scrubbing of internal channels and biopsy ports |
| Isopropyl alcohol (70%) | Disinfecting external surfaces and connectors |
| Mild enzymatic cleaning solution | Breaking down biological debris inside insertion tube channels |
| Leak tester (pressure pump) | Pressurizing the scope body to detect seal failures before submersion |
| Forced air drying gun | Purging moisture from internal channels after flushing |
| Protective carrying case | Storing and transporting scopes without mechanical stress |
| Lint-free gauze pads | Absorbing excess solution during external wipe-down |
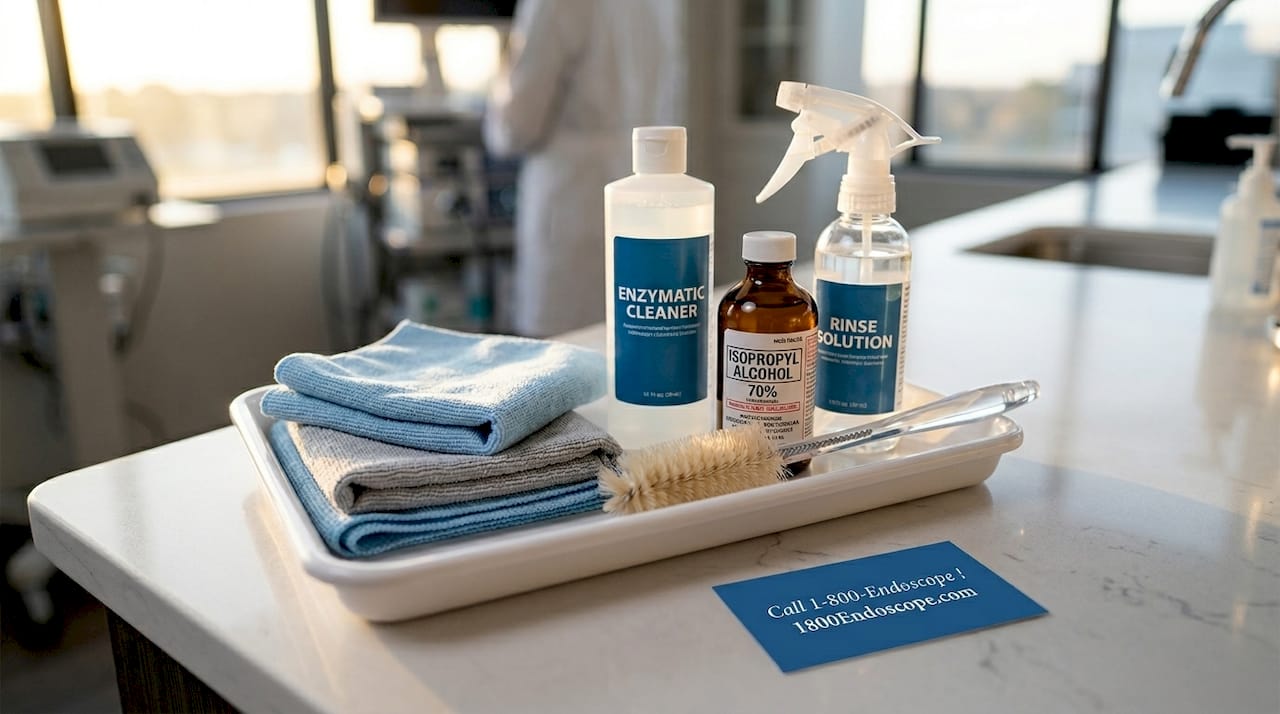
Beyond the table, a few supplies deserve extra attention. Enzymatic solutions are specifically formulated to dissolve protein-based residue without attacking the polymer materials used in flexible insertion tubes. Isopropyl alcohol at concentrations above 80% can degrade certain adhesives used in scope construction, so 70% is the standard. Protective cases with foam inserts prevent the tight coiling and kinking that cause mechanical failures during transit or storage.
Pro Tip: Stock a dedicated maintenance cart with labeled compartments for each supply category. Technicians working under time pressure are far less likely to grab the wrong solution when everything is organized and visible.
How to properly clean and dry videoscope components
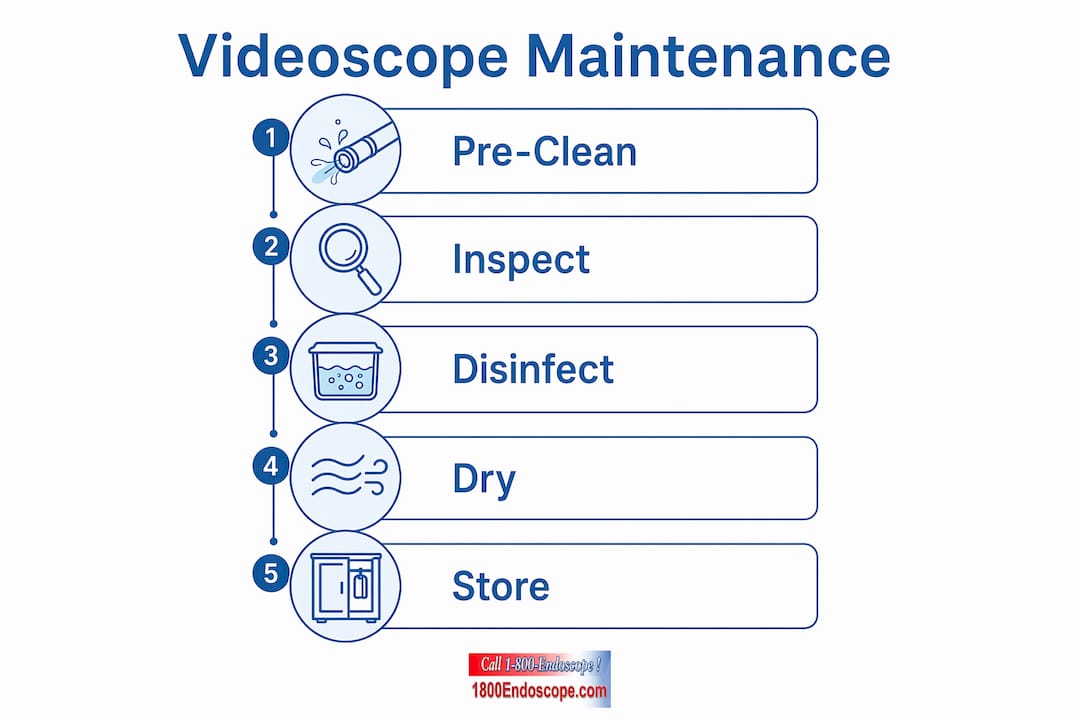
Cleaning is the single most time-sensitive task in videoscope upkeep. Proper reprocessing procedures require 50 to 120 minutes of strict workflow, including at least 10 minutes of forced air drying for internal channels. That figure means a scope pulled from a procedure at 9:00 AM cannot realistically be ready for the next case before 10:30 AM at the earliest. Plan your scheduling around that reality.
Follow this sequence every time a scope comes out of service:
- Pre-clean immediately after use. Wipe the external insertion tube with a damp enzymatic cloth before any residue dries. Delayed pre-cleaning allows debris to harden inside channels, requiring more aggressive flushing later and increasing the risk of residual contamination.
- Flush internal channels manually. Draw enzymatic solution through each channel using a syringe or channel flushing pump. Brush the working channel with a correctly sized nylon brush, pulling it straight through rather than reversing direction mid-channel, which can trap debris.
- Rinse with clean water. Flush each channel with sterile or filtered water to remove all enzymatic solution. Residual enzymatic cleaner left inside channels can degrade internal seals over repeated cycles.
- Wipe down the insertion tube and control body. Use a microfiber cloth dampened with 70% isopropyl alcohol. Pay close attention to the bending section, where debris accumulates in the mesh articulation joints.
- Dry internal channels with forced air. Attach a filtered air source to each channel port and purge for a minimum of 10 minutes. Inadequate internal drying is the leading cause of microbial growth inside flexible scopes, even when external surfaces appear clean.
- Dry external surfaces completely. Hang the scope vertically in a ventilated storage cabinet or lay it flat on a clean surface. Never store a scope in a sealed case while any moisture remains.
- Inspect the lens and distal tip. Under a bright light source, check for smearing, scratches, or debris on the objective lens. A contaminated lens that goes unnoticed will degrade image quality in the next procedure.
Three mistakes appear repeatedly in field maintenance logs. First, technicians use paper towels instead of microfiber cloths, introducing micro-scratches on lens coatings. Second, they reverse brush direction inside channels, dragging debris back toward the control body. Third, they skip forced air drying when under schedule pressure. Rushing or skipping manual cleaning steps causes residual contamination and increases the probability of scope damage over time.
Pro Tip: Set a physical timer when you begin forced air drying. Ten minutes feels longer than it is when you are managing multiple scopes, and cutting it short by even two or three minutes leaves measurable moisture in longer insertion tubes.
What are best practices for handling, inspecting, and storing videoscopes?
Mechanical damage from improper handling accounts for a large share of repair costs across both veterinary and industrial videoscope fleets. Avoiding sharp bends, using proper coiling techniques, and preventing weight from hanging on cables are the three handling rules that protect insertion tubes most directly. Each rule addresses a specific failure mode.
Key handling and storage practices every technician should follow:
- Never coil an insertion tube tighter than a 15 cm diameter loop. Tighter coiling stresses the internal wire bundles and light guides that run the length of the tube.
- Do not hang scopes by their insertion tubes or cables. The weight load stretches internal components and can pull connectors loose from their anchor points. Protecting cables and connectors from twisting or moisture is a core daily maintenance routine.
- Inspect the bending section before and after every use. Look for asymmetric articulation, resistance in one direction, or visible mesh damage. Catching a bending section problem early costs far less than a full replacement.
- Perform a leak test before every cleaning cycle. Pressurize the scope using a leak tester, then submerge the insertion tube and bending section in water. Bubbles indicate a seal breach that must be addressed before the scope re-enters service.
- Store scopes in protective cases with foam inserts that hold the insertion tube in a gentle, supported curve. Avoid storage environments with temperature extremes or high humidity.
- Log every inspection. Record the date, technician name, leak test result, and any observed wear. A written record catches degradation trends that are invisible in any single inspection.
Pro Tip: Create a one-page inspection checklist laminated and posted at your maintenance station. Standardized workflows reduce errors and improve equipment reliability, particularly when multiple technicians share the same equipment.
How to troubleshoot common videoscope problems
Troubleshooting videoscopes follows a logical sequence from the most observable symptoms to the most invasive diagnostics. Most field failures fall into four categories: image quality loss, articulation problems, leak test failure, and lighting issues.
- Image distortion or blur. Check the objective lens first for debris, moisture, or scratches. If the lens is clean and the image remains distorted, the problem may be internal, such as a damaged image sensor or a broken light guide fiber. Internal optical damage requires professional assessment.
- Articulation resistance or asymmetry. If the bending section moves freely in one direction but resists in another, the angulation wires are likely stretched or broken on one side. Repair diagnostics for articulation problems typically begin with angulation range measurement to identify which wire set has failed.
- Leak test failure. A failed leak test means fluid has entered or can enter the scope body. Remove the scope from service immediately. Do not attempt to dry out a flooded scope and return it to use. Fluid ingress compromises scope integrity at the circuit board, image sensor, and internal channel seals.
- Lighting failure or uneven illumination. Check the light source connection and the light guide connector for debris or corrosion. If the light source tests correctly with another scope, the problem is in the scope's light guide bundle, which is a repair task for a qualified technician.
Attempting DIY bending section replacement without OEM-compatible parts is one of the most expensive mistakes a technician can make. OEM replacement bending sections have specific mesh densities, articulation geometry, and adhesive requirements. Using non-compatible parts leads to rapid failure and voids any remaining warranty.
Prepare equipment for professional servicing by documenting the specific symptom, the conditions under which it appeared, and the last successful leak test date. That information cuts diagnostic time at the repair facility and reduces turnaround.
How do maintenance routines differ by videoscope type and application?
Flexible and rigid videoscopes require different cleaning protocols and handling procedures because their structural designs create different failure points. The table below compares maintenance priorities across the most common videoscope categories.
| Videoscope Type | Primary Failure Risk | Key Maintenance Focus |
|---|---|---|
| Flexible veterinary videoscope | Bending section wear, channel contamination | Manual channel brushing, leak testing after every procedure |
| Rigid industrial borescope | Lens impact damage, connector corrosion | Lens inspection, connector cleaning, protective case storage |
| Flexible industrial videoscope | Insertion tube kinking, articulation wire fatigue | Coiling discipline, angulation checks, cable protection |
| Small-diameter flexible scope | Seal failure from over-pressurization during leak testing | Use correct pressure range for diameter; follow OEM specs |
Veterinary applications introduce biological contamination that industrial scopes never encounter. Scopes used in equine or small animal procedures require enzymatic cleaning solutions and full channel brushing after every use. Industrial NDT borescopes used in engine or pipeline inspection face abrasive particulate contamination and chemical exposure instead. Those scopes need lens inspection and connector cleaning as the primary post-use tasks. For veterinary professionals seeking application-specific guidance, the videoscope troubleshooting guide from 1800endoscope covers cleaning and maintenance best practices in detail.
Technician training and adherence to standardized workflows reduce errors across all scope types. The specific protocol matters less than consistent execution of whatever protocol the facility has adopted.
Key takeaways
Consistent videoscope maintenance requires immediate post-use cleaning, forced air drying, disciplined handling, and documented inspections to prevent the mechanical and contamination failures that shorten scope service life.
| Point | Details |
|---|---|
| Clean immediately after use | Pre-cleaning before residue dries prevents channel damage and reduces rework. |
| Dry internal channels fully | Forced air drying for at least 10 minutes prevents microbial growth inside flexible scopes. |
| Perform leak tests every cycle | A failed leak test means the scope must be removed from service before further use. |
| Handle insertion tubes carefully | Avoid tight coiling, sharp bends, and hanging weight on cables to prevent wire fatigue. |
| Use OEM-compatible parts for repair | Non-compatible bending sections and adhesives cause rapid failure and void warranties. |
What I've learned from watching scopes fail prematurely
The most consistent pattern I see across maintenance failures is not ignorance of the correct procedure. It is the decision to skip one step under time pressure, repeated until the damage becomes irreversible. Forced air drying gets cut short. Leak tests get skipped between back-to-back procedures. Inspection logs go unfilled for weeks. Each shortcut feels inconsequential in isolation.
The scopes that last the longest in high-volume environments belong to facilities that treat the maintenance protocol as non-negotiable, not as a guideline to be compressed when the schedule gets tight. That requires more than a good checklist. It requires a culture where technicians feel authorized to pull a scope from rotation when it fails a leak test, even if the next procedure is 20 minutes away.
I also want to address the appeal of multiview optics for industrial applications. Internally switching lenses to reduce how often a scope is physically withdrawn and reinserted is a genuine maintenance advantage. Fewer insertions mean less mechanical stress on the bending section and insertion tube. That is not a marketing claim. It is a direct reduction in the number of cycles that drive wear.
The technicians who get the most service life out of their equipment are not the ones who clean the fastest. They are the ones who clean correctly every single time and document what they find.
— Endoscope
Explore 1800endoscope's videoscope maintenance solutions

1800endoscope carries the cleaning accessories, replacement parts, and portable videoscope systems that technicians need to execute a complete maintenance program. Whether you are outfitting a veterinary clinic or an industrial NDT team, the catalog includes OEM-compatible components, protective storage cases, and portable systems built for field use. The portable 6mm airway inspection system is one example of a cost-effective platform designed with maintenance-friendly construction and direct monitor output. Browse the full borescope and videoscope catalog to find cleaning kits, accessories, and replacement components matched to your specific scope type and application.
FAQ
How often should you perform a leak test on a videoscope?
Leak testing should be performed before every cleaning cycle, not just periodically. A failed leak test indicates fluid ingress that compromises the scope's internal components and requires immediate removal from service.
What cleaning solution is safe for videoscope insertion tubes?
A mild enzymatic cleaning solution is the standard choice for internal channels, and 70% isopropyl alcohol is appropriate for external surfaces. Avoid concentrations above 80% isopropyl alcohol, as these can degrade the adhesives used in scope construction.
How long does proper videoscope reprocessing take?
Full reprocessing takes 50 to 120 minutes, including manual cleaning steps and a minimum of 10 minutes of forced air drying for internal channels. Cutting the drying phase short is the most common cause of microbial contamination in flexible scopes.
When should a videoscope be sent for professional repair?
Send a scope for professional repair when it fails a leak test, shows articulation asymmetry, or has internal image distortion that persists after lens cleaning. DIY bending section replacement using non-OEM parts causes rapid failure and voids warranties.
Does storage method affect videoscope lifespan?
Proper storage in protective foam-lined cases, away from temperature extremes and high humidity, directly extends service life. Storing scopes in sealed cases while moisture remains inside is one of the most damaging storage mistakes a technician can make.