
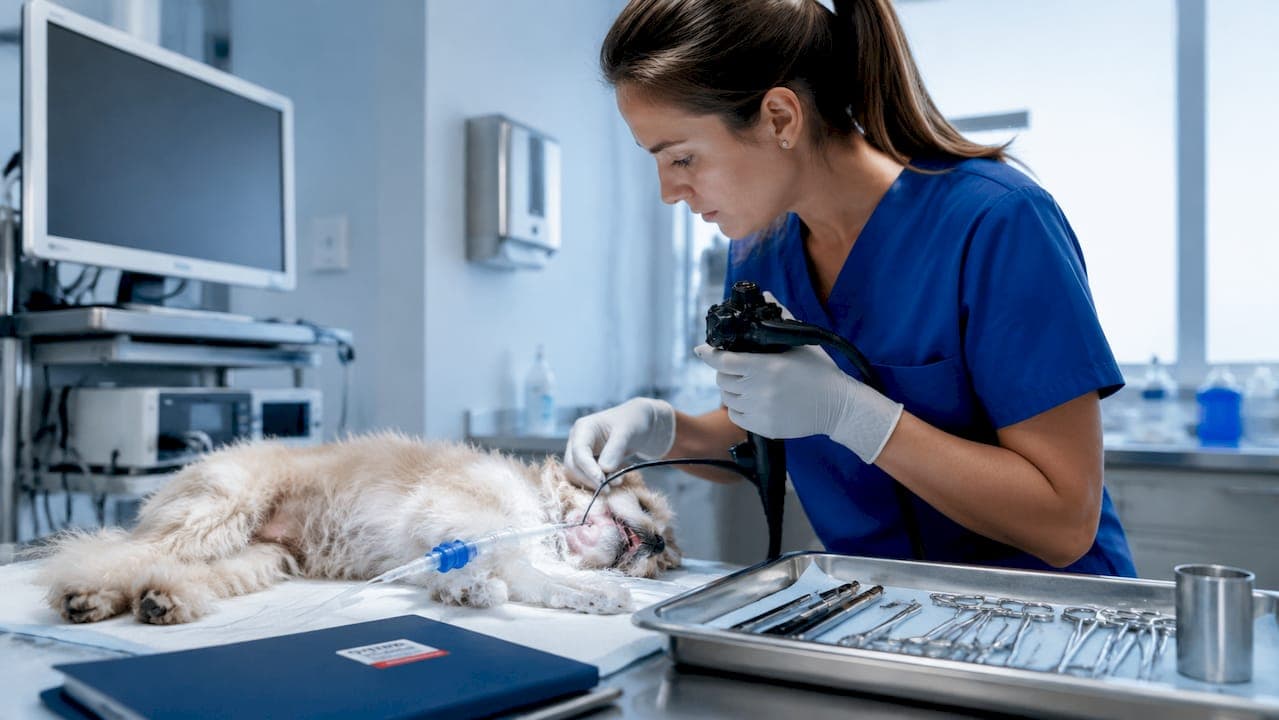
Small animal endoscopy tips are procedural strategies that directly determine diagnostic accuracy, patient safety, and procedural efficiency during veterinary endoscopic exams. Flexible endoscopy, the standard industry term for scope-based internal visualization, covers gastroduodenoscopy, colonoscopy, bronchoscopy, and rhinoscopy in dogs and cats. Mastering these procedures requires the right equipment, a sound anesthesia plan, precise technique, and a coordinated team. This guide delivers the most clinically relevant tips across all five domains so you can perform with confidence from the first scope insertion to the final sample label.
1. Choose the right endoscopic equipment for small animals
Equipment selection is the single most consequential decision before any procedure. The technical capabilities of endoscopic instruments, including deflection range, optics quality, and biopsy channel size, directly determine diagnostic effectiveness. Getting this wrong means poor visualization, inadequate samples, or a scope that physically cannot navigate a small patient's anatomy.
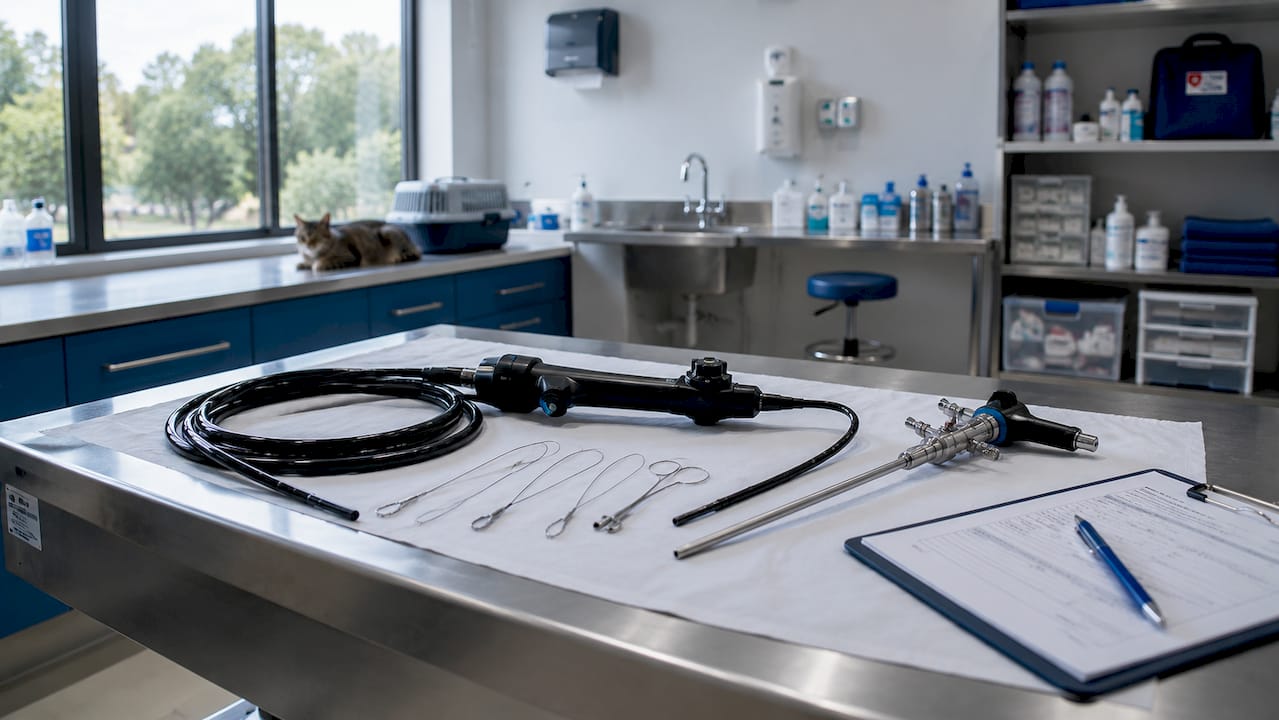
Flexible vs. rigid scopes serve distinct purposes. Flexible video endoscopes provide superior image resolution for gastroduodenoscopy and colonoscopy but require a processor, light source, and monitor. Fiber optic scopes are lighter and more portable but deliver lower resolution. Rigid endoscopes remain the preferred tool for proctoscopy and foreign body retrieval in the rectum and nasal cavity.
| Scope type | Best use | Key advantage |
|---|---|---|
| Flexible video endoscope | GI, bronchoscopy, rhinoscopy | HD resolution, 4-way deflection |
| Flexible fiber optic scope | GI, airway in small patients | Portable, lower cost |
| Rigid endoscope | Proctoscopy, nasal, foreign body | Durability, direct optics |
For small animal gastrointestinal endoscopy, prioritize scopes with 4-way deflection, a biopsy channel of at least 2.0 mm, and functional air, water, and suction channels. For bronchoscopy, scope outer diameter is critical. Instruments like the Pentax FG-16V (5.5 mm OD) and Olympus P-20D (5.0 mm OD) are standard bronchoscopy sizes for canine patients, while cats often require scopes under 4 mm OD.
Accessory tools complete the setup. Biopsy forceps, retrieval snares, balloon dilators, and cytology brushes each serve specific diagnostic roles. Select small diameter endoscopes for pediatric or feline patients where anatomy limits scope passage.
Pro Tip: Match biopsy forceps diameter precisely to the biopsy channel size. An undersized forceps produces inadequate tissue samples; an oversized one damages the channel lining.
2. Anesthetic preparation and patient assessment
Anesthesia management in veterinary endoscopy is not a routine short-procedure protocol. Upper GI endoscopy requires dynamic titration of anesthesia depth and ventilation support because insufflation causes rapid intrathoracic pressure changes that can produce hypoventilation. Treating it like a simple sedation case is the most common mistake in clinical practice.
Start with ASA risk stratification. Patients with cardiac disease, endocrine disorders like hypoadrenocorticism, or geriatric comorbidities need individualized protocols and closer monitoring. Pre-procedure assessment and ASA classification are non-negotiable steps, not optional paperwork.
Fasting protocols differ by procedure type:
- Upper GI endoscopy: fast solids for 12 hours, water for 4 hours minimum.
- Colonoscopy: complete colonic prep with oral laxatives 24 hours prior plus a 12-hour fast.
- Bronchoscopy: standard 6-hour fast with preoxygenation via mask immediately before induction.
General anesthesia with endotracheal intubation is required for upper GI procedures to suppress gagging and protect the scope from bite damage. Preoxygenation before respiratory endoscopy is mandatory for all patients. Monitor ETCO2 and SpO2 continuously throughout, and watch for abdominal distension as a sign of excessive insufflation.
Pro Tip: Keep suction equipment and emergency oxygen immediately accessible post-procedure. Patients recovering from GI endoscopy can regurgitate rapidly as anesthesia lightens.
3. Scope advancement and systematic examination technique
Smooth, controlled scope advancement separates a productive exam from a traumatic one. The core principle for small animal gastrointestinal endoscopy is to advance the scope to its full working length before biopsying. Complete insertion before biopsy in the duodenum improves visualization stability and diagnostic yield. Premature sampling at an unstable scope position produces crushed or inadequate tissue.
Follow a systematic examination sequence for every upper GI procedure:
- Esophagus: inspect mucosa during both insertion and withdrawal.
- Stomach: insufflate fully, examine all rugal folds, then perform retroflexion (the J-maneuver) to visualize the cardia and fundus from below.
- Pylorus: use patient repositioning, typically right lateral to dorsal recumbency, to facilitate pyloric passage.
- Duodenum: advance to the descending duodenum before any biopsy or sampling.
The retroflexion technique is underused and undervalued. Rotating the scope 180 degrees inside the stomach reveals the gastric cardia and fundus, areas that are invisible on forward view and frequently harbor early lesions in dogs and cats with chronic vomiting.
For respiratory endoscopy, the diagnostic order matters as much as the technique itself. Perform foreign body removal first, then BAL or biopsies, and cytology brushings last. This sequence prevents brush-induced hemorrhage from contaminating lavage samples and preserves the integrity of each specimen type.
Pro Tip: During colonoscopy, take biopsy samples on scope withdrawal rather than insertion. The mucosa is better visualized, the scope is more stable, and you reduce the risk of perforation.
4. Bronchoalveolar lavage and biopsy technique
Bronchoalveolar lavage (BAL) is the most technically demanding sampling procedure in small animal respiratory endoscopy. The technique requires wedging the bronchoscope tip into a distal bronchus, instilling sterile saline, then injecting air to clear the biopsy channel. Retrieving approximately 60% of the instilled volume is the accepted benchmark for a diagnostic sample. A foamy layer in the retrieved fluid confirms alveolar contact.
Combine multiple BAL aliquots from different lung lobes into a single tube for culture. This increases bacterial yield and reduces false negatives from focal disease. Cytology and culture from the same pooled sample give you the most complete picture of lower airway disease.
For GI biopsies, site selection determines pathology report quality. Target the duodenum, ileum (via ileoscopy), and multiple gastric sites including the antrum and body. Take a minimum of six to eight biopsy samples per site to account for sample variability and processing artifact. Pinch biopsy forceps produce better tissue architecture than cup forceps in most small animal GI applications.
Pro Tip: Use flexible borescopes for accurate diagnostics in tight anatomical spaces where standard scopes cannot reach or deflect adequately.
5. Sample handling and documentation best practices
Sample integrity after collection is where diagnostic value is either preserved or lost. Label every biopsy cassette immediately at the procedure table, before the next sample is taken. A mislabeled or unlabeled specimen from the duodenum versus the stomach changes the entire diagnostic interpretation and treatment plan.
Follow this workflow for every endoscopy session:
- Place each biopsy specimen directly into a pre-labeled formalin cassette. Do not pool samples from different sites.
- For BAL, transfer fluid to labeled tubes on ice and process within two hours for cytology.
- Record the exact biopsy site, number of samples taken, and gross endoscopic findings in real time.
- After the procedure, flush and clean the endoscope biopsy channel immediately to prevent tissue debris from drying inside the instrument.
- Document all findings with still images or video capture before scope withdrawal.
Video documentation is not optional in a modern practice. Optimizing endoscope video recording creates a permanent record for case review, client communication, and specialist referral. It also protects you medicolegally if findings are disputed later.
6. Team coordination and workflow efficiency
Bronchoscopy is an invasive procedure that demands tight workflow coordination to limit anesthesia exposure and protect patient safety. Every minute of unnecessary anesthesia time carries compounding risk, particularly in brachycephalic breeds and geriatric patients.
Define roles before the procedure begins, not during it:
- Endoscopist: controls scope advancement, deflection, and sampling decisions.
- Airway manager: monitors anesthesia depth, ETCO2, SpO2, and manages ventilation.
- Sampler: handles biopsy forceps, retrieval tools, and sample labeling.
- Recorder: documents findings, timestamps biopsy sites, and captures images.
Preparation checklists reduce equipment failures and delays. Verify that the light source, processor, suction, and all accessory tools are functional before the patient is induced. A scope malfunction discovered after induction forces you to extend anesthesia time or abort the procedure.
Structured wet-lab training with practical guides significantly improves procedural proficiency before clinicians perform on live patients. Activity sheets and recorded sessions give trainees a structured framework for self-assessment. Pair wet-lab practice with video review of actual cases to accelerate skill development across the whole team.
Pro Tip: Record every procedure and review the footage at team debriefs. Video review catches technique errors that are invisible in the moment and builds a shared standard of practice across your clinic.
Key takeaways
Effective small animal endoscopy requires matched equipment, precise anesthesia management, systematic technique, disciplined sample handling, and defined team roles working in sequence.
| Point | Details |
|---|---|
| Equipment drives outcomes | Match scope type, diameter, and channel size to the species, patient size, and procedure before every case. |
| Anesthesia is dynamic | Monitor ETCO2 and SpO2 continuously; insufflation causes hypoventilation that requires active management. |
| Advance before you biopsy | Complete scope insertion to full working length before sampling to maximize stability and tissue quality. |
| Sample order prevents contamination | In respiratory endoscopy, perform foreign body removal, then BAL, then cytology brushings, in that sequence. |
| Team roles reduce risk | Assign endoscopist, airway manager, sampler, and recorder before induction to minimize anesthesia time. |
What I've learned from years of watching vets work with endoscopy equipment
The most consistent pattern I see is that clinicians invest in a good scope and then underinvest in everything around it. The light source is underpowered, the biopsy forceps are mismatched to the channel, and the team has no defined roles. The scope itself performs well. The procedure does not.
The second pattern is treating anesthesia for GI endoscopy as a minor event. Insufflation changes intrathoracic pressure fast. Patients that look stable at the start of a gastroduodenoscopy can hypoventilate within minutes if nobody is actively watching ETCO2. This is not a rare complication. It is a predictable physiological response that requires a prepared anesthesia team, not just a monitoring machine running in the background.
For clinicians just starting out, I would say this: do not skip wet-lab practice. Scope navigation feels intuitive until you are inside a live patient with a narrow pylorus and a restless anesthesia plane. The muscle memory you build in a lab session translates directly to smoother, faster clinical procedures. Record everything from day one. Your footage from month one versus month twelve will show you more about your own development than any course ever could.
The best light source for veterinary endoscopy matters more than most clinicians realize. Inadequate illumination masks mucosal lesions that would be obvious under proper light. It is one of the cheapest upgrades with the highest diagnostic return.
— Endoscope
Equip your practice with the right veterinary endoscopy tools

The tips in this article are only as good as the equipment executing them. 1800endoscope carries portable and flexible video endoscopy systems purpose-built for small animal procedures, including scopes with 4-way deflection, integrated biopsy channels, and HD video output. The portable 6mm airway video system is a cost-effective option for clinics that need a reliable bronchoscopy and airway inspection tool without the overhead of a full processor stack. For rigid scope applications including proctoscopy and nasal procedures, the veterinary rigid endoscopy catalog covers the full range of sizes and configurations. Browse the full selection and contact the 1800endoscope team for equipment matching support.
FAQ
What scope size is recommended for small animal bronchoscopy?
Standard bronchoscopy scopes for dogs include the Pentax FG-16V at 5.5 mm OD and the Olympus P-20D at 5.0 mm OD. Cats typically require scopes under 4 mm OD to navigate the airway safely.
When should biopsies be taken during GI endoscopy?
Take GI biopsy samples during scope withdrawal rather than insertion. The mucosa is better visualized, the scope position is more stable, and the risk of perforation is lower.
How much BAL fluid recovery is considered diagnostic?
Retrieving approximately 60% of the instilled saline volume is the accepted standard for a diagnostic BAL sample. A foamy layer in the recovered fluid confirms the scope tip reached alveolar level.
Why is general anesthesia required for upper GI endoscopy?
General anesthesia suppresses the gag reflex, protects the endoscope from bite damage, and allows controlled ventilation management during insufflation-related pressure changes.
How do you prevent sample contamination during respiratory endoscopy?
Perform diagnostic steps in this order: foreign body removal first, then BAL or biopsies, and cytology brushings last. This sequence prevents brush-induced hemorrhage from contaminating earlier samples.