
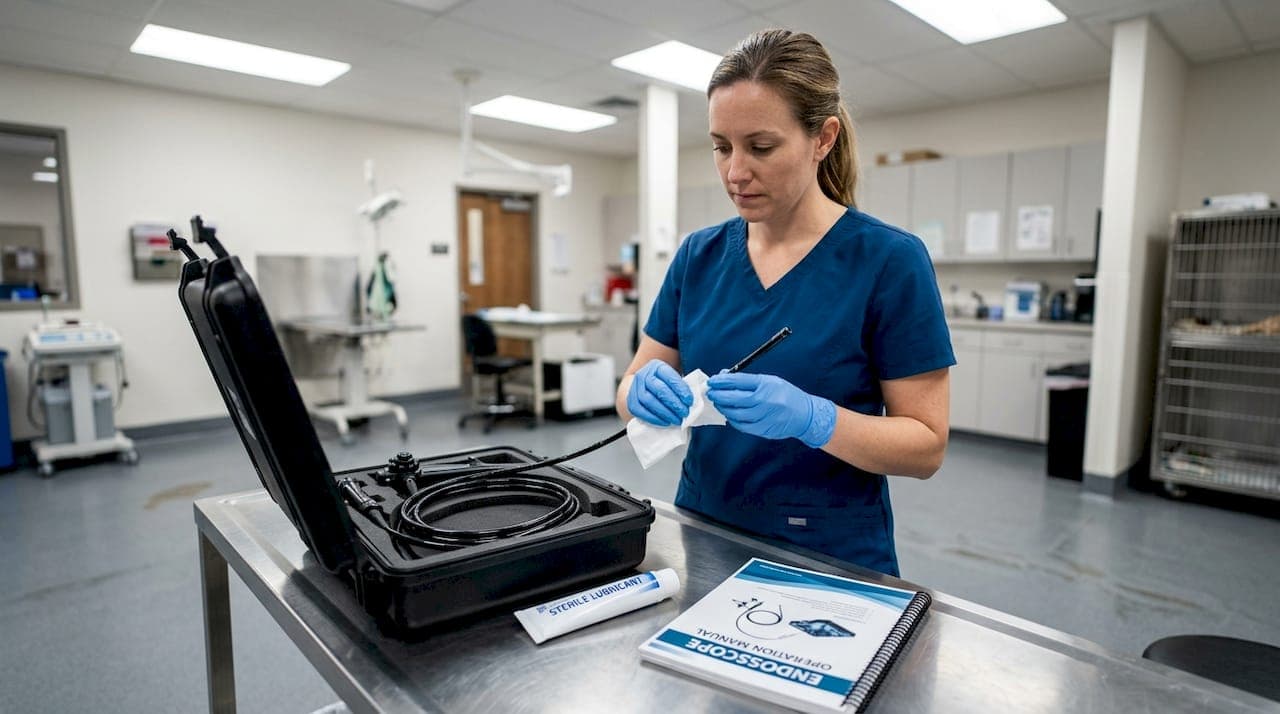
Getting a clear visual inside a horse's upper airway, a turbine housing, or a small animal's nasal passage is one of the most demanding tasks in both veterinary and industrial work. A flexible borescope gives you that access, but only if you use it correctly. Mishandling the scope, skipping preparation, or ignoring insertion technique leads to blurry images, kinked cables, and in veterinary settings, stressed animals and missed diagnoses. This guide walks you through every stage of the process so you get reliable results every time.
Table of Contents
- Essential preparation for flexible borescope use
- Step-by-step guide: Using the borescope efficiently
- Troubleshooting and avoiding common errors
- Verifying results and best practices for repeat use
- Expert perspective: What training and field experience reveal
- Find the right borescope for your practice
- Frequently asked questions
Key Takeaways
| Point | Details |
|---|---|
| Proper preparation matters | Using PPE, cleaning, and calibrating your borescope prevents errors and ensures reliable inspections. |
| Follow step-by-step usage | Careful insertion and navigation reduce risk of equipment damage and improve diagnostic quality. |
| Avoid common mistakes | Training and attention to technique are essential for preventing kinking and ensuring accurate results. |
| Field advantages | Flexible borescopes give professionals affordable, effective diagnostic options, especially in large animal or remote settings. |
| Continuous verification | Reviewing outcomes and cleaning after use keeps borescopes ready and prolongs their lifespan. |
Essential preparation for flexible borescope use
Before you insert a borescope into anything, preparation is where accuracy is won or lost. Rushing this phase is the single most common reason professionals end up with poor image quality or damaged equipment.
Preparation steps include safety gear, cleaning the borescope, clearing the inspection area, selecting the appropriate diameter and length, and calibrating the device before use. Each of these steps matters independently, and skipping even one creates downstream problems.
Personal protective equipment (PPE) and cleaning materials you need:
- Nitrile gloves (latex-free for animal work)
- Protective eyewear
- Animal-specific restraint gear or personal protective equipment for industrial environments
- Lint-free cleaning cloths
- Manufacturer-approved disinfectant solution
- Sterile lubricant (for veterinary insertions)
- Carrying case or protective tray for scope transport
Clearing the inspection area means different things depending on your context. In a veterinary clinic, it means securing the animal, ensuring adequate lighting, and having an assistant present. In an industrial setting, it means locking out the equipment, removing debris from the access port, and confirming the internal temperature is within the scope's operating range.
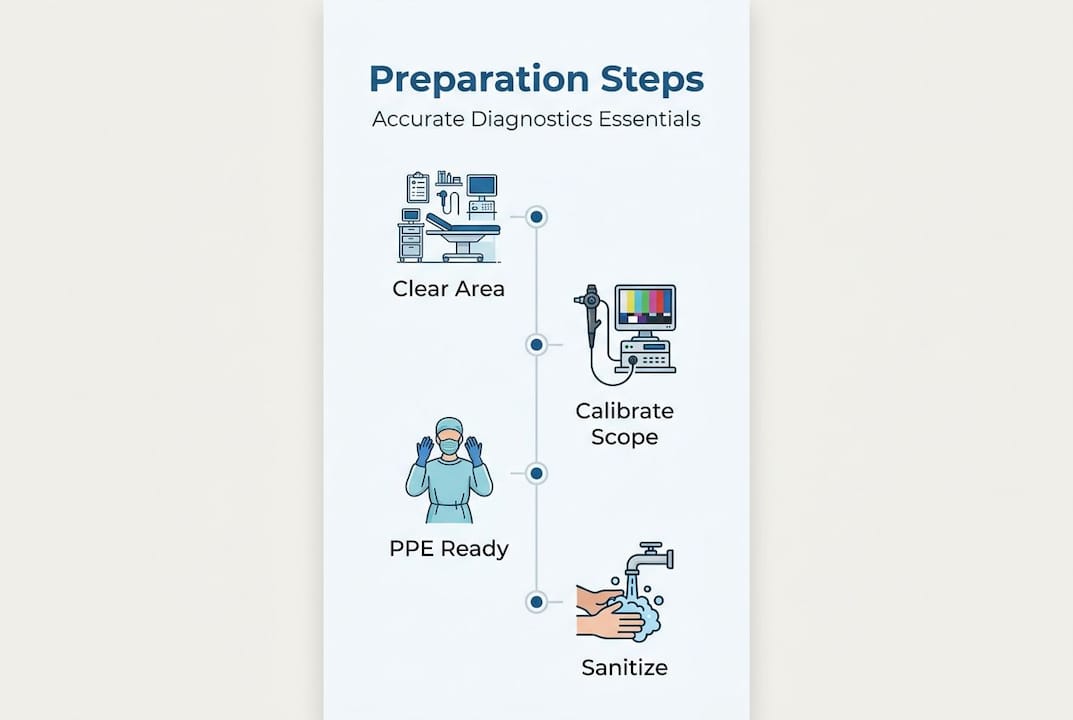
Selecting the right diameter and length
Diameter selection is critical and often underestimated. A 6mm diameter scope works well for equine upper airway exams and medium-bore industrial pipes. For small animals like cats or rabbits, you need a 2.8mm to 3.5mm scope. Going too large risks tissue trauma in animals and can get physically stuck in narrow industrial passages.
Length matters just as much. A 1.5-meter insertion tube covers most small animal and short industrial inspections. For equine tracheal exams or long pipe runs, you need 2 meters or more. Always confirm the working length before committing to a procedure.
| Application | Recommended diameter | Recommended length |
|---|---|---|
| Equine upper airway | 6mm | 1.5 to 2m |
| Small animal nasal passage | 2.8 to 3.5mm | 0.5 to 1m |
| Industrial pipe inspection | 6 to 8mm | 1 to 3m |
| Turbine or engine cavity | 4 to 6mm | 1 to 2m |
"A scope that fits perfectly in one species may be completely unsuitable for another. Matching the tool to the anatomy is not optional, it is the foundation of a useful examination."
Pro Tip: Always review the sanitary protocols specific to your scope model before your first use. Manufacturer guidelines for disinfection vary by material and coating, and using the wrong solution can degrade the insertion tube over time.
Calibration means verifying that your light source is functioning at the correct intensity, your image sensor is producing a clear and undistorted picture, and your articulation controls respond precisely. Run a test pass on a known surface before any live inspection to confirm everything is working.
Step-by-step guide: Using the borescope efficiently
With your equipment ready, follow these steps to perform a safe and accurate inspection.

1. Set up your workstation. Position your display monitor or connected device at eye level. Confirm your light source is powered and at the correct brightness setting. Have your lubricant, cleaning cloths, and any biopsy tools within reach.
2. Perform a pre-insertion check. Flex the distal tip (the end that goes in) through its full range of motion using the articulation control. Confirm there is no resistance, grinding, or lag. Check the image on your display for clarity.
3. Lubricate the insertion tube. For veterinary work, apply sterile lubricant to the first 10 to 15cm of the insertion tube. For industrial use, a light silicone-based lubricant works well in dry passages. Never use petroleum-based lubricants on scopes with rubber or polymer sheaths.
4. Insert slowly and with zero force. This is the step where most damage happens. Push gently and let the scope find its path. If you feel resistance, stop. Forcing the tube causes kinking and, in animals, causes pain and tissue damage.
5. Navigate with articulation, not push force. Once inside, steer using the control knob or joystick. The animal diagnostics overview for equine scopes shows how the four-way articulation tip allows you to navigate around anatomical curves without applying lateral pressure to the insertion tube.
6. Capture your images and video. Use your scope's recording function to document everything. Still images are useful for reports, but video captures dynamic function like airway movement during breathing, which is critical for equine diagnostics. Label each file immediately after capture.
7. Withdraw slowly and in a straight line. Pull back without rotating the scope unless your design specifically supports rotation. Twisting during withdrawal is a primary cause of internal wire damage.
8. Clean and disinfect immediately after use. Do not let biological material dry on the insertion tube. Flush the working channel if your scope has one, wipe the exterior with approved disinfectant, and follow the cleaning methods outlined in your equipment documentation.
Handling edge cases in narrow passages
Narrow passages in donkeys require lubrication and head elevation during insertion, and over-bending beyond the scope's specification risks permanent wire damage. Kinking from excessive flexibility can be resolved by withdrawing the scope partially and straightening before reinserting.
The same logic applies to tight industrial bores. If the scope bunches up inside a curved section, withdraw to the last straight point, reduce your insertion angle, and re-advance. Forcing through a kink damages the internal fiber bundle or video cable and results in a repair bill that far exceeds the cost of patience.
| Challenge | Veterinary solution | Industrial solution |
|---|---|---|
| Kinking in passage | Withdraw, straighten, re-insert | Reduce bend radius, re-advance |
| Poor image in tight space | Adjust light intensity, slow down | Clean access port, check lens |
| Animal movement | Pause, reassure, re-position | N/A (equipment is stationary) |
| Resistance at anatomical curve | Elevate head, increase lubrication | Use a guide tube or overtube |
Pro Tip: The borescope advantages of flexible designs over rigid scopes become most apparent in curved passages. A rigid scope simply cannot follow the anatomical path of an equine nasal cavity or a 90-degree pipe elbow. Flexible scopes navigate these curves naturally when you let the articulation do the work.
Troubleshooting and avoiding common errors
Once you've completed your inspection, you'll want to ensure you avoid common pitfalls that could damage your equipment or compromise results.
Common errors include forceful insertion, poor lighting, over-bending, and ignoring manufacturer manuals, all of which lead to equipment damage or misdiagnosis. These are not beginner mistakes. Experienced technicians make them too, especially under time pressure.
How to spot and address the most frequent problems:
- Kinking: The image suddenly goes dark or distorted mid-inspection. Withdraw slowly until the image returns, then straighten the tube before re-advancing.
- Poor image quality: Check your light source intensity first. Then clean the distal lens with a soft lint-free cloth. If the image remains blurry, inspect the insertion tube for bends that may be compressing the fiber bundle.
- Wire damage: Articulation becomes stiff or unresponsive. This usually means internal control wires are frayed from repeated over-bending. Prevention is the only real solution since wire repair is expensive.
- Contamination: Biological material inside the working channel causes image artifacts and cross-contamination risk. Flush immediately after every veterinary use.
"Proper borescope care is not just about protecting your investment. In veterinary work, a contaminated or damaged scope can directly harm the animal you are trying to help."
Critical safety warnings:
- Never insert a scope into a live animal without confirming it is clean and disinfected
- Never exceed the scope's minimum bend radius, which is listed in the manual
- Never use a scope with a cracked or damaged insertion tube sheath
- Always confirm the industrial environment is powered down and cooled before insertion
Pro Tip: Keep a simple inspection log for each scope in your practice or facility. Record every use, any issues encountered, and cleaning performed. This log helps you spot patterns, like a scope that consistently shows image degradation after 50 uses, before it fails during a critical procedure.
For animal diagnostics specifically, always have a second scope or a backup plan available. Animals are unpredictable, and a scope that fails mid-examination creates both a clinical problem and an animal welfare concern.
Verifying results and best practices for repeat use
After troubleshooting, you're ready to wrap up your inspection and verify results for future reliability.
Reviewing captured images and video immediately after the inspection is essential. Look for the key findings you were searching for, but also review the full recording for anything unexpected. In equine airway exams, for example, a secondary lesion or abnormal tissue that was not the primary concern can appear in the footage and change your diagnostic conclusion entirely.
Best practices for reviewing and storing results:
- Review all video footage before closing out the session, not just the still captures
- Label files with date, patient or asset ID, scope used, and operator name
- Store files in a secure, backed-up location with access controls
- Compare current findings against previous inspections for the same patient or asset
- Write your diagnostic notes while the visual is still fresh
Cleaning and storing the borescope for next use:
- Wipe the entire insertion tube with manufacturer-approved disinfectant
- Flush the working channel with enzymatic cleaner, then rinse with sterile water
- Hang the scope vertically or coil it loosely in its case, never tightly wound
- Store away from direct sunlight and extreme temperatures
- Perform a full articulation and image check before storing to confirm no damage occurred during use
Borescopes do not fully replace high-end endoscopes in veterinary work but provide cost-effective diagnostics in field conditions, especially with modifications like sanitary wrapping. This is an important distinction. If you are working in a field setting with a donkey, a horse at a remote stable, or an industrial site without access to a full equipment bay, a well-maintained flexible borescope gets the job done.
For clinic-based work or complex surgical guidance, a rigid endoscope comparison shows where the clinical precision of a dedicated endoscope outperforms a borescope. Knowing when to use each tool is part of professional competency.
Expert perspective: What training and field experience reveal
Here is something most technical guides will not tell you: the professionals who get the best results from flexible borescopes are not the ones who read the most manuals. They are the ones who made mistakes early, understood what went wrong, and built habits around those lessons.
Forceful insertion and over-bending are the two most damaging errors, and both happen because the operator is rushing or second-guessing the scope's capability. The fix is not more reading. It is supervised practice on a training model or a non-critical inspection until the correct feel becomes instinctive.
The sanitary adaptations that make borescopes genuinely useful in field veterinary work, things like sterile plastic sleeve wrapping and improvised irrigation, are almost never covered in standard training. They come from practitioners who needed a solution in the field and figured one out. That kind of practical knowledge is what separates a technician who uses a borescope from one who relies on it.
What most guides also overlook is the animal-specific challenge of managing scope behavior when the patient moves. A horse that shifts its head mid-inspection changes the angle of the insertion tube instantly. You need to be ready to pause, withdraw slightly, and re-navigate without panicking. The field advantages of flexible borescopes only materialize when the operator is calm, methodical, and comfortable with the equipment.
Industrial technicians face a parallel challenge: the temptation to push through resistance to save time. A kinked scope in a turbine housing costs far more to repair than the ten minutes you saved by not withdrawing and re-inserting properly. Patience is a technical skill in this work.
Find the right borescope for your practice
Having learned how to use flexible borescopes properly, professionals can now identify equipment tailored to their diagnostic needs.

At 1800endoscope.com, we carry equipment built for exactly the kind of work described in this guide. Whether you need a portable 6mm endoscope for equine airway exams or field diagnostics, or you want to browse the full borescope catalog to match your specific application, the options are organized by diameter, length, and use case. For equine practitioners specifically, the equine airway videoscope offers HD video recording, wireless connectivity, and a design built around the anatomical demands of large animal upper airway exams. Every product comes with documentation, and our team understands the difference between a veterinary inspection and an industrial NDT job.
Frequently asked questions
What PPE is required when using a flexible borescope?
You should wear gloves, protective eyewear, and any animal-specific protective gear to maximize safety during inspections. PPE requirements also include clearing the inspection area and preparing the scope itself before any live use.
How do you prevent borescope kinking in narrow animal passages?
Lubricate the scope and elevate the animal's head during insertion, and avoid over-bending the device beyond its operating limits. Narrow passage techniques also recommend withdrawing and straightening the tube if kinking occurs rather than forcing through.
Can flexible borescopes fully replace endoscopes in veterinary work?
No, flexible borescopes are a cost-effective option for field diagnostics but don't match the precision of high-end endoscopes. Borescopes in field conditions work best with sanitary modifications and are most valuable when a dedicated endoscope is not accessible.
What are common mistakes when handling flexible borescopes?
Mistakes include forceful insertion, poor lighting, over-bending, and ignoring manuals, all of which can cause damage or faulty results. These common errors are preventable with proper training and a consistent pre-use checklist.
How should flexible borescopes be cleaned after use?
Clean borescopes with manufacturer-recommended disinfectants, flush the working channel with enzymatic cleaner, and follow specific protocols for animal versus industrial applications to prevent contamination and extend equipment life.
Recommended
- Borescope Endoscope Catalog
- EQUINE 8mm USB AIRWAY INSPECTION FIELD SCOPE MONITOR TYPE SD-CARD VIDEOSCOPE
- Medical Veterinary Endoscope Endoscopy Systems, Light Sources, Accessories, Industrial NDT Borescopes
- Medical Veterinary Endoscope Endoscopy Systems, Light Sources, Accessories, Industrial NDT Borescopes