
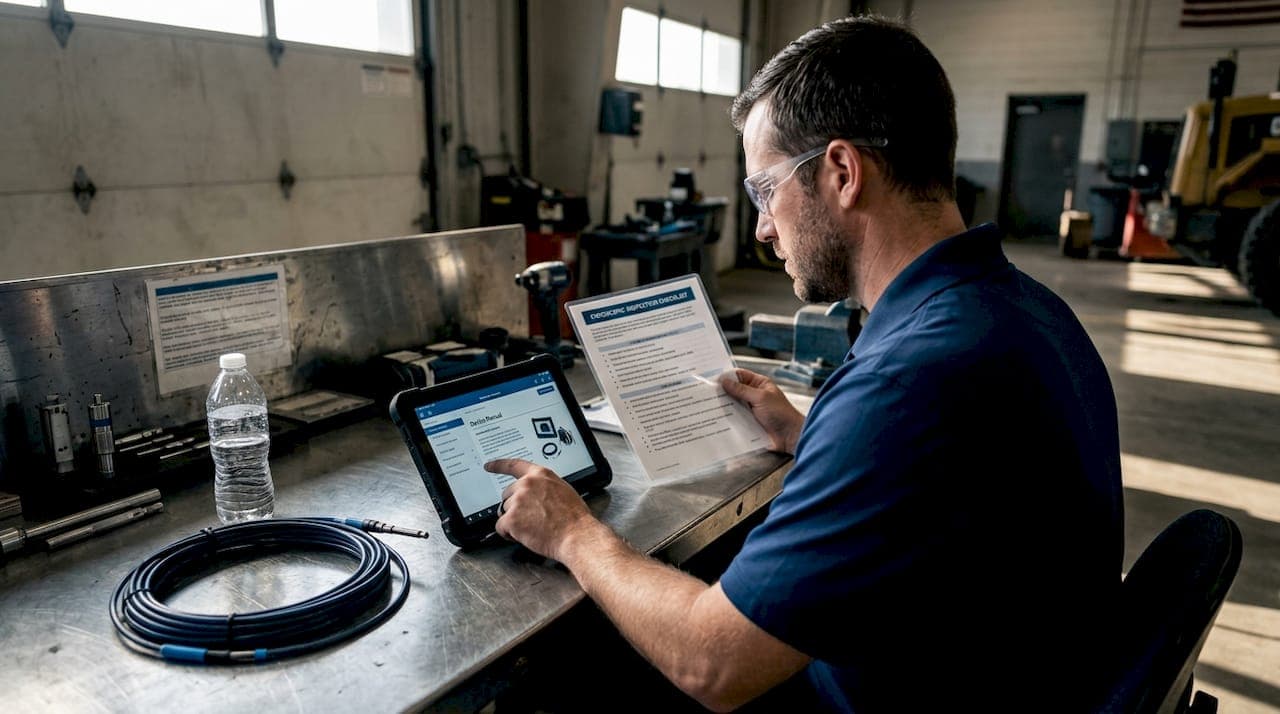
A single missed step in your endoscopic inspection workflow can trigger a compliance failure, damage expensive equipment, or create a safety event that sidelines your entire operation. Industrial inspection teams often work under time pressure, and that's exactly when checklists get shortcut or skipped. The problem isn't that teams don't care about compliance. It's that many checklists in circulation are outdated, too generic, or not tied to the specific instructions for use (IFU) that device manufacturers require. This article breaks down every critical element of a standards-aligned industrial endoscopic inspection checklist so your team can work with confidence and stay audit-ready.
Table of Contents
- Core components of an industrial endoscopic inspection checklist
- IFU-driven steps: Manufacturer's instructions as your foundation
- Verification and documentation: What makes your checklist credible
- Sample industrial endoscopic inspection equipment checklist (with comparison))
- Why most industrial endoscopic checklists fail—and how to fix them
- Get expert tools and support for industrial endoscopic inspection
- Frequently asked questions
Key Takeaways
| Point | Details |
|---|---|
| IFU-based checklists | Following the manufacturer's instructions for use keeps inspections compliant and thorough. |
| Verification is a must | Leak and cleaning verification tests must be tracked after every use for audit-readiness. |
| Documentation matters | Detailed, signed records for every checklist make compliance easy and defensible. |
| Audit for gaps | Regularly review checklists for missing steps to prevent equipment or workflow failures. |
Core components of an industrial endoscopic inspection checklist
Now that the need for reliable checklists is clear, let's break down what effective, standards-based inspection really involves.
An industrial endoscopic inspection checklist is only as strong as its weakest step. Too many teams build checklists from memory or copy a generic template that doesn't reflect their actual devices or workflows. The result is a false sense of compliance that falls apart the moment an auditor or incident report arrives.
A well-built checklist must cover the full inspection lifecycle, from the moment a device enters the workspace to the moment it's stored or returned to service. According to APIC's 2025 guidance, a checklist must include a defined dirty-to-clean workflow, leak testing, manual cleaning per IFU, and cleaning verification steps to prevent safety events. That's not a suggestion. It's the baseline.
Here's what every industrial endoscopic inspection checklist must include:
- Room and workflow setup: Confirm the designated dirty and clean zones are physically separated. Label each area clearly. No cross-contamination pathways.
- Point-of-use treatment: Immediately after use, wipe the insertion tube and flush channels with enzymatic solution. Don't let residue dry on the device.
- Leak testing: Test every flexible endoscope for leaks before any cleaning begins. A failed leak test means the device goes to repair, not cleaning.
- Manual cleaning: Brush all accessible channels using the correct brush size per IFU. Use the validated detergent concentration and water temperature.
- Rinsing: Flush all channels thoroughly with clean water to remove detergent residue. Residue left behind can interfere with disinfection.
- Drying: Force air through all channels and wipe the exterior. Moisture is the primary cause of microbial growth in stored devices.
- Visual inspection: Check the insertion tube, bending section, and connectors for physical damage. Use a magnifying lens if needed.
- Cleaning verification: Run ATP, protein, or carbohydrate tests to confirm cleaning effectiveness before moving to disinfection or storage.
- Documentation: Log every step, result, and personnel signature before the device leaves the reprocessing area.
Research consistently shows that a high percentage of industrial inspection failures trace back to checklist gaps rather than equipment failure. Skipping the drying step alone can render a device non-compliant within hours. Reviewing endoscopy maintenance steps specific to your device type is a practical starting point for building a checklist that actually holds up.
Industrial workflows differ from clinical ones in important ways. Industrial borescopes and videoscopes often operate in environments with oils, metal shavings, or chemical residues that require different cleaning agents and verification methods than those used in medical settings. Your checklist must account for the actual contaminants your devices encounter, not just generic biological residue.

IFU-driven steps: Manufacturer's instructions as your foundation
With the checklist structure in mind, the next key is ensuring every step is grounded in authoritative instructions.
The IFU is the single most important document in your inspection workflow. It's the manufacturer's validated, legally binding set of instructions for how their device must be handled, cleaned, and maintained. Skipping or modifying IFU steps without documented justification is not just a compliance risk. It voids the manufacturer's validation data and puts your team in an indefensible position during an audit.
APIC's guidance is explicit: personnel must follow validated device manufacturer IFUs for each inspection and cleaning step. This applies to every device in your inventory, not just the ones you use most frequently.
ISO 17664 takes this further by specifying that IFU-driven lifecycle checklists must cover reprocessing and inspection activities across the full device lifecycle. This standard is increasingly referenced in industrial NDT and inspection audits, not just healthcare settings.
A typical IFU-driven workflow for an industrial endoscope looks like this:
- Point-of-use action: Wipe the exterior and flush channels immediately after use, using the detergent type and dilution specified in the IFU.
- Transport: Place the device in a sealed, labeled transport container. Never carry a used device uncovered.
- Leak test: Connect the leak tester per IFU instructions. Submerge or pressurize per the validated method. Record pass or fail.
- Manual cleaning: Disassemble per IFU. Brush all channels with the correct brush diameter and length. Soak in enzymatic solution for the IFU-specified time.
- Rinse: Flush all channels with the water quality specified in the IFU. Some devices require purified or deionized water.
- Dry: Force filtered air through channels. Wipe the exterior with a lint-free cloth. Confirm dryness before storage.
- Inspect: Check for damage, channel blockage, or connector wear. Document findings.
- Store: Place in a ventilated, hanging storage cabinet per IFU specifications. Do not coil tightly.
Understanding the importance of device IFUs before purchasing or deploying any endoscopic system is essential, because not all devices have the same reprocessing requirements.
Pro Tip: Laminate a one-page summary of each device's IFU steps and post it at the cleaning station. Digital tablets mounted near the workstation work even better because you can link directly to the full IFU document for quick reference during training or audits.
Verification and documentation: What makes your checklist credible
Grounding your checklist in IFUs is vital. Next, verification and documentation ensure it holds up under scrutiny.
A checklist that doesn't capture results is just a to-do list. Verification testing transforms your checklist into evidence. It's the difference between saying you cleaned a device and proving it. In industrial inspection environments where equipment is used repeatedly in demanding conditions, verification is not optional.
APIC's 2025 checklist standards state that cleaning verification, including protein, carbohydrate, hemoglobin, and ATP testing, must be logged and traceable. Each test result needs to be tied to a specific device, a specific cleaning cycle, and a specific technician.
Here's what a compliant documentation trail must include:
- Device identifier: Serial number or asset tag for every device processed.
- Date and time: Exact timestamp for each step completed.
- Personnel signature: The name or ID of the technician who performed each step.
- Leak test result: Pass or fail, with the method used.
- Cleaning verification result: ATP reading, protein test result, or equivalent, with pass/fail threshold noted.
- Detergent lot number and concentration: Confirms the correct product was used at the correct dilution.
- Water quality record: Especially important for devices requiring purified water.
- Disposition: Whether the device passed and returned to service, or was flagged for repair.
Reviewing inspection checklist best practices for your specific device category will help you identify which verification tests are most applicable to your industrial use case.
Pro Tip: Digital log systems with barcode scanning are far more reliable than paper logs in high-volume industrial settings. They eliminate illegible handwriting, automate timestamps, and make audit retrieval a matter of seconds rather than hours. If your facility isn't ready for a full digital system, a structured spreadsheet with locked fields is a solid interim solution.
Sample industrial endoscopic inspection equipment checklist (with comparison)
Once you know what steps to include and how to document, seeing a real-world checklist solidifies the process and makes compliance actionable.
ISO 17664 and APIC both emphasize that checklists should reflect the full reprocessing and inspection lifecycle as defined by the device manufacturer and relevant standards. The table below shows exactly where compliant and non-compliant checklists diverge in practice.
| Checklist element | Standards-aligned checklist | Non-compliant checklist |
|---|---|---|
| Dirty-to-clean workflow | Physically separated zones, labeled | Same workspace for dirty and clean |
| Leak testing | Performed before every cleaning cycle | Skipped or done monthly |
| IFU reference | Specific to each device, posted at station | Generic template applied to all devices |
| Detergent validation | Lot number, concentration, and contact time logged | Product name only, no concentration noted |
| Cleaning verification | ATP or protein test after every cycle | Visual inspection only |
| Personnel accountability | Signature for each step | Single sign-off at end of process |
| Storage confirmation | Ventilated hanging cabinet, drying confirmed | Coiled in a drawer or case |
| Audit trail | Digital or structured paper log, retrievable by device ID | Handwritten notes, no device-specific tracking |
The gap between these two columns is where most industrial inspection failures occur. A team can follow nine out of ten steps perfectly and still fail an audit because the tenth step, often documentation, wasn't captured correctly.
For teams using portable systems in the field, a device like those shown in portable endoscope checklist examples can help you understand how to adapt your checklist for compact, field-deployed equipment where workspace setup and documentation methods differ from a fixed facility.
Customizing your checklist for specific industrial sectors matters too. Aerospace inspection teams dealing with turbine blade access need to account for metallic debris and high-temperature residue. Pipeline inspection teams need to address water exposure and chemical contamination. Your checklist should name the contaminant type relevant to your application and specify the cleaning agent validated for that residue.
Why most industrial endoscopic checklists fail—and how to fix them
Having seen what a best-in-class checklist looks like, let's step back for some hard-earned lessons in the field.
Here's the uncomfortable truth: most industrial inspection checklists fail not because teams are careless, but because the checklist was built once and never updated. Someone created a template years ago, it got passed around, and now it's the de facto standard despite the fact that the devices, the standards, and the inspection environments have all changed.
Generic checklists are the single biggest compliance liability in industrial endoscopic inspection. A checklist that says "clean the device per manufacturer instructions" without specifying which manufacturer, which device, which detergent, and which contact time is not a checklist. It's a placeholder that gives the illusion of compliance while leaving every critical decision to individual judgment.
"A checklist that doesn't specify the device, the method, and the result is just a reminder list. Real compliance requires evidence, not intention."
The teams that consistently pass audits and avoid equipment failures share a few specific habits. They treat the IFU as a living document and check for updates every time a device is serviced or replaced. They run verification tests on a defined schedule, not just when something seems wrong. They assign specific accountability for each step rather than letting the whole team share responsibility for everything, which in practice means no one owns anything.
Training is the other overlooked gap. Technicians who understand why each step exists, not just what to do, catch errors before they become incidents. When a technician knows that skipping the drying step creates a moisture environment that supports microbial growth, they treat that step differently than when they're just checking a box.
The fix isn't complicated, but it requires commitment. Audit your current checklist against your actual device IFUs. Identify every step that's either missing or not device-specific. Add verification requirements and documentation fields. Assign ownership for each step. Review the checklist every six months or whenever a device changes. Reviewing overlooked checklist gaps in your current workflow is a practical first step toward building a checklist that actually protects your team and your equipment.
Compliance culture matters more than compliance paperwork. A team that understands the stakes will maintain a checklist far more reliably than a team that sees it as administrative overhead.
Get expert tools and support for industrial endoscopic inspection
With strong checklist processes, the next step is empowering your team with the right equipment and expert resources.
Even the most rigorous checklist can't compensate for equipment that wasn't designed for your inspection environment. The right endoscopic system makes checklist compliance easier because it's built with accessible channels, durable materials, and clear IFU documentation that maps directly to your workflow steps.

At 1800endoscope.com, you'll find a full range of inspection-ready endoscopic systems and accessories built for industrial applications. From affordable portable endoscopy systems suited for field inspections to purpose-built borescopes for industrial use in aerospace, pipeline, and manufacturing environments, the catalog is designed for teams that take compliance seriously. The team is available to help you match the right device to your specific inspection requirements, so your checklist and your equipment work together from day one.
Frequently asked questions
What is the most critical step in an industrial endoscopic equipment checklist?
Leak testing before cleaning is essential, as overlooked leaks risk equipment failure and safety events that can take a device permanently out of service.
How do I make my checklist compliant with ISO 17664?
Ensure your checklist includes every IFU-specified step from initial treatment through cleaning, disinfection, inspection, and storage, covering the full device reprocessing lifecycle.
How often should verification tests like ATP or protein be run?
ATP and protein testing should be performed following each cleaning cycle and whenever contamination is suspected, based on your facility's risk assessment and written policy.
Can I use this checklist for veterinary or medical devices?
While core steps apply broadly, always follow the IFU for your specific device type and intended use, since veterinary and medical devices have distinct reprocessing requirements that may differ significantly from industrial applications.