
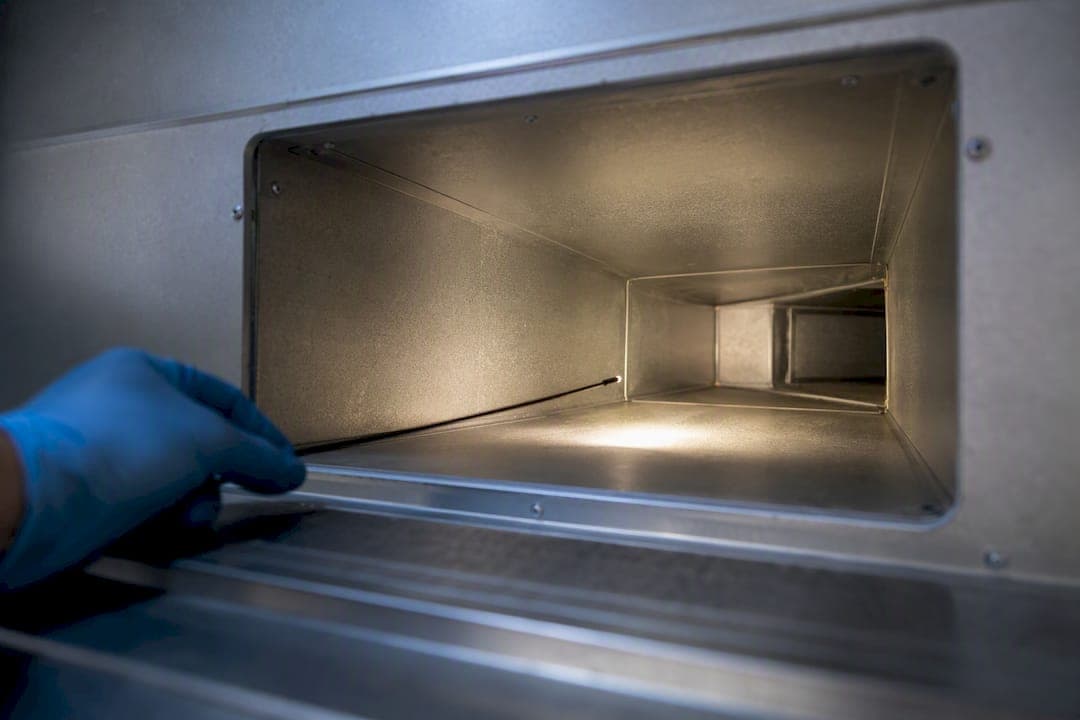
A duct borescope is essential when you need to see mold, disconnections, crushed runs, or debris without cutting into ductwork. When you're choosing one, three things decide whether it earns its keep on the truck: camera head diameter versus the register or boot opening you'll thread it through, insertion reach for the runs you actually service, and lighting or recording quality good enough to show a customer what you found.
TL;DR:
- Camera head diameter should match the smallest duct opening, typically 6 to 10 mm for residential work, to avoid getting stuck at transitions.
- Illumination quality with adjustable LEDs and diffusion is more important than megapixel resolution for dark duct interiors.
- Longer insertion reach decreases steerability, so choose stiffer pushrods for straight runs and flexible cables for bends based on service needs.
- Waterproof heads rated IP67 are more durable for duct moisture and debris, making them preferable over splash-resistant models.
- Prioritize a waterproof, ruggedized scope with cable length and insertability suited to your specific duct types, and consider repair costs before buying.
Table of Contents
- Types of HVAC Duct Borescopes and Inspection Cameras
- Which Camera Specs Actually Matter for Duct Work?
- How to Inspect HVAC Ducts With a Borescope
- Setup and Safety Before You Insert the Probe
- Documenting and Reporting Duct Inspection Findings
- What HVAC Techs Should Look for When Buying a Borescope
- Where This Guidance Comes From
- The Real Trade-Off Nobody Puts on the Spec Sheet
- Find the Right Duct Inspection Camera for Your Truck
- Sources
Types of HVAC Duct Borescopes and Inspection Cameras
The right tool depends on the duct, not the brand name on the case. A residential branch run, a commercial plenum, and a rectangular main trunk all call for different geometry.
Flexible videoscopes use a semi-rigid or fully flexible cable that snakes through elbows and transitions, which makes them the default for longer branch runs where you need to follow the duct around multiple bends. Gooseneck borescopes trade cable length for a short, steerable neck, usually under a few feet, built for tight plenums, cramped mechanical closets, and inspection ports where you just need to peek past an obstruction. The testo 318 is a good example of this category: a 9 mm pivoting head on a 1 meter gooseneck, aimed at flues, chimneys, boilers, and air handling components rather than long trunk runs.
Rigid probes and pole-mounted cameras hold their shape and resist sagging, which matters in large rectangular ducts where a flexible cable just flops against the sheet metal instead of advancing.
Integrated duct-camera packages bundle a monitor, extension rods, and a carrying case into one system. The Roto‑Vision system pairs a 7 inch onboard display with a 45 foot cable, while Apollo's setup runs a tablet interface off a 33 foot insertion cable with rigid extension rods. Both are built for cleaning contractors who need to show customers before and after footage on the spot.
Which Camera Specs Actually Matter for Duct Work?
Spec sheets throw a lot of numbers at you. Not all of them affect what you'll actually see in a 6 inch flex duct at 10 AM on a service call.
- Camera head diameter: match it to your smallest common opening, not your biggest. A 6 to 10 mm head clears most residential registers and boots with margin; anything larger risks getting hung up at transitions.
- Illumination over raw resolution: a duct interior is a dark metal tube, and even a sharp sensor produces a useless image without enough light reaching the far wall. Adjustable, multi-stage LEDs with a diffuser beat a marginally higher megapixel count almost every time.
- Insertion length and pushrod stiffness: longer reach costs you steerability. A stiffer rod pushes farther in a straight run but fights you at tight elbows.
- Waterproofing and IP rating: condensate, standing water in a drain pan, and dust are routine in duct work, so an IP67-rated head, like the rating offered on the testo 318, holds up better than a splash-resistant one.
- Recording method: SD card storage, USB transfer, and Wi‑Fi streaming to a phone or tablet each solve a different documentation problem, and an onboard monitor lets you catch a defect in real time instead of reviewing footage back at the shop.
Camera diameter tends to matter more on residential branch work than insertion length does, since most callouts involve navigating boots and transitions rather than covering long straight runs. Commercial jobs flip that priority toward cable length and rod stiffness.
How to Inspect HVAC Ducts With a Borescope
Good footage starts before the camera ever enters the duct. Pick your entry point first: a register, a return grille, or a duct boot usually gives the straightest shot at the section you're investigating, and taping the edges of a cut opening or removed register protects both the sheet metal and your cable jacket from abrasion.
- Do a reconnaissance pass first, running the camera through the full accessible section at a steady pace just to map what's there.
- Aim for the duct centerline rather than letting the head drift toward a wall, since off-axis shots exaggerate shadows and make sheet metal seams look like damage.
- Apply the 2-foot rule for reference shots: pull back to roughly two feet from anything you want to document clearly, since footage shot too close to reflective metal tends to wash out into glare that reads as a false positive.
- Run a detailed sweep, slowing down at joints, takeoffs, and anywhere airflow seems restricted.
- Capture targeted close-ups of the actual defect once you find one.
- Finish with a documentation pass, recording clean reference shots for the report.
Lower-angle lighting and a diffuser cut down on the hot, blown-out glare that galvanized sheet metal throws back at a straight-on LED, a problem field technicians on HVAC forums run into constantly when diagnosing airflow complaints; for more on how airflow and duct issues relate, see this Residential Roof Ventilation Guide for Homeowners.
Pro Tip: Keep the camera moving at a walking pace during the reconnaissance pass. Stopping too often to stare at every shadow burns time and usually just means backtracking once you spot the real defect farther down the run.
Setup and Safety Before You Insert the Probe
Duct interiors carry fiberglass insulation particles, settled dust, and occasionally mold colonies, so treat every unfamiliar duct as a respiratory hazard until you know otherwise.
- Wear a properly fitted respirator, nitrile gloves, and eye protection any time mold growth is suspected or the duct hasn't been inspected recently.
- Isolate power to the air handler before working near a blower assembly, and never insert a probe near a moving fan blade.
- Wipe down and disinfect the probe head between jobs to avoid carrying mold spores or debris from one customer's system into another's, following a protocol similar to the borescope safety procedures used across industrial and veterinary scope work.
- Carry spare batteries, a protective case for the monitor, and a way to keep condensate off the screen in humid crawlspaces or attics.
Documenting and Reporting Duct Inspection Findings
A recording that shows nothing but shaky footage of a dark tube doesn't help anyone, including you at billing time. Capture a consistent shot sequence every time: an entry reference shot, context around the problem, a tight close-up of the defect, and an exit or reference shot to bookend the clip.
- Narrate short clips as you shoot, calling out location and what you're seeing instead of relying on memory later.
- Label files by date, address, and duct section so nothing gets mixed up across a busy week.
- Back up footage to an SD card and a cloud folder if your system supports it, since a corrupted card with the only copy of a mold-in-the-plenum shot is a bad day.
- For customer-facing reports, one short clip plus three captioned stills usually communicates the finding better than a raw ten-minute video, an approach that lines up with why HD recording quality matters so much for inspection credibility.
What HVAC Techs Should Look for When Buying a Borescope
Buy for your actual job mix, not the spec sheet that impresses at a trade show. If most of your calls are residential branch runs and register inspections, a compact 6 to 8 mm head with a modest reach beats a longer, stiffer probe built for commercial trunk work.
- Prioritize a waterproof head and a ruggedized cable jacket over an extra few hundred lines of resolution.
- Stock extension rods, a cleaning kit, spare batteries, and a hard case as baseline accessories, not upgrades.
- Rent specialized gear for jobs you take on rarely, like deep commercial plenum runs, rather than buying a tool that sits in a drawer most of the year.
- Ask any vendor about repair turnaround time and replacement head pricing before you buy, since a scope that's down for three weeks during peak season costs more than the unit itself. Independent repair and maintenance services exist specifically because borescope heads and cables wear out with regular field use.
- Confirm software and file-format compatibility if you're routing footage into a reporting platform or CRM.
Pro Tip: Ask about replacement head cost before you buy the whole system. A camera head that costs half the price of the original unit to replace tells you the manufacturer expects the tool to survive years of field abuse.
Where This Guidance Comes From
1800endoscope has spent years supplying flexible and rigid scopes across veterinary and industrial inspection work, where camera diameter, insertion control, and image quality carry the same stakes they do in ductwork: get it wrong and you either damage the equipment or miss the defect. That cross-industry view of how small-diameter optics perform under field conditions shapes the specs emphasized throughout this guide.
For related field technique, see how flexible borescope handling translates across inspection disciplines, and how inspection cameras support diagnostics more broadly.
The Real Trade-Off Nobody Puts on the Spec Sheet
Most buying advice for duct borescopes fixates on resolution, as if a sharper sensor solves problems that are actually about access and light. It doesn't. A 4K camera pointed at a dark, reflective metal tube from the wrong angle still produces useless footage. The technicians who get the most out of these tools treat lighting control and camera diameter as the real decision points, and treat resolution as a tiebreaker.
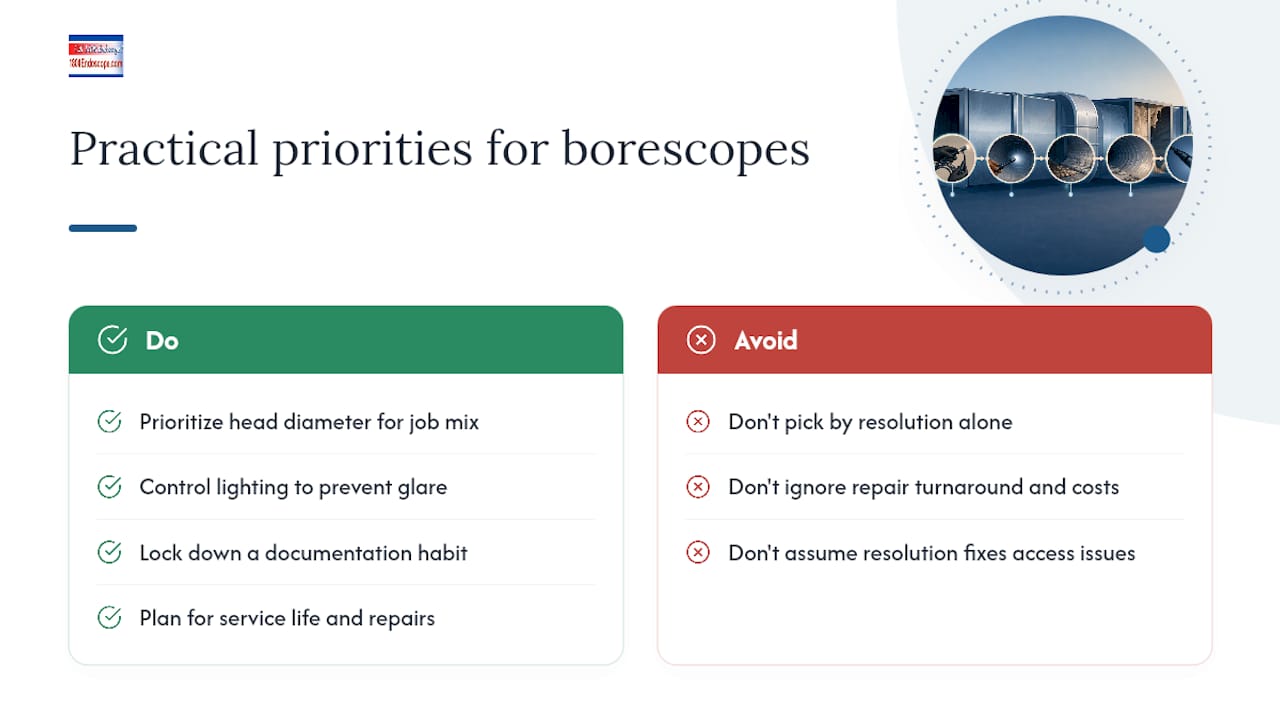
The other blind spot in conventional advice is service life. Guides talk about features at purchase and go quiet on what happens eighteen months in, when a cable jacket cracks or a head takes a hit against sheet metal. Repair turnaround and replacement part pricing determine whether a tool actually pays for itself over years of daily use, not just its specs on day one.
If you're prioritizing anything first, prioritize matching head diameter to your real job mix and locking down a documentation habit that produces consistent, glare-free reference shots. Everything else is a refinement on top of those two decisions.
— Endoscope
Find the Right Duct Inspection Camera for Your Truck
Some suppliers build their catalogs around the same problem HVAC techs face daily: you need a scope that fits the opening, survives condensate and dust, and produces footage clean enough to close the sale on a repair. Unlike a general-purpose inspection camera repackaged for HVAC marketing, some lineups come out of veterinary and industrial endoscopy work where small-diameter optics and durability under field abuse are the whole point, not an afterthought.

The 6 mm x 150 portable videoscope system fits the compact-head, direct-monitor setup most residential duct work calls for, with SD card recording built in for the documentation habit this guide walks through. Technicians handling a wider mix of duct sizes and mechanical inspections can browse the full borescope and videoscope catalog to compare diameters and reach against their actual job list before deciding what belongs on the truck.