
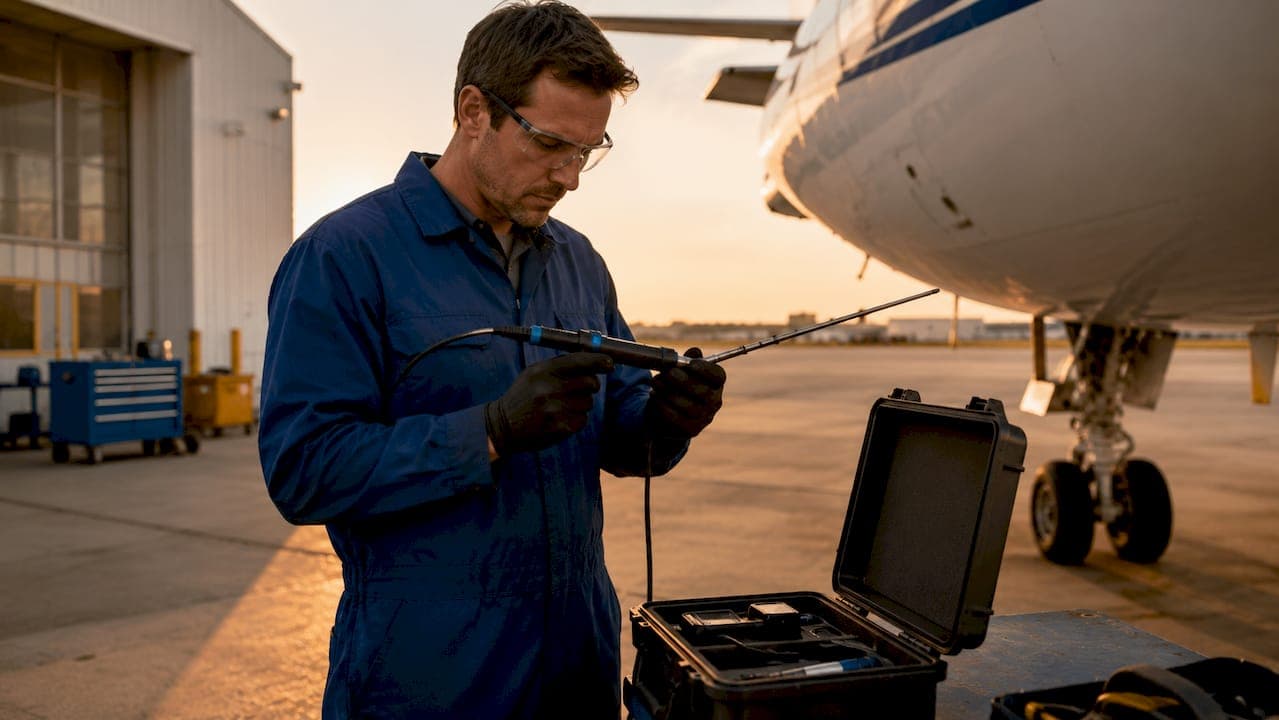
Borescope safety procedures are defined as the structured protocols that protect technicians and equipment during remote visual inspection of enclosed industrial assets. Every inspection carries real risk: energized equipment, extreme heat, fragile optics, and contaminated environments can all cause injury or destroy a probe worth thousands of dollars. Following established guidelines from regulatory bodies like the FAA and EASA, combined with lockout/tagout compliance and a disciplined borescope maintenance workflow, separates a reliable inspection program from a costly liability. This guide gives you the full picture, from pre-inspection checks through documentation.
What are the essential borescope safety procedures before an inspection?
Pre-inspection preparation is the single most important phase of any borescope inspection. Skipping even one step can damage your probe, injure you, or invalidate your findings.
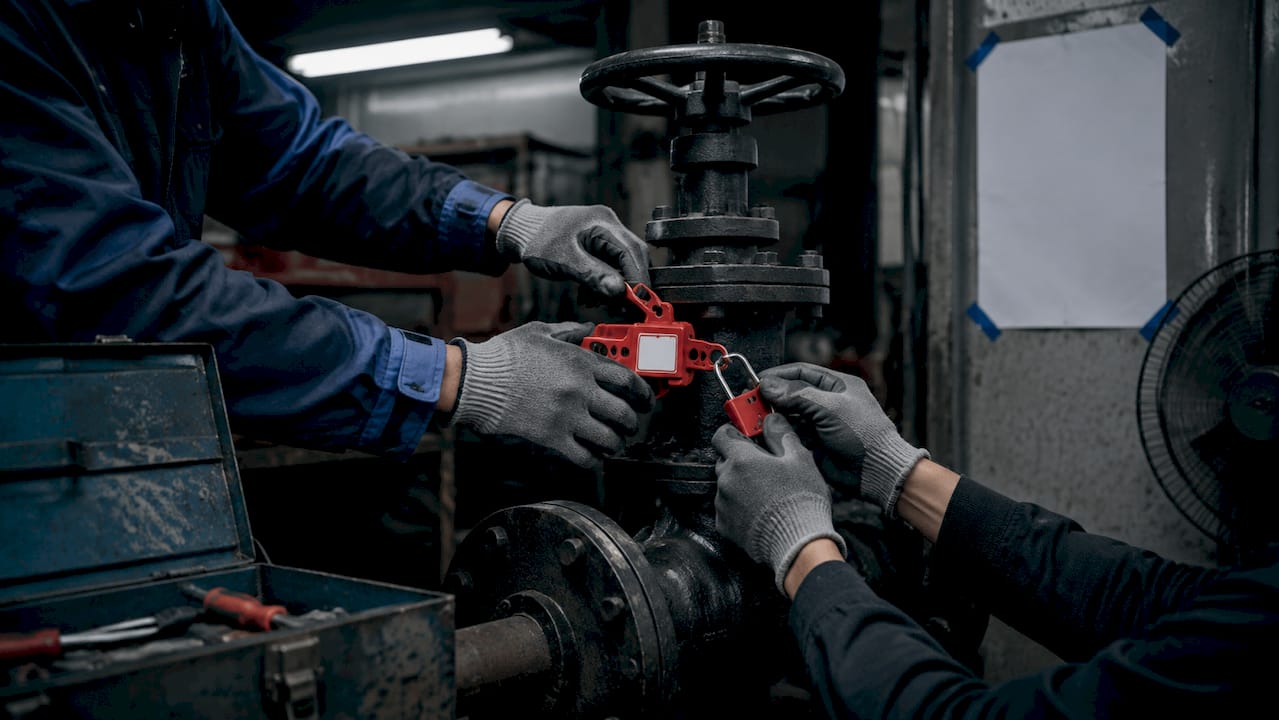
De-energize and lock out the asset first. Lockout/tagout (LOTO) is a non-negotiable requirement under OSHA 29 CFR 1910.147. No borescope should enter any machine, engine, or vessel that has not been fully de-energized and physically locked out. Confirm with a second technician before insertion.
Wait for the asset to cool. Aircraft engines require a minimum 30-minute cool-down period before borescope entry, with internal temperatures confirmed below 80°C. That threshold protects the insertion tube, lens adhesives, and internal wiring from heat damage that is often invisible until the probe fails mid-inspection.
Inspect your borescope before every use. Run through this checklist:
- Check the insertion tube for kinks, cracks, or surface abrasions
- Test articulation through its full range of motion and confirm smooth, resistance-free movement
- Verify LED output and confirm the lens is clean and free of scratches
- Check all connectors and ports for debris or corrosion
- Confirm the battery or power supply is fully charged
Wear the right PPE. Eye protection is mandatory during borescope inspections to guard against fluid spray or debris ejection from access ports. Chemical-resistant gloves are required when working near lubricants, hydraulic fluid, or cleaning solvents.
Prepare the access port. Remove any debris or residue from the port opening before insertion. A contaminated port can drag abrasive particles along the insertion tube, scoring the outer sheath and accelerating wear.
Pro Tip: Always photograph the access port and surrounding area before insertion. That image becomes part of your documentation record and confirms the asset condition at the start of the inspection.
How should you handle and operate the borescope safely during inspection?
Safe operation during the inspection itself requires patience and deliberate technique. Rushing is the leading cause of both missed defects and probe damage.
-
Insert the probe slowly and without force. Guide the insertion tube with your fingers, never push against resistance. If the probe stops moving freely, withdraw slightly and reposition. Forcing the tube risks kinking the internal wiring bundle.
-
Respect the 60-degree bend limit. Never bend the insertion probe beyond 60 degrees at any single point. Exceeding that angle stresses the articulation wires and can cause permanent deformation or snap a wire entirely.
-
Use articulation controls deliberately. Move the tip in small, controlled increments. Never yank or snap the joystick to a new position. Abrupt movements transfer shock loads to the internal wire sheaths, which is the leading cause of premature probe failure.
-
Adjust lighting before you move the probe. Set LED intensity to reduce glare on reflective surfaces like turbine blades or polished cylinder walls. Glare washes out surface detail and causes technicians to miss fine cracks or corrosion pitting.
-
Pace yourself through the inspection. A thorough four-cylinder engine inspection takes a minimum of 20–30 minutes. Technicians who rush through that window consistently miss early-stage wear indicators that become expensive failures later.
-
Avoid contaminated surfaces. Do not allow the insertion tube to contact oil pools, coolant, or chemical residue inside the asset. Contaminants wick up the sheath and reach the lens assembly, degrading image quality and accelerating internal corrosion.
Pro Tip: Record video continuously during the inspection rather than relying on still captures alone. Continuous footage gives you a reviewable record of the full scan path, which is critical when a defect is found after the fact.
For a deeper look at technique, the guide on flexible borescope diagnostics covers camera angle optimization and insertion path planning in detail.
What is the recommended maintenance workflow for borescope equipment?
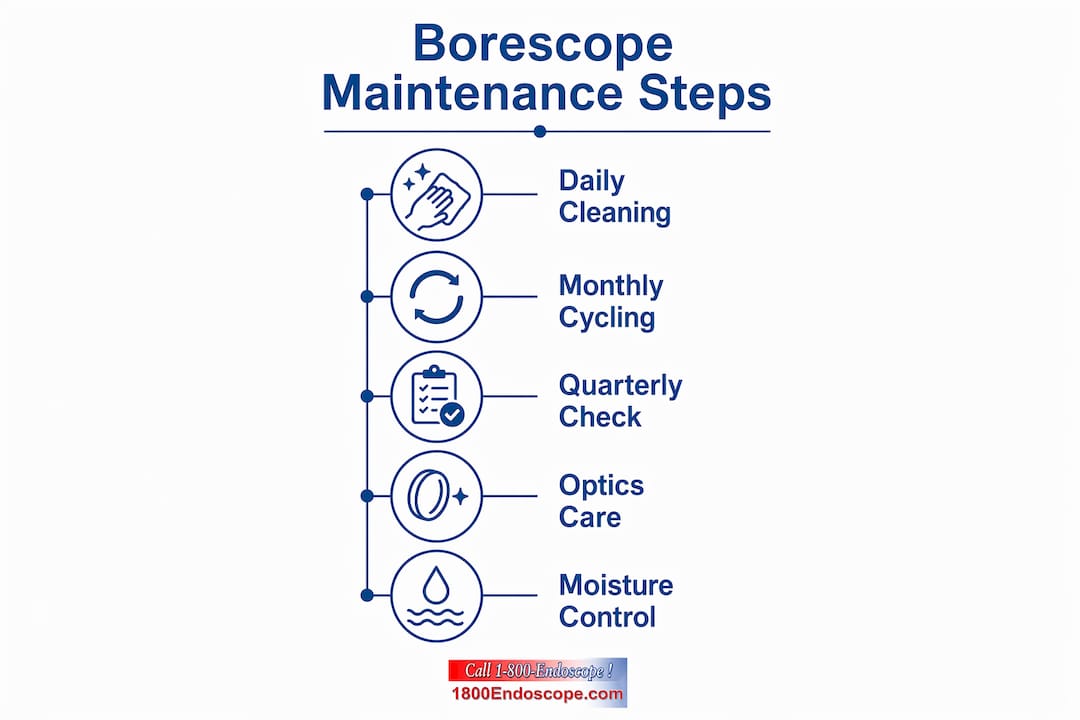
A consistent borescope maintenance workflow is what separates a probe that lasts years from one that fails after a few hundred hours. The schedule below reflects industry-standard care intervals.
Daily cleaning after every use. Wipe the entire insertion tube with a lint-free cloth dampened with 70% isopropyl alcohol. This removes oil, debris, and biological residue before they bond to the sheath surface. Never submerge the probe body or connector end.
Monthly articulation cycling. Cycle the articulation controls through their full range of motion at least once per month, even when the probe has not been used. This prevents the internal wire sheaths from stiffening in a fixed position, which is the primary cause of stiff or unresponsive tip movement.
Quarterly full health check. After every 50 hours of use, or at minimum every three months, perform a complete inspection of the probe. Check for sheath wear, test articulation range, inspect the lens under magnification, and verify all electronic connections.
Optics cleaning requires specific materials. Never use paper towels, compressed air with propellant, or acetone on the lens. Use only optical-grade lens tissue with 99% isopropyl alcohol, applied with a single light stroke. Abrasive materials scratch lens coatings; acetone dissolves the adhesives that hold lens elements in place.
Moisture control before storage. Trapped moisture causes fungal growth on internal optics, which permanently degrades image quality. Always air-dry the probe fully and allow it to equilibrate to room temperature before sealing it in its case.
| Maintenance task | Frequency | Key requirement |
|---|---|---|
| Insertion tube wipe-down | After every use | 70% isopropyl alcohol, lint-free cloth |
| Articulation cycling | Monthly | Full range of motion, no forced movement |
| Full probe health check | Quarterly or 50 hours | Sheath, lens, connectors, articulation |
| Optics cleaning | As needed | Optical-grade tissue, 99% isopropyl alcohol only |
| Moisture check and dry storage | Before every storage | Air-dry, room temperature equilibration |
Pro Tip: Log every maintenance event in a simple spreadsheet with the date, probe serial number, and findings. That log becomes your proof of care if a warranty claim or audit arises.
The full technician-level detail on cleaning intervals and storage is covered in the videoscope maintenance guide at 1800endoscope's blog.
How do you document and report inspection findings correctly?
Systematic documentation is what converts a borescope inspection into a defensible, audit-ready record. Ad hoc notes and unlabeled screenshots do not meet FAA or EASA standards and create traceability gaps that can void maintenance sign-offs.
Every image and video file must be labeled with the date, asset ID, inspection location, and defect type at the time of capture. Renaming files after the fact introduces errors and breaks the chain of custody. Use a naming convention your entire team agrees on before the inspection begins.
Defect logging requires more than a description. Record the defect classification, its measured dimensions where possible, and a direct reference to the applicable OEM limit or acceptance criterion. That comparison is what allows a maintenance decision to be made and defended. FAA and EASA audit-ready reports require tabular format with these fields populated for every finding.
The borescope video export workflow matters too. Export video files in a format your reporting software accepts natively, and store them alongside the written report in a shared, backed-up location. A video that exists only on the borescope's SD card is one dropped device away from being lost.
Disciplined, systematic inspection workflows with pre-identified access ports and defined acceptance criteria reduce documentation errors and increase the usability of your data across maintenance cycles. Treat every report as if a regulator will review it the next morning.
Safety considerations that apply to inspection technologies in broader infrastructure contexts, including trenchless and pipeline work, are covered in the 2026 trenchless safety guide, which offers useful parallels for industrial inspection teams.
Key Takeaways
Sound borescope safety procedures require pre-inspection lockout/tagout, controlled handling technique, a scheduled maintenance workflow, and audit-ready documentation to protect both the technician and the equipment.
| Point | Details |
|---|---|
| De-energize before entry | Apply lockout/tagout and confirm temperatures below 80°C before inserting any probe. |
| Respect the 60-degree bend limit | Forcing the probe beyond 60 degrees damages articulation wires and causes permanent failure. |
| Clean and cycle monthly | Wipe the tube after every use and cycle articulation controls monthly to prevent stiffness. |
| Use correct optics materials | Clean lenses only with optical-grade tissue and 99% isopropyl alcohol to preserve coatings. |
| Document to audit standard | Label every image and video with date, asset ID, and defect classification at time of capture. |
The discipline gap most inspection programs never close
The technical steps in any borescope safety guide are straightforward. What separates good inspection programs from poor ones is not knowledge. It is discipline.
I have seen technicians with years of experience skip the cool-down wait because the job was running late. I have seen probes inserted into still-warm engines because the schedule demanded it, and I have seen those probes come out with heat-damaged sheaths that required immediate replacement. The cost of that shortcut was always higher than the time saved.
The same pattern shows up in documentation. Technicians who take excellent inspections and then write "checked, OK" in the log have done half a job. The inspection data exists in their memory and nowhere else. When that asset fails six months later, there is no record to review, no baseline to compare, and no defense against a compliance finding.
The systematic inspection mindset treats every step as non-negotiable, not because a regulator might check, but because the alternative is unreliable data. Plan your access ports before the job. Schedule the downtime so you are not rushing. Give a four-cylinder engine the full 20–30 minutes it needs. Write the report as if someone else will act on it tomorrow.
The technicians who do this consistently find defects earlier, replace equipment less often, and build the kind of inspection record that makes audits routine rather than stressful.
— Endoscope
Industrial borescopes built for safe, reliable field work
1800endoscope stocks a full range of industrial NDT borescopes and accessories designed for the kind of demanding inspection work this guide covers.

Whether you need a portable system with direct monitor output and SD card recording for field documentation, or a full catalog of insertion tubes, cleaning accessories, and replacement parts, 1800endoscope has the equipment to support a complete borescope maintenance process. Every product in the industrial borescope catalog is selected for durability, optical clarity, and practical field use. For technicians who need a compact, affordable system with proven portability, the 6mm airway inspection system is a strong starting point. Contact 1800endoscope directly for equipment guidance matched to your specific inspection application.
FAQ
What does lockout/tagout mean for borescope inspections?
Lockout/tagout (LOTO) requires physically de-energizing and locking the asset before any borescope entry. This prevents accidental startup or pressure release while the probe is inside the equipment.
How long should you wait before inspecting a hot engine?
Aircraft engines require a minimum 30-minute cool-down period, with internal temperatures confirmed below 80°C before probe insertion. Inserting a borescope into a hotter environment risks heat damage to the insertion tube and lens assembly.
How often should you clean a borescope insertion tube?
Wipe the insertion tube with 70% isopropyl alcohol after every single use. Perform a full probe health check quarterly or after every 50 hours of operation.
What is the maximum safe bend angle for a borescope probe?
The maximum safe bend angle is 60 degrees at any single point along the insertion tube. Exceeding this limit stresses the internal articulation wires and can cause permanent damage or wire failure.
Why does documentation need to follow FAA or EASA formats?
FAA and EASA audit-ready reports require labeled images, tabular defect logs, and references to OEM acceptance limits. Personal notes or unlabeled screenshots do not meet these standards and can invalidate a maintenance sign-off.