
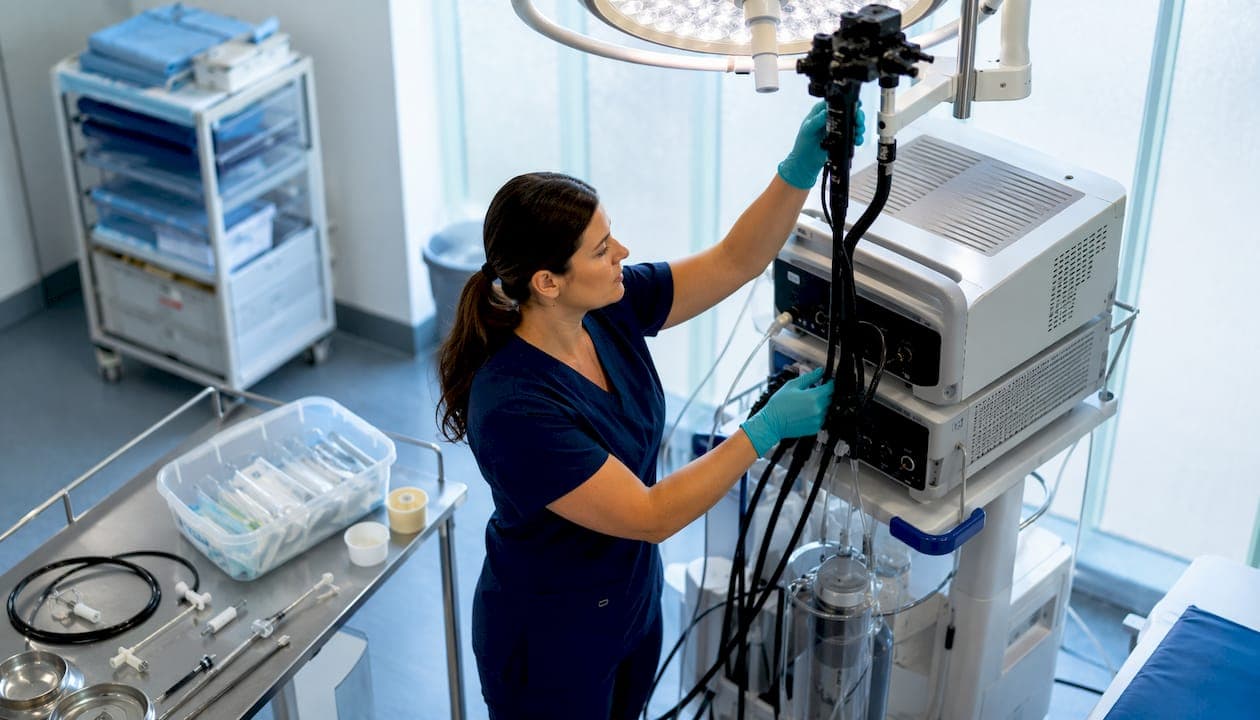
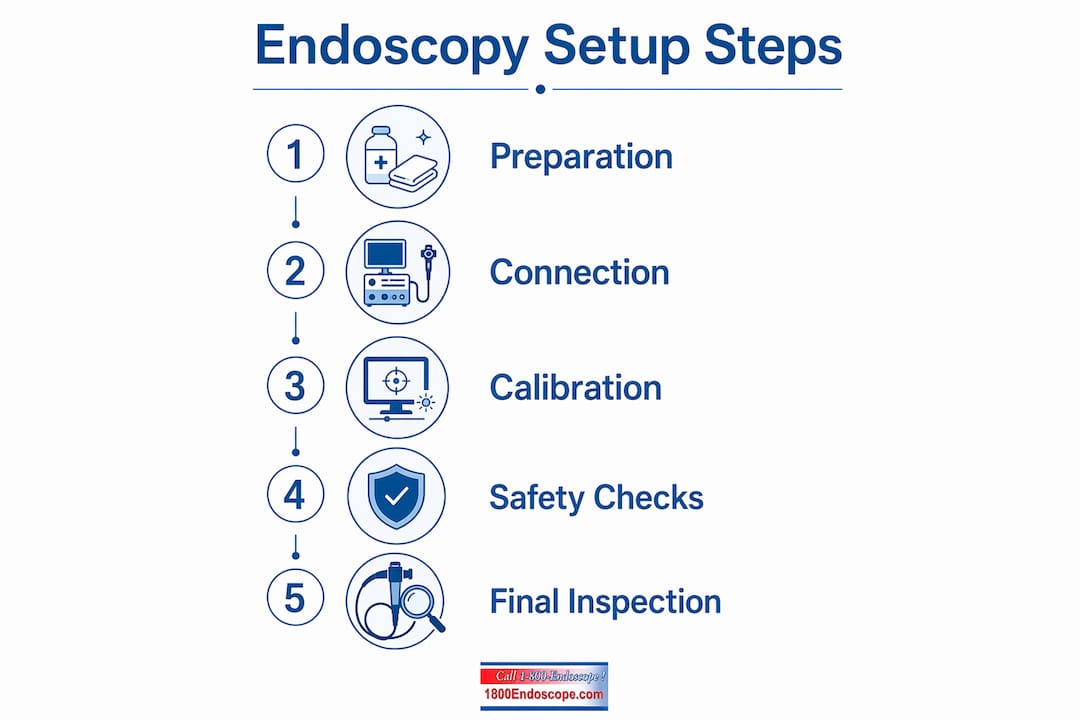
A correct endoscopy setup follows seven core stages: assemble and inspect all components, connect the light source and video processor, attach suction and air/water systems, perform white balance calibration, test all buttons and accessories, complete the pre-procedure safety timeout, and position both equipment and patient for ergonomic efficiency. Skipping any stage creates real risk, from diagnostic errors caused by poor color rendering to mid-procedure suction failure. Whether you work in a veterinary clinic or an industrial inspection environment, the endoscopy equipment setup sequence below reflects current US best practices for 2025.
Your setup checklist at a glance:
- Endoscope, light source, video processor, and medical-grade monitor
- Suction unit and air/water feed system with filled water bottle
- Biopsy forceps, valves, and accessory instruments
- White balance tube for calibration confirmation
- Patient/subject positioning aids and ergonomic supports
- Documentation logs for maintenance and infection control
Step by step endoscopy setup: the technical workflow
The technical workflow for assembling an endoscopy system has a fixed order. Deviating from it is where most setup errors originate.
-
Inspect and connect the light source, video processor, and monitor. Check cables for visible damage before plugging anything in. For systems where the video processor and light source are separate units, connect the processor first, then the light source on top. Confirm the monitor cable is seated firmly.
-
Attach suction and air/water feed. Connect the suction tube to the suction port on the umbilical connector. Fill the water bottle to the correct level, clip it to the processor, and attach it to the water port. Turn the valve on. You should hear a faint hiss as air escapes from the air/water port on the control section. No hiss means the connection is incomplete.
-
Power on in the correct sequence. Switch on the video processor first, then the light source. Some systems require a separate master switch. Confirm all indicator lights are green before proceeding.
-
Perform white balance. Place the scope tip inside the white balance tube and press the white balance button. Wait for the system to confirm completion on screen. Skipping white balance risks inaccurate color rendering that can compromise diagnostic accuracy.
-
Test buttons and valves. Press the suction, air, and water buttons individually. Direct the tip into a cup and confirm water output. Submerge the tip and cover the lower valve without depressing it to verify air/CO2 output. Each function should respond immediately.
-
Verify accessories. Confirm biopsy forceps open and close cleanly. Check that the biopsy cap is secured tightly. Unlock both control dials. Unsecured biopsy caps and locked dials are among the most common causes of mid-procedure air and suction loss.
-
Check imaging modes. Confirm the NBI setting is off at start. It can be activated during the procedure for polyp or tissue assessment. Verify the video display is recording if documentation is required.
Pro Tip: Before every session, run a quick manual mechanical check: unlock both dials, confirm the biopsy cap is tight, and verify the air pump button is set to your preferred pressure level. These three checks take under 30 seconds and prevent the majority of avoidable setup failures.
Safety protocols and documentation before starting
A formal pre-procedure timeout is mandatory, not optional. The AHRQ endoscopy safety checklist requires confirming patient identity, the procedure to be performed, known allergies, and consent before anyone enters the procedure room.
- Verify patient name and date of birth against the consent form
- Confirm the procedure site and planned scope type match the order
- Review allergy status and current medications, especially blood thinners
- Confirm all equipment is powered, functional, and within maintenance schedule
- Check the terminal cleaning log from the previous session
- Confirm a backup suction source is available; main processor suction can fail without warning during high-volume or off-hours procedures
- Ask the team: "Does anyone have concerns before we begin?"
Standardized safety checklists prevent avoidable equipment failures and procedural delays. Professionals who skip checklist steps are far more likely to encounter surprise equipment failures mid-procedure than those who follow a structured protocol.
Written infection control policies and equipment maintenance logs must be current and accessible. A written policy for equipment checks and a compliance log are standard requirements for any accredited endoscopy facility.
Patient preparation and communication best practices
Clear preparation instructions and honest communication before the procedure reduce anxiety and improve cooperation. The patient communication phase begins well before the scope is in hand.
- Fasting: No solid food for 8 hours before the procedure; no liquids for 2–4 hours prior
- Medications: Stop blood thinners as directed; adjust diabetes medications the day before; flag GLP-1 agonists like semaglutide, which slow gastric emptying and raise aspiration risk
- Procedure duration: Upper endoscopy typically runs 15–30 minutes; combined gastroscopy and colonoscopy can take up to 60 minutes
- Sensations: Explain that air insufflation causes pressure or bloating, not pain; patients should know this is normal and temporary
- Post-procedure: Arrange a responsible adult escort if sedation is used; the patient cannot drive or operate machinery afterward
- Veterinary context: For animal patients, communicate fasting requirements and post-procedure monitoring expectations clearly to the owner
Pro Tip: Tell patients exactly what they will feel before you start, not after. Describing the pressure from air insufflation in advance reduces mid-procedure panic and the reflex movements that complicate scope navigation.
How equipment and patient positioning affects your workflow
Ergonomic positioning is not a comfort preference. It directly affects how long you can work without strain and how cleanly you can execute scope maneuvers.
- Place the monitor directly in front of the endoscopist at neutral eye level, no tilting required
- Position the scope tower directly behind the operator to keep the umbilical cord clear and reduce reach strain
- Set the procedure table height so the endoscopist stands in a neutral posture, not hunched
- Keep the foot pedal, suction control, and accessory instruments within arm's reach without stepping
- For colonoscopy, position the patient in left lateral decubitus with knees toward the chest
- For upper endoscopy, the patient lies on their left side with knees slightly bent
- Place a cloth on the stretcher within easy reach for scope tip cleaning during the procedure
For small animal endoscopy, the same neutral-posture principles apply, though table height and patient restraint methods differ by species and size.
Cleaning and sterilization before setup
No setup is valid on a scope that has not been properly reprocessed. Sterilization in veterinary endoscopy and medical endoscopy follows the same core sequence: pre-cleaning at the point of use, manual cleaning, high-level disinfection or sterilization, and proper drying before storage.
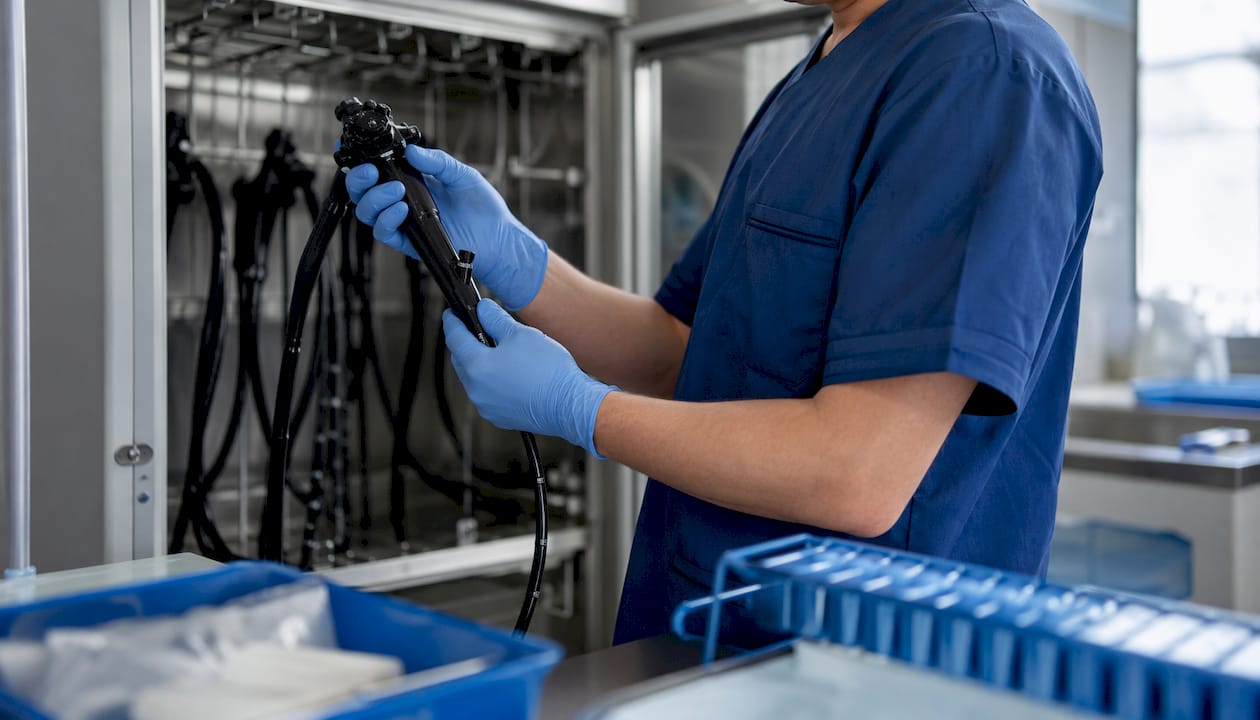
Remove the scope from the UV or drying cabinet only when you are ready to set up. Wear gloves during handling. Confirm the soaking cap has been removed from the connector end before attaching to the processor. Any scope that has not completed the full reprocessing cycle must not be used. Written terminal cleaning plans, including the chemical agents used and the time of completion, are required documentation for accredited facilities.
Troubleshooting common setup issues
Most setup problems have a short list of causes. When air is not flowing, check whether the air pump button is set to low, medium, or high on the light source. A damaged air/water valve is the next suspect; replace it. When water is not delivering, confirm the bottle is filled to at least two-thirds capacity and the valve is open.
Suction failure usually traces to a missing or damaged biopsy valve, a full suction bottle, or the suction pump being off. For image problems, a hazy picture almost always means a dirty objective lens. Clean or flush it. Strange color on screen means white balance was not completed correctly; redo it. If the scope is not displaying at all, check that it is fully seated in the processor and that the monitor cable is secure. For ongoing videoscope issues, a dedicated troubleshooting resource covers veterinary-specific error patterns in detail.
Storage and maintenance after the procedure
After reprocessing, store flexible endoscopes hanging vertically in ventilated cabinets, following manufacturer-recommended shelf life guidelines between reprocessing cycles. Never coil a scope tightly or store it in a way that bends the insertion tube. Log the date and time of reprocessing in the equipment maintenance record.
Inspect the umbilical cord junction with the control section after every session. This is the most common site for cable breaks. Check the objective lens for scratches or fogging. Any scope showing physical damage goes out of service until inspected by a qualified technician. Preventive maintenance schedules, not reactive repairs, keep equipment in service longer.
Flexible vs. rigid endoscopes: what changes in your setup
Flexible endoscopes require the full connection sequence described above: processor, light source, suction, air/water, white balance, and button checks. Rigid endoscopes used in veterinary procedures, such as those in the veterinary rigid endoscopy catalog, have a simpler connection path. They attach directly to a fiberoptic light source via a light cable, with no processor or air/water system in most configurations.
For rigid scopes, the primary setup checks are light source connection, lens clarity, and camera attachment if a video system is used. Industrial borescopes follow a similar rigid-scope logic, with the addition of articulation checks for steerable models. The white balance step applies to any video-enabled system regardless of scope type. Flexible scopes demand more setup time but offer greater maneuverability for gastrointestinal and airway examinations.
Key Takeaways
A correct step by step endoscopy setup requires completing every stage in sequence: connection, calibration, safety verification, and positioning before any procedure begins.
| Point | Details |
|---|---|
| White balance is non-skippable | Skipping it causes inaccurate color rendering that can compromise diagnostic accuracy. |
| Fasting windows are fixed | No solids for 8 hours, no liquids for 2–4 hours before the procedure. |
| Timeout before every case | Confirm patient identity, consent, allergies, and equipment readiness as a team. |
| Ergonomic positioning protects the operator | Monitor at neutral eye level and scope tower directly behind the endoscopist reduce strain. |
| Mechanical checks prevent most failures | Unlocked dials, secured biopsy caps, and confirmed air pressure take 30 seconds and prevent the majority of mid-procedure malfunctions. |
Ready to upgrade your endoscopy system?

1800endoscope carries a full range of veterinary and industrial endoscopy systems, from the portable 6mm airway videoscope with direct monitor and SD card recording to rigid veterinary systems and industrial borescopes. Every system is built for professionals who need reliable equipment without the overhead of enterprise pricing. Browse the full catalog at 1800endoscope.com and find the right system for your next procedure.