
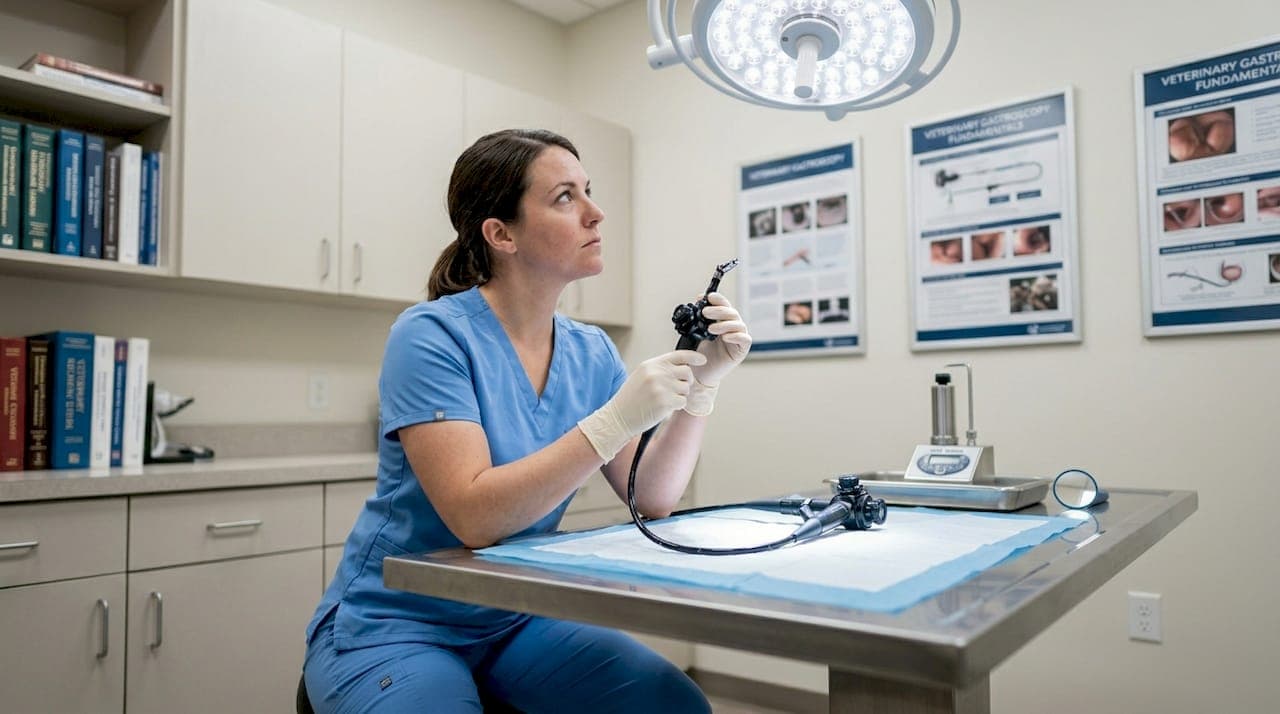
A failed videoscope mid-procedure does not just mean rescheduling. It can mean a delayed diagnosis, a stressed animal, and a client who loses confidence in your practice. This videoscope troubleshooting guide exists because equipment failures in veterinary endoscopy rarely announce themselves in advance. They show up as a dim image during an equine airway exam, a sudden pressure drop during leak testing, or a fuzzy feed on what should be a clean GI scope. The good news: most of these failures follow predictable patterns, and with the right process, you can identify and resolve the majority of them without sending the scope out for repair.
Table of Contents
- Preparing to troubleshoot your veterinary videoscope
- Step-by-step videoscope troubleshooting process
- Common videoscope device problems and how to fix them
- Verifying repairs and ensuring ongoing videoscope reliability
- Going beyond basics: expert insights to enhance veterinary videoscope troubleshooting
- Explore professional veterinary videoscope solutions and support
- Frequently asked questions
Key Takeaways
| Point | Details |
|---|---|
| Critical preparation | Gather proper tools and understand videoscope anatomy to prevent damage during troubleshooting. |
| Angulate tip during leak tests | Move the distal tip in all directions to detect hidden leaks in the rubber sheath. |
| Identify early wear signs | Look for discoloration and seal damage before leaks develop. |
| Systematic testing approach | Follow step-by-step checks to diagnose leaks, image, and probe issues efficiently. |
| Routine maintenance importance | Regular inspections and logs improve videoscope reliability and veterinary diagnostics. |
Preparing to troubleshoot your veterinary videoscope
Before touching a scope for troubleshooting, you need to understand what you are actually working with. Veterinary videoscopes are precision instruments, and many of the components most likely to fail are also the most vulnerable to mishandling during diagnostics. Rushing into a leak test or disassembly without preparation causes secondary damage that turns a minor repair into a major one.
Start with the anatomy. The parts most likely to cause problems in veterinary endoscope systems are the insertion tube, the distal tip, the bending section, and the light guide bundle. The distal tip bending rubber sheath is fragile and very prone to cuts, nicks, and leaks, requiring careful handling at every step. In a veterinary context, animal movement and sharp claws or teeth add failure risks that medical endoscopes rarely face.
Before you begin any troubleshooting session, gather the following:
- Leak tester (manual or automatic, compatible with your scope's port)
- Basin of clean water, ideally with enzymatic detergent for post-test cleaning
- Bright penlight or magnification loupe for visual inspection
- Protective gloves and eyewear (assume all scopes carry biohazard contamination)
- Scope-specific user manual (critical for angulation degree ranges and pressure specs)
- Clean, padded work surface to prevent additional damage
| Tool | Purpose | Critical for |
|---|---|---|
| Leak tester | Detects internal moisture ingress | All scope models |
| Penlight or loupe | Reveals surface damage, scratches, adhesive wear | Bending section inspection |
| Enzymatic cleaner | Safe pre-cleaning before visual inspection | All post-procedure scopes |
| Scope user manual | Confirms pressure thresholds and angulation limits | Accurate leak test interpretation |
| Protective gloves | Prevents contamination and skin exposure | Every troubleshooting session |
Pro Tip: Never begin troubleshooting on a scope that has not been pre-cleaned. Animal secretions can obscure surface damage and create false readings during leak testing. A quick enzymatic rinse takes two minutes and prevents you from missing visible adhesive wear or micro-tears.
With the right preparation, you can begin diagnosing common problems confidently.
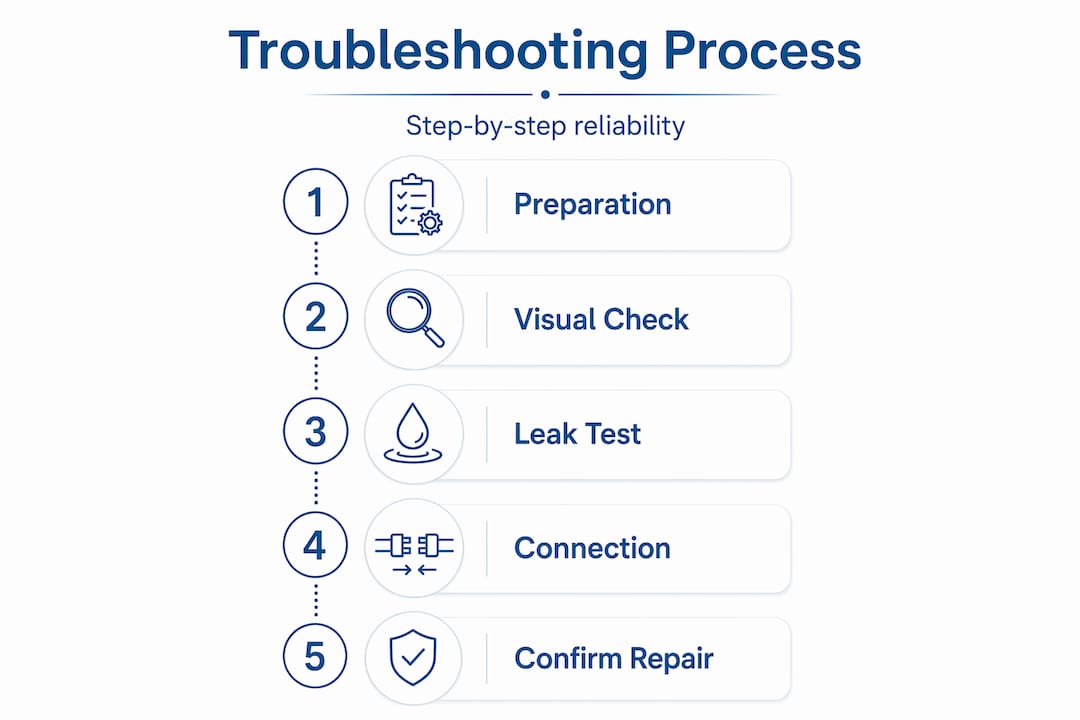
Step-by-step videoscope troubleshooting process
This is where most technicians skip steps and pay for it later. A structured, sequential approach catches problems that random spot-checks miss entirely.
-
Attach the leak tester before immersion. Connect your leak tester to the scope's air/water port and pressurize to the manufacturer's specified level (typically 180-200 mmHg for most flexible videoscopes). Never submerge first and attach second.
-
Immerse the scope in the water basin. Submerge the entire insertion tube and distal tip. Watch for any immediate bubble stream before you touch the angulation controls. Even a slow trickle before angulation indicates a significant breach.
-
Angulate the distal tip in all four directions. This step is non-negotiable. Angulating in all four directions during leak testing exposes pinhole leaks that a straight tip completely conceals. Move to full up, full down, full left, and full right. Hold each position for at least 10 to 15 seconds while watching for bubbles along the bending section.
-
Check the umbilical and connector section. Submerge or manually wet the light guide connector and umbilical cord section. These areas are often overlooked but can leak at adhesive joints, especially on older scopes.
-
Verify image quality with a test target. After leak testing, connect the scope to its processor and light source. Hold the distal tip approximately 5 to 10 cm from a printed test card or ruler. Assess brightness, sharpness, and color accuracy.
-
Check the light source and cable connection. If the image is dim, rule out the light source before attributing the problem to fiber optic damage. Swap in a known-working light cable first. Dim images with a healthy light source point to fiber bundle degradation.
-
Inspect angulation control function. Manually turn the up/down and left/right angulation dials through their full range. Resistance, grinding, or limited travel indicates wire or pulley damage inside the scope body.
| Symptom | Most likely cause | First action |
|---|---|---|
| Bubble stream during leak test | Rubber sheath tear or adhesive failure | Stop use, send for repair |
| Dim or dark image | Fiber optic breakage or failing light source | Test with alternate light source |
| Blurry image, clean lens | CCD/CMOS chip issue or soiling inside the optics | Gently clean distal lens; if no change, send for evaluation |
| Stiff angulation dials | Wire tension imbalance or internal corrosion | Do not force; requires internal inspection |
| Intermittent image loss | Loose processor connection or damaged video cable | Check all connections first |
Pro Tip: When you angulate the tip and see videoscope leak testing procedures generate intermittent bubbles (appearing only in one direction), that tells you the pinhole is on the corresponding side of the bending section. Document the location before you remove the scope from water. This information speeds up repair significantly.
Following these troubleshooting steps leads to identifying specific issues for focused repair or deeper diagnostics.
Common videoscope device problems and how to fix them
Knowing what you are looking for before a problem appears is what separates a clinic that manages its equipment from one that is constantly reacting to it. These are the failure modes that show up most often in veterinary videoscope maintenance logs.
Adhesive seal deterioration
This is a slow failure that technicians often miss until it becomes an infection control problem. Adhesive seals on the bending rubber deteriorate from chemicals and use, with gray discoloration being an early sign before brittleness and chipping occur requiring repair. The discoloration happens gradually across weeks or months, which is why visual inspection at every use matters.
"Gray discoloration is your early warning system. By the time an adhesive seal starts chipping or lifting at the edges, fluid ingress may have already occurred. Catch it at gray, not at broken."
Fiber optic strand breakage
Each time a scope is bent beyond its recommended radius, or dropped, or compressed in storage, some fiber strands break. Individually, this is invisible. Cumulatively, it is not. Image brightness drops noticeably once 20 to 30 percent of fiber strands break, and no amount of adjusting the light source compensates for that level of loss. If your image is gradually getting dimmer over months, this is almost always the cause.
Physical damage from handling and animal contact
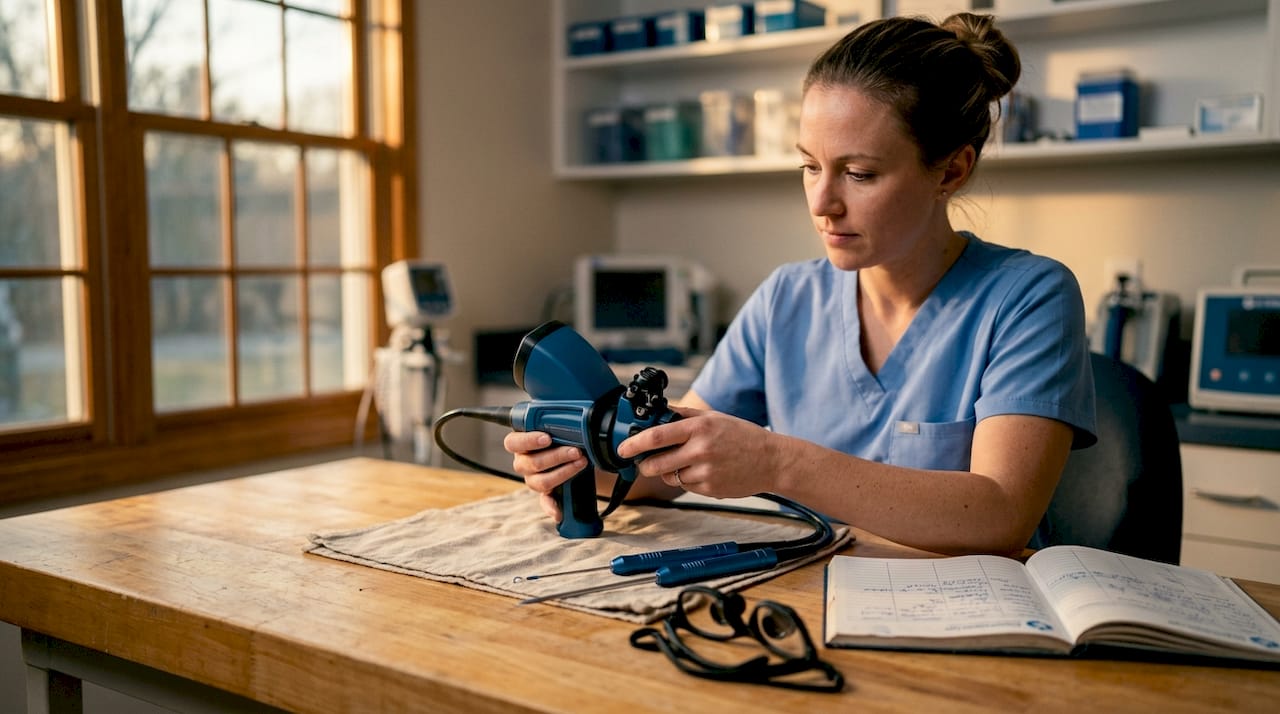
Unlike medical scopes used on cooperative patients, veterinary scopes frequently contact teeth, claws, beaks, and rough oral surfaces. The most common damage patterns include:
- Kinks in the insertion tube from sharp animal bites or rough passage
- Distal lens scratching from abrasive surfaces in the oral or nasal cavity
- Bending section rubber nicks from sharp objects during passage or cleaning
- Light guide connector pins bent by misaligned insertion into the processor
Electrical and connection issues
Intermittent image loss on a videoscope is almost always a connection problem before it is a chip problem. Check the video cable connection at both the scope and the processor end. Inspect the connector pins for bending or corrosion. Clean the electrical contacts with a dry lint-free cloth.
Pro Tip: Keep a small mirror or magnification loupe at your scope cleaning station specifically to inspect the distal lens and bending section after every use. Five seconds of looking catches the scratches and adhesive wear that a quick rinse misses.
Verifying repairs and ensuring ongoing videoscope reliability
A repaired scope that goes back into circulation without post-repair verification is a liability. The following steps confirm the repair worked and establish the baseline you will compare against in future tests.
-
Perform a full leak test immediately after any repair. Follow the same angulated protocol from the troubleshooting section. Angulate in all four directions. A pressure drop over 10 mmHg in one minute indicates a genuine leak still requiring intervention.
-
Run a full image quality check. Use the same test card or ruler target as your baseline. Compare sharpness, brightness, and color balance to your documented pre-repair images.
-
Test all mechanical functions. Run angulation through full range in all directions. Operate the air/water and suction channels to verify unobstructed flow.
-
Document everything. Log the date, the presenting problem, the repair performed, the post-repair test results, and the technician who performed the work. This documentation matters for regulatory compliance and for identifying scopes with recurring issues.
Ongoing maintenance essentials:
- Leak test after every single procedure, not weekly or monthly
- Visual inspection of the distal tip, bending section, and adhesive seals at each pre-procedure check
- Enzymatic cleaning within 30 minutes of each procedure to prevent protein buildup
- Full mechanical and optical inspection at least once per quarter by a qualified technician
- Storage in a vertical hanging cabinet, never coiled tightly or stored under weight
The videoscope accessories and maintenance tools you invest in now directly determine whether you catch damage early or deal with full repairs later.
Pro Tip: Train every staff member who handles scopes on the difference between a proper coil (large, loose loops) and a tight coil (which breaks fiber strands). This single habit change extends scope life by years in high-volume practices.
Going beyond basics: expert insights to enhance veterinary videoscope troubleshooting
Here is the uncomfortable reality about most videoscope failures in veterinary practice: they are not sudden. They are slow-moving problems that were visible weeks earlier to anyone looking carefully. Many leaks are missed because users fail to angulate the distal tip during leak testing, missing pinhole leaks hidden when the tip remains straight. That is not a technique most people learn from the box the scope came in.
The angulation requirement during leak testing is the most consistently skipped step we see, and it is the one that converts a minor rubber sheath repair into a full internal component replacement. Fluid ingress through an undetected pinhole does not announce itself immediately. It migrates to the CCD chip, the angulation wire channels, and the light bundle over days or weeks. By the time the image goes dark, you are looking at a major repair bill instead of a 30-minute rubber sheath fix.
Veterinary environments are also categorically harder on scopes than the general guidance in most videoscope troubleshooting techniques resources acknowledges. Animal secretions are more acidic and enzymatic than human secretions in many species. Equine upper respiratory exams expose scopes to thick mucus and particulate debris. Reptile and avian procedures involve narrow anatomy with high flex stress on the insertion tube. These are not edge cases in your practice. They are your daily reality, and your maintenance schedule should reflect that.
The practices that get the best equipment longevity are not the ones with the most expensive scopes. They are the ones where every person who handles a scope knows exactly how to hold it, coil it, clean it, and inspect it. That is a training investment, not an equipment investment, and it pays back many times over.
Explore professional veterinary videoscope solutions and support
Troubleshooting skills only go as far as your equipment allows. When you need reliable, veterinary-specific tools to back up your process, having the right scope from the start reduces how often you are troubleshooting in the first place.

At 1800endoscope.com, you will find purpose-built options like the portable veterinary videoscope designed for demanding clinical environments, and the USB-compatible airway videoscope ideal for equine and large animal airway inspections in the field. Both are built with veterinary workflows in mind, offering HD imaging, field-ready portability, and compatibility with standard accessories. Explore the full range of veterinary endoscope equipment to find the right fit for your practice's diagnostic needs, along with accessories and support that keep your equipment performing at its best.
Frequently asked questions
Why is angulating the distal tip important during leak testing?
Angulating the distal tip stretches the rubber sheath to expose pinhole leaks that stay hidden when the tip is straight. Angulating in all four directions during leak testing is the only reliable way to ensure no leaks are missed.
How can I tell if a videoscope leak test result is genuine?
A persistent bubble stream or a pressure drop over 10 mmHg within one minute during testing indicates a genuine leak that requires repair before the scope returns to service.
What are early signs of adhesive seal wear on videoscopes?
Gray discoloration of the adhesive seals is the earliest visible warning. Once you see brittleness, chipping, or lifting edges, adhesive seal repair is urgent and should not wait for the next scheduled maintenance cycle.
How often should veterinary videoscopes be inspected for leaks?
Leak testing should occur after every single procedure. In veterinary settings, where scopes are exposed to biological material and physical stress from animals, post-procedure testing is the only way to catch damage before it progresses.
Can a dim image on my videoscope indicate fiber optic damage?
Yes. Fiber optic strands degrade cumulatively, and image brightness drops noticeably once 20 to 30 percent of strands are broken. If swapping to a known-working light source does not improve the image, fiber bundle inspection is the next step.