
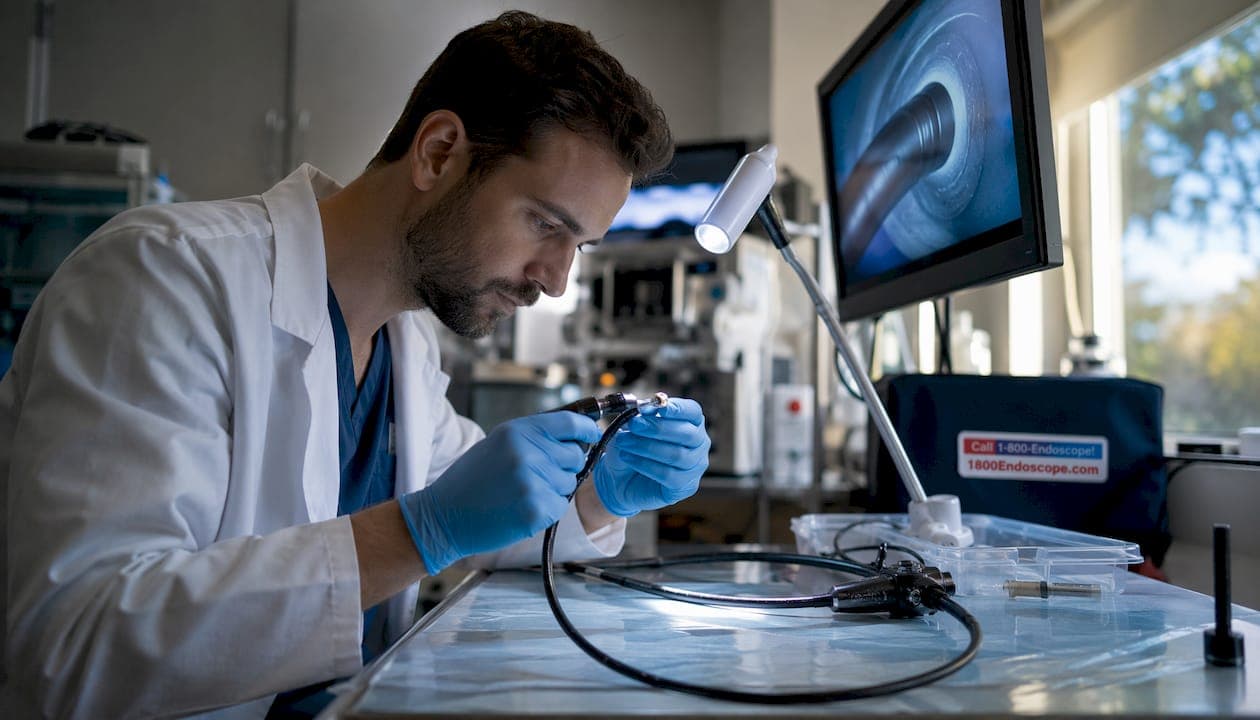
Identifying defects in endoscopes starts with two methods: direct visual inspection of the exterior and borescope examination of internal working channels. Visual inspection catches surface damage you can see with the naked eye or under magnification, including scratches, tears, staining, and buckled sections. Borescope inspection goes deeper, revealing fluid droplets, retained debris, channel perforations, and peeling that external checks simply cannot find. Research shows nearly 100% of endoscope channels have visible defects even in devices labeled "patient-ready," which means relying on visual checks alone is not enough.
The most common visible defects to look for during an initial walkthrough include:
- Superficial and deep scratches on the insertion tube or working channel lining
- Peeling or shredding of the channel coating, which can trap debris
- Fluid droplets or retained soil inside channels after reprocessing
- Staining or discoloration that may indicate chemical damage or biofilm
- Dents and buckling along the shaft or bending section
- Debris fragments from accessories, tissue, or reprocessing brushes
Document every finding with photos or short video clips at the time of inspection. This creates a traceable record that supports repair decisions and quality audits.
Pro Tip: Adjust your light source angle before calling a finding a defect. Glare from the borescope LED is the most common source of false positives, and slow probe movement with deliberate lighting adjustments will prevent you from flagging a reflection as a scratch.
What defect types appear on endoscope exteriors and working channels?
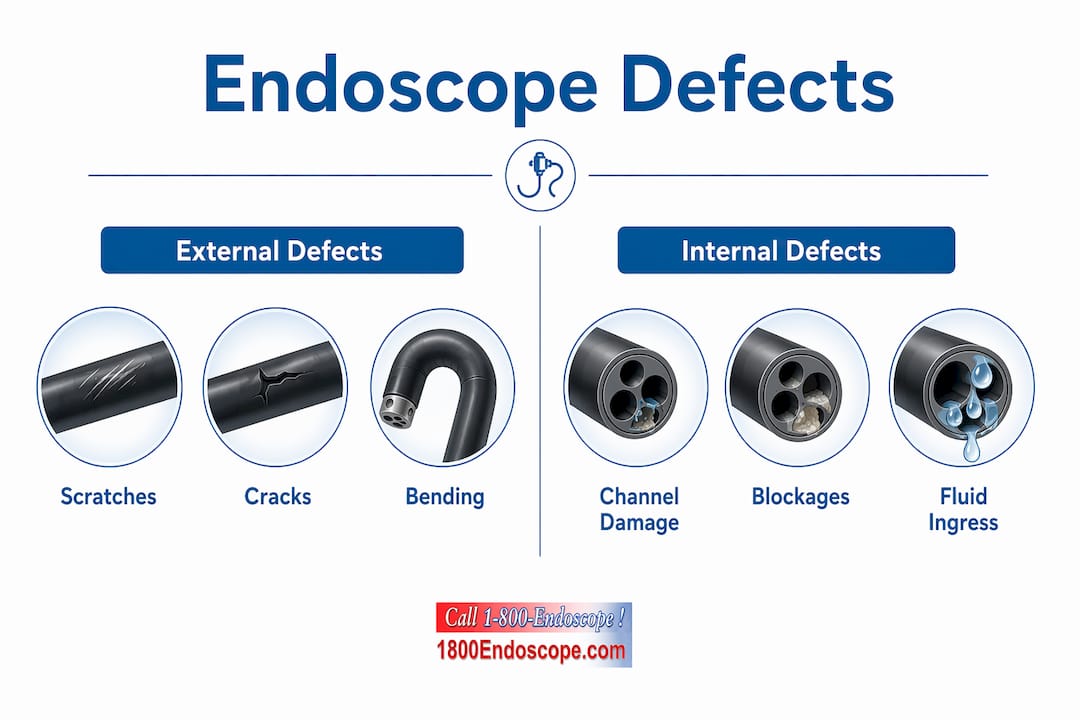
Endoscope defects fall into two broad categories: external damage you can assess before any internal examination, and internal channel damage that requires a borescope to see.
External defects typically appear on the insertion tube, control body, and bending section. Superficial scratches are the most frequent finding and often result from routine handling or reprocessing. Deep scratches break through the outer coating and expose the underlying braid or lumen, creating sites where pathogens can accumulate. Dents and buckled sections usually point to mechanical trauma during transport or storage. Peeling of the outer sheath is a more serious finding because loose material can migrate into a patient.
Internal working channel defects are harder to spot but carry greater clinical risk. The consensus-based scoring system developed at Stanford classifies working channel damage into seven types, rated on a 0–3 scale:
| Defect Type | Description | Severity Range |
|---|---|---|
| Superficial scratch | Fine linear marks on channel lining | 0–2 |
| Deep scratch | Penetrates channel wall coating | 1–3 |
| Adherent peel | Coating lifting or flaking off | 1–3 |
| Burn | Discoloration from heat or chemical exposure | 1–3 |
| Channel buckling | Deformation of the channel lumen | 2–3 |
| Stain | Persistent discoloration after cleaning | 0–2 |
| Perforation | Full-thickness breach of the channel wall | 3 |
Distinguishing true defects from harmless artifacts takes practice. A transient water droplet disappears when you advance the borescope slightly; a genuine stain or scratch does not. Glare from the light source can mimic a scratch or peel, particularly in the inlet region and distal bending tip where the channel geometry changes. The shaft segment is the most uniform and therefore the easiest zone to interpret accurately.
Severity classification guides your next action. A score of 1 (mild) on a superficial scratch may warrant monitoring and re-inspection at the next reprocessing cycle. A score of 3 on a perforation or deep scratch requires immediate removal from service and manufacturer evaluation.
Pro Tip: Build a personal reference library of borescope images showing confirmed defects alongside confirmed artifacts. Reviewing these images before each inspection session sharpens your pattern recognition faster than any written description.
How to carry out a borescope inspection of endoscope working channels
Effective borescope inspection depends on preparation as much as technique. A channel that still contains lubricant, simethicone, or residual fluid will coat the borescope lens and obscure real findings. Clean and dry the endoscope fully before you begin.
Preparation steps:
- Complete standard reprocessing and allow the endoscope to dry according to your facility's protocol.
- Confirm the borescope diameter is compatible with the working channel you are inspecting. Using an oversized probe risks damaging the channel lining.
- Inspect the borescope itself for lens contamination or physical damage before insertion.
- Set up your image capture system, whether a dedicated recorder or a connected tablet, so documentation is ready from the first frame.
Inspection technique:
- Insert the borescope at the working channel port and advance it slowly, no faster than a few millimeters per second.
- Keep the probe centered in the channel to avoid pressing the lens against the wall, which creates pressure artifacts.
- Adjust LED brightness as you move through different channel segments. The inlet region and distal bending tip often require lower brightness to reduce glare.
- Pause at any finding and capture a still image or a short video clip before advancing further.
- Complete the full length of the channel, then withdraw slowly while reviewing the same surfaces from a different angle.
- Log the endoscope serial number, inspection date, technician ID, and all findings before moving to the next device.
Integrating borescope inspection into reprocessing workflows works best when the step is assigned a fixed position in the cycle, either after every reprocessing run or on a scheduled periodic basis. Both approaches have merit; the choice depends on your facility's volume and staffing.
Pro Tip: If your borescope has adjustable articulation, use it to angle the lens slightly off-center in the bending section. This gives you a better view of the channel wall rather than a straight-ahead shot down the lumen.
Why detected defects have serious clinical and operational consequences
The clinical stakes of missed defects are well documented. Infections and deaths have been linked to visibly contaminated or damaged endoscopes in multiple peer-reviewed investigations. In one documented outbreak, two multidrug-resistant pathogens inside a bronchoscope infected 19 patients before a borescope examination found proteinaceous debris and a channel defect. Ten of those patients died. The authors concluded that borescope examination is a "critical component of device reprocessing."
Separate outbreak reports filed with the US Food and Drug Administration described retained tissue, stents, balloons, and reprocessing brush tips that were expelled into a subsequent patient during a procedure. These were not rare edge cases. They were the direct result of undetected internal defects that passed standard leak testing.
The operational impact compounds the patient safety concern. Defects found late, after a device has been used on multiple patients, trigger contact tracing, patient notifications, and potential regulatory reporting. Finding the same defect earlier, during a routine borescope inspection, allows you to remove the device quietly, send it for repair, and avoid the downstream disruption entirely.
Prioritizing defects by severity helps allocate resources. Perforations and deep scratches warrant immediate withdrawal from service. Mild staining or superficial scratches can be flagged, documented, and monitored across subsequent inspection cycles to track whether they progress.
How to score and document endoscope defects for quality control
A structured scoring system is only as useful as the documentation that supports it. The Stanford consensus framework, which rates each of the seven defect types on a 0–3 severity scale, gives technicians a shared vocabulary that reduces the interobserver variability that plagues informal reporting. Proper documentation including photos and videos with defect scoring supports both repair decisions and long-term quality tracking.
What good documentation looks like:
- Captured still images or video clips for every finding rated 1 or higher
- Consistent file naming that ties each image to the endoscope serial number and inspection date
- Written descriptions using standardized terminology from the scoring framework (e.g., "deep scratch, severity 2, shaft region, approximately 30 cm from inlet")
- A running log that records all findings across inspection cycles for each device
| Documentation Element | Purpose | Minimum Standard |
|---|---|---|
| Endoscope serial number | Device traceability | Required for every inspection |
| Inspection date and technician ID | Accountability | Required for every inspection |
| Defect type and severity score | Repair decision support | Required for findings rated ≥1 |
| Image or video capture | Visual evidence | Required for findings rated ≥2 |
| Action taken | Workflow closure | Required for findings rated ≥2 |
AI-assisted borescope inspection is an emerging tool that can help standardize assessments. Early deep learning algorithms achieve high accuracy for common defect types, with sensitivity substantially above 90% for detecting any working channel abnormality. The technology exports findings to a spreadsheet automatically, which reduces documentation burden. That said, AI currently performs best in the shaft region and less reliably in the inlet and distal bending tip, so human review remains necessary for those zones.
Tracking defect logs over time reveals patterns. A device that accumulates deep scratches faster than others may indicate a handling problem during transport or a reprocessing step that needs adjustment. Those patterns are invisible without consistent, structured records.
Pro Tip: Assign each technician a personal calibration session at least twice a year using a reference set of scored borescope images. Interobserver consistency drops sharply when technicians go months without comparing their ratings against a validated standard.
How to decide whether a defective endoscope needs repair or should be retired
The repair-versus-retire decision follows directly from your defect severity score and the device's inspection history. A clear decision framework prevents both premature retirement of repairable devices and continued use of devices that pose patient risk.

Severity score 0–1 (none to mild): The device can return to service after documentation. Schedule re-inspection at the next reprocessing cycle or within a defined interval, typically no longer than 30 days for devices showing any score of 1.
Severity score 2 (moderate): Remove the device from clinical use and contact your repair service or manufacturer representative. Moderate findings like adherent peeling or a burn do not always require full replacement, but they need professional evaluation before the device goes back into rotation.
Severity score 3 (severe): Withdraw immediately. Perforations, deep scratches with exposed braid, and severe buckling cannot be safely managed in-house. Send the device to the manufacturer or a certified repair center with your full inspection log and images attached.
Beyond the single-inspection score, look at the trajectory. A device that has moved from score 1 to score 2 across three consecutive inspections is trending toward failure. Retiring it before it reaches score 3 avoids an emergency withdrawal during an active procedure schedule.
Operationalizing these decisions requires a written protocol that every technician follows, not informal judgment calls. The protocol should specify who has authority to withdraw a device, how to tag and store it pending repair, and what communication goes to the clinical team. Coordinated communication between sterile processing and repair services is what turns defect detection into actual quality improvement.
Safety and infection control during the inspection process
Borescope inspection introduces its own infection control risks if not handled carefully. The borescope itself contacts the interior of a potentially contaminated endoscope channel, which means it can transfer pathogens between devices if reprocessed inadequately between uses.
Reprocess the borescope according to the manufacturer's instructions for use after every inspection. Most flexible borescopes used in sterile processing are high-level disinfection compatible, but confirm this for your specific device before establishing a protocol. Never assume a borescope is clean because it "only went into a clean endoscope." The channel being inspected may harbor residual contamination that passed reprocessing.
Personal protective equipment during inspection should match the level used during standard reprocessing: gloves, eye protection, and a fluid-resistant gown at minimum. If you are inspecting a device that has not yet been reprocessed, treat it as contaminated and use full barrier precautions.
Storage of borescopes between uses matters too. A borescope stored coiled tightly or in contact with other instruments risks lens damage and cross-contamination. Hang it vertically or store it in a dedicated case, clean and dry, with the lens protected. Review borescope safety procedures specific to your facility type to confirm your storage and handling steps meet current guidelines.
Finally, never use a borescope that shows its own lens damage, cracked sheath, or fluid ingress. A compromised borescope produces unreliable images and can introduce debris into the channel being inspected, creating exactly the kind of contamination event the inspection was meant to prevent.
Key Takeaways
Reliable endoscope defect detection requires combining visual inspection with borescope examination, structured severity scoring, and consistent documentation at every reprocessing cycle.
| Point | Details |
|---|---|
| Nearly universal defect prevalence | Studies show nearly 100% of endoscope channels have visible defects even in patient-ready devices. |
| Seven-type severity scale | The Stanford consensus framework scores defects from 0 (none) to 3 (severe) across seven damage categories. |
| Borescope technique matters | Slow probe movement and adjusted LED brightness reduce false positives from glare in the inlet and bending tip regions. |
| Documentation drives decisions | Every finding rated severity 2 or higher requires image capture, standardized terminology, and a logged action. |
| Repair vs. retire threshold | Severity 3 findings require immediate withdrawal; severity 2 findings require professional evaluation before return to service. |