
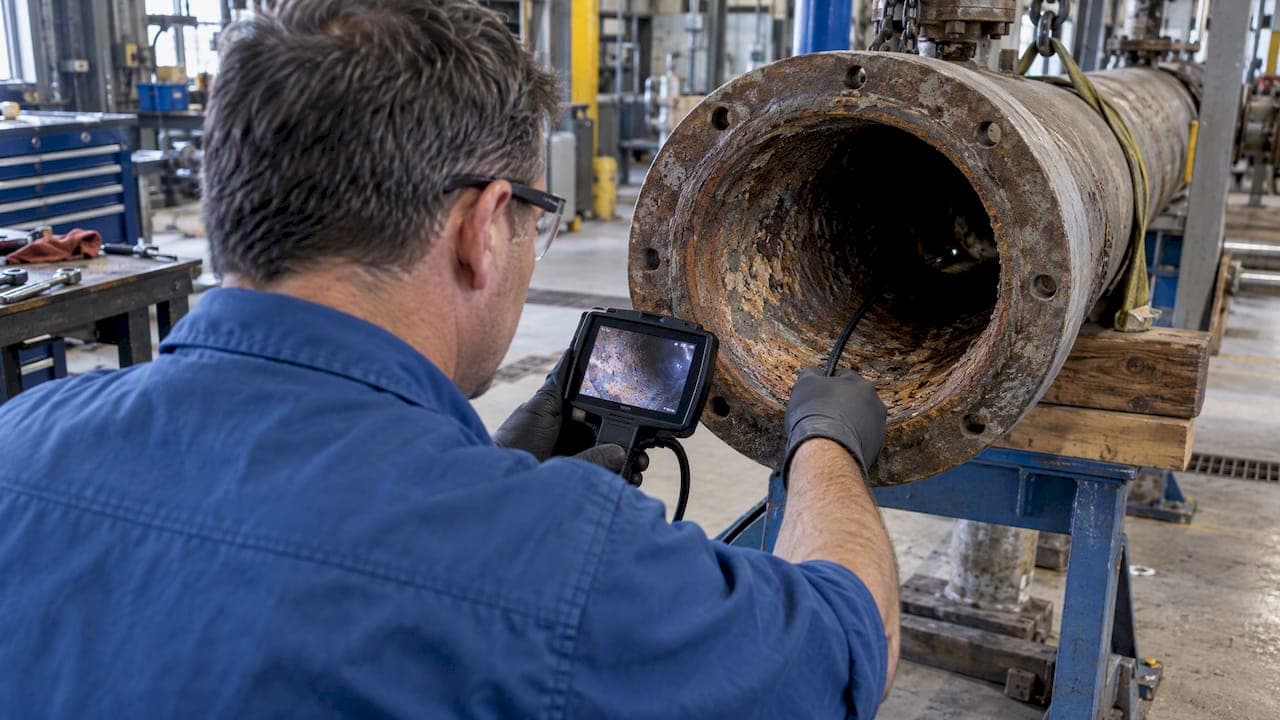
A corrosion inspection borescope is the right remote visual inspection tool whenever a technician needs to confirm visible surface damage, pitting, or metal loss without cutting into an asset. The immediate next step is matching scope type to the access point, then capturing measurement-capable images following standards-based reporting so the findings hold up for engineering review.
TL;DR:
- Ports under 6 mm require a micro or small diameter scope, while long, winding paths may need a guide tube or push pole.
- Use a tip with measurement capability when defects need sizing, because a straight ahead lens can miss pitting along a pipe wall.
- Inspect weld toes, flange faces, and areas under insulation closely; pitting on a pressure boundary warrants immediate engineering review and follow up testing.
- Before insertion, map bends and diameter changes, confirm the port fits the scope, clear hazards, and coordinate isolation with operations.
- Remote visual inspection with three dimensional point cloud scanning can support 0.001 inch accuracy, while ultrasonic testing handles volumetric sizing.
Table of Contents
- 1. Which borescope type fits your corrosion inspection?
- 2. Where corrosion hides: assets and warning signs to prioritize
- 3. Preparing the inspection: ports, travel path, and safety controls
- 4. Capturing images and measurements that hold up for engineering review
- 5. A field example: borescope inspection catching corrosion early
- 6. What field experience teaches about borescope corrosion checks
- How we can help with your next corrosion inspection
- FAQ
- Sources
1. Which borescope type fits your corrosion inspection?
The access point and the geometry behind it decide which scope earns its place in the kit. Flexible video borescopes handle bends, tees, and winding paths inside piping, heat exchanger channels, and turbine casings, with articulating tips that steer around obstructions. Rigid borescopes serve straight-line access, like inspecting a valve bore or a short nozzle, where a fixed optical path delivers sharper images than a flexible shaft would. Micro and small-diameter scopes fit tight ports, such as injector bores or small-bore tubing, where a standard 6mm shaft will not pass. Crawler and push-pole systems extend reach through long pipeline segments or ductwork where hand-fed insertion tubes cannot travel far enough.
Tip selection matters as much as scope class. Side-view tips reveal pitting along a pipe wall that a straight-ahead lens would miss, and stereo or measurement tips let a technician size a defect on the spot rather than guessing from a flat image.
- Flexible video scopes: best for curved or branching access, moderate reach, articulating tip
- Rigid scopes: best for straight bores, sharper optics, no articulation needed
- Micro/small-diameter scopes: best for tight ports under 6mm
- Crawler/push-pole systems: best for long straight runs, pipeline and duct interiors
Reach and articulation trade off against durability. A longer, thinner insertion tube reaches farther but is more prone to kinking or getting stuck at a diameter change, which is why insertion technique and articulation matter as much as the hardware spec sheet.
2. Where corrosion hides: assets and warning signs to prioritize
Corrosion rarely shows up evenly, so a field inspection works best as a targeted hunt through known hotspots rather than a slow crawl through every inch of accessible surface. Valve seats and pump casings collect turbulent flow and trapped moisture, both of which accelerate pitting. Heat exchanger tubes show under-deposit corrosion where scale traps aggressive chemistry against the metal. Weld toes and flange faces concentrate stress and often corrode faster than the surrounding base metal, and anything under insulation deserves close attention since corrosion under insulation stays hidden until the jacketing comes off or a borescope goes in through an access port.
What you are looking for on camera breaks into a short list of recognizable patterns:
- Pitting: localized, deep cavities that concentrate stress and can go undetected by surface measurement alone
- General metal loss: broad thinning across a surface, often visible as a dulled or roughened texture
- Under-deposit corrosion: damage hidden beneath scale, sludge, or biofilm that must be scraped or probed to confirm
- Coating loss and blistering: failed protective coatings that expose bare metal to the process environment
- Depositional fouling: buildup that can mask the metal surface and needs to be distinguished from actual loss
Triage each finding by asking two questions: how fast is this likely to progress, and does it threaten structural or pressure integrity. A shallow coating failure on a non-critical line can wait for the next scheduled outage. Pitting near a weld toe on a pressure boundary usually warrants an immediate engineering notification and a follow-up NDT method to size it properly. The NIST guidance on NDT methods notes that visual examination is fast and useful for general condition screening, but volumetric sizing and remaining-life calculations require other methods layered on top.
3. Preparing the inspection: ports, travel path, and safety controls
Good data starts before the scope ever enters the port. Walk the drawing or the physical asset first and map the insertion geometry: bends, tees, and diameter changes all affect how far the tube can travel and where it is likely to snag.
- Confirm port size and location against the scope diameter and tip accessory before arriving on site.
- Plan the camera travel path around known bends and diameter changes, and stage a guide tube or push pole if the run is long or winding.
- Clean visible deposits from the access point where feasible, since heavy fouling at the port degrades the first several inches of footage.
- Check lighting needs for the specific cavity; a reflective interior can wash out detail, while a dark cavity needs more lumens than the scope's built-in LED may provide.
- Clear confined-space, hot-surface, and explosive-atmosphere hazards before insertion, and use intrinsically safe or rated equipment where the environment calls for it.
- Coordinate lockout and isolation with operations so the asset stays in a safe state for the duration of the inspection.
Technician qualification matters here too. ASNT guidance notes that a meaningful remote visual inspection depends on a technician qualified in both the inspection system and the asset being examined, not just familiarity with the camera controls. A pre-inspection setup checklist helps standardize this step across a crew.
Pro Tip: Carry a spare set of optical tips and a lens-cleaning kit on every job; a scratched or fogged lens ruins measurement accuracy faster than any limitation in the camera itself.

4. Capturing images and measurements that hold up for engineering review
Lighting and focus decide whether a still image is useful or just a record that something was looked at. Keep illumination even across the field of view, avoid overexposing bright metal surfaces, and confirm focus before capturing the frame that matters, since a blurry still cannot be recovered after the fact.
- Use measurement-capable tips or 3D RVI for anomalies that need sizing, not just flagging
- Validate measurement accuracy against reference artifacts tied to NIST traceability where the inspection program requires it
- Standardize capture settings, lighting level, and port ID across a crew so findings are comparable report to report
- Log metadata with every capture: location, port ID, insertion path, and camera settings
- Escalate to ultrasonic testing, magnetic flux leakage, or another NDT method when the finding needs volumetric sizing rather than a surface read
Measurement-quality RVI, when combined with 3D point-cloud scanning, can support engineering decisions to measurement accuracy of 0.001 inches, a level of precision that makes outage planning decisions defensible rather than approximate.
API RP 583 is explicit that visual inspection has limits for hidden corrosion like CUI, and recommends layering sensor-based monitoring and other NDT on top of RVI rather than relying on it alone. API STD 1163 sets the qualification bar for in-line inspection systems used when corrosion detection scales up to full pipeline segments, reinforcing the same principle at a larger scope.
5. A field example: borescope inspection catching corrosion early
A technician inspecting a heat exchanger ahead of a scheduled outage had only a 10mm access port and a bundle layout with multiple bends between tubes.
- The crew selected a flexible video borescope with a side-view tip, since the straight-ahead view could not resolve the tube wall at the angle needed.
- Initial footage showed discoloration consistent with under-deposit corrosion near several tube sheet welds.
- A measurement-capable tip sized the deepest pitting at a depth the engineering team flagged as approaching the retirement threshold for that tube run.
- The findings triggered a targeted ultrasonic thickness survey on the affected tubes rather than a full bundle pull, and the outage scope shrank to the tubes that actually needed sleeving.
The borescope did not replace the ultrasonic follow-up. It told the team exactly where to point it.
6. What field experience teaches about borescope corrosion checks
The gap between a useful inspection and a wasted trip usually comes down to preparation, not equipment tier. Carrying spare tips, a cleaning kit, and a known test artifact for measurement checks prevents more repeat visits than upgrading camera resolution ever will. Visual inspection answers "is there damage here," but sizing and remaining-life questions still belong to ultrasonic testing or an instrumented NDT program.
**
How we can help with your next corrosion inspection
Matching the right borescope to a tight port or a long, winding run is easier when the accessories are already sorted out. Our offerings include flexible video borescopes, micro and small-diameter scopes, monitor-type SD-card videoscopes, and the tips, lighting, and cleaning accessories that keep field data sharp, along with repair services for endoscopic equipment when needed.

If you are sizing a scope for a specific port diameter or need a spare tip fast, browse our borescope catalog to match the right system to your next inspection, or reach out about repair service for equipment already in your kit.
FAQ
How much does a borescope inspection cost?
Cost varies widely by asset complexity, access difficulty, and whether the inspection requires follow-up NDT like ultrasonic testing. Equipment pricing for borescopes themselves is available on request through a supplier's catalog rather than a fixed public rate.
What's the difference between an endoscope and a borescope?
An endoscope is the broader term for a scope designed to see inside a cavity, commonly used in medical and veterinary contexts, while a borescope is the industrial variant built for inspecting machinery, piping, and structures. Both share similar optics and insertion-tube designs, but borescopes are typically ruggedized for industrial environments.
What are the two main types of borescopes?
The two main types are rigid borescopes, which use a fixed straight optical path, and flexible video borescopes, which use an articulating insertion tube to navigate bends and branching geometry. Flexible scopes suit winding access like piping and heat exchangers, while rigid scopes suit short, straight bores like valve seats.
Is it worth buying a borescope?
For technicians who regularly inspect machinery, piping, or pressure equipment, owning a borescope cuts the lead time of scheduling outside inspection services for routine visual checks. The right choice depends on matching tip and scope type to the ports and asset geometry a technician actually encounters in the field.
Sources
- API RP 583 (summary) — Detecting and monitoring corrosion
- ASNT — Visual testing and remote visual inspection guidance
- NIST special publication on NDT methods and measurement considerations