
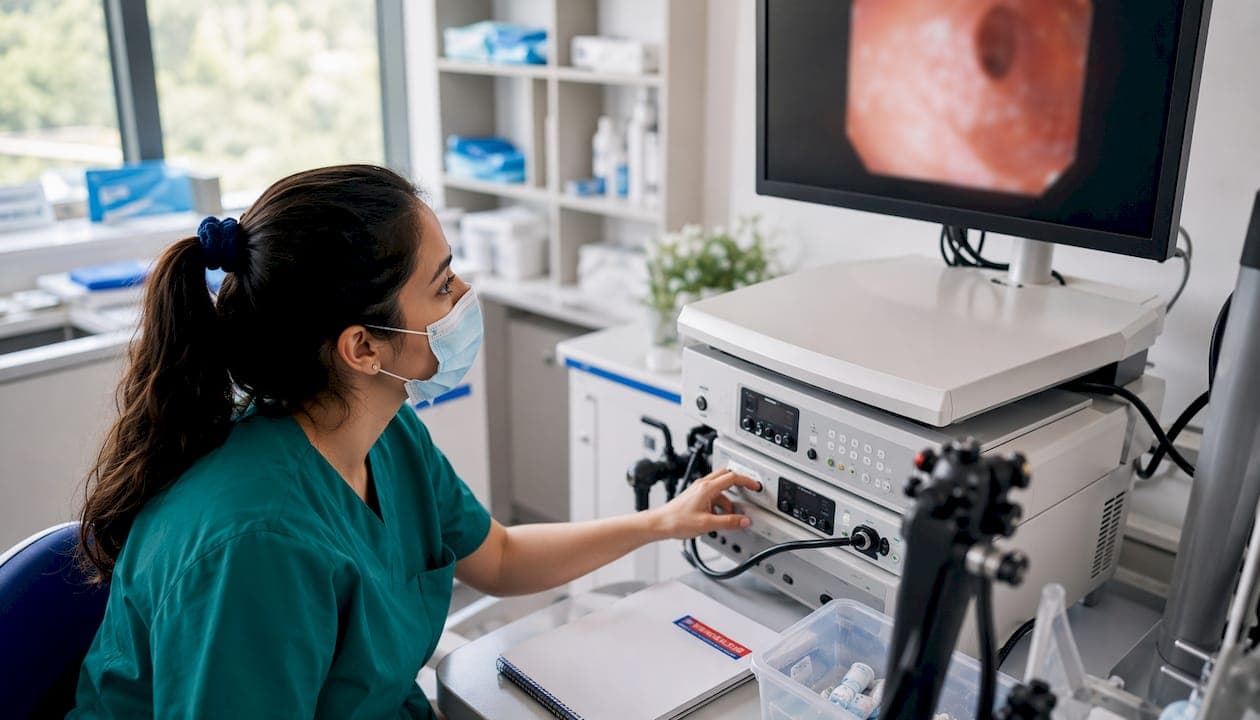
Acceptable endoscopy photodocumentation means capturing representative HD stills of every required landmark, video of key therapeutic maneuvers, embedded timestamps and operator metadata, and storing everything in a secure, auditable archive. That is the minimum. Anything less creates gaps that fail both QA reviews and legal scrutiny.
Minimum deliverables at a glance:
- At least one still image per required anatomical or inspection station (the AGA recommends a defined set of landmarks for average-risk patients; the WEO position statement defines 28 unique areas for complete upper GI examinations)
- Video clips for any therapeutic or complex maneuver
- Mandatory metadata per file: timestamp, operator ID, device ID, procedure ID
- Secure archived storage with an unbroken audit trail
The WEO and AGA both treat photodocumentation as a measurable quality metric and a medicolegal record, not a courtesy.
Table of Contents
- What technical settings actually determine image quality?
- How to sequence your capture checklist for a complete record
- Which equipment features actually move the needle on image quality?
- How should you name, store, and protect your image files?
- Why photodocumentation is a legal document, not just a record
- Where does AI actually help with photodocumentation?
- A compact SOP your team can adapt today
- Quick fixes for the most common photodocumentation problems
- Key Takeaways
- The part most teams skip until something goes wrong
- HD-ready equipment that matches these specs, from 1800endoscope
What technical settings actually determine image quality?
Standardize on native 1080p capture as your floor, and move to 4K wherever your processor supports it. Up-converting an SD signal through an HD monitor does not recover lost resolution. As the AGA's clinical practice update makes clear, image quality is a system metric: the scope chip, processor, transmission cable, recorder, and monitor all have to be HD-compatible for the output to be diagnostically useful.
Core settings checklist:
- Resolution: 1080p minimum for stills and video; 4K where available
- Frame rate: 30 fps for standard inspection video; 60 fps when capturing fast-moving structures or therapeutic maneuvers
- Still format: lossless PNG or high-quality JPEG (avoid aggressive compression that obscures fine detail)
- White balance: use the processor's preset for the light source in use; recalibrate after swapping light sources
- Exposure: bracket exposure for highly reflective or deeply pigmented surfaces; avoid overexposure that washes out mucosal texture
- Focus: confirm autofocus locks before capturing; switch to manual focus for close-up abnormality shots
Lighting deserves its own attention. Match your light source's color temperature to the processor's white-balance preset. Over-illumination causes lens flare and bleaches surface detail, particularly on wet mucosal surfaces. For close-up industrial inspections, diffused illumination reduces specular reflection on metal surfaces. If your system supports chromoendoscopy or virtual chromoendoscopy modes (NBI, BLI, i-SCAN), capture a white-light baseline image first, then the enhanced-mode image, so both are in the record.
Pro Tip: Before any new system goes into clinical or field use, capture a standardized test target (a color calibration card or a machined reference block for industrial scopes) and confirm sharpness, color accuracy, and metadata embedding. Keep that reference image in the system's archive as a baseline.
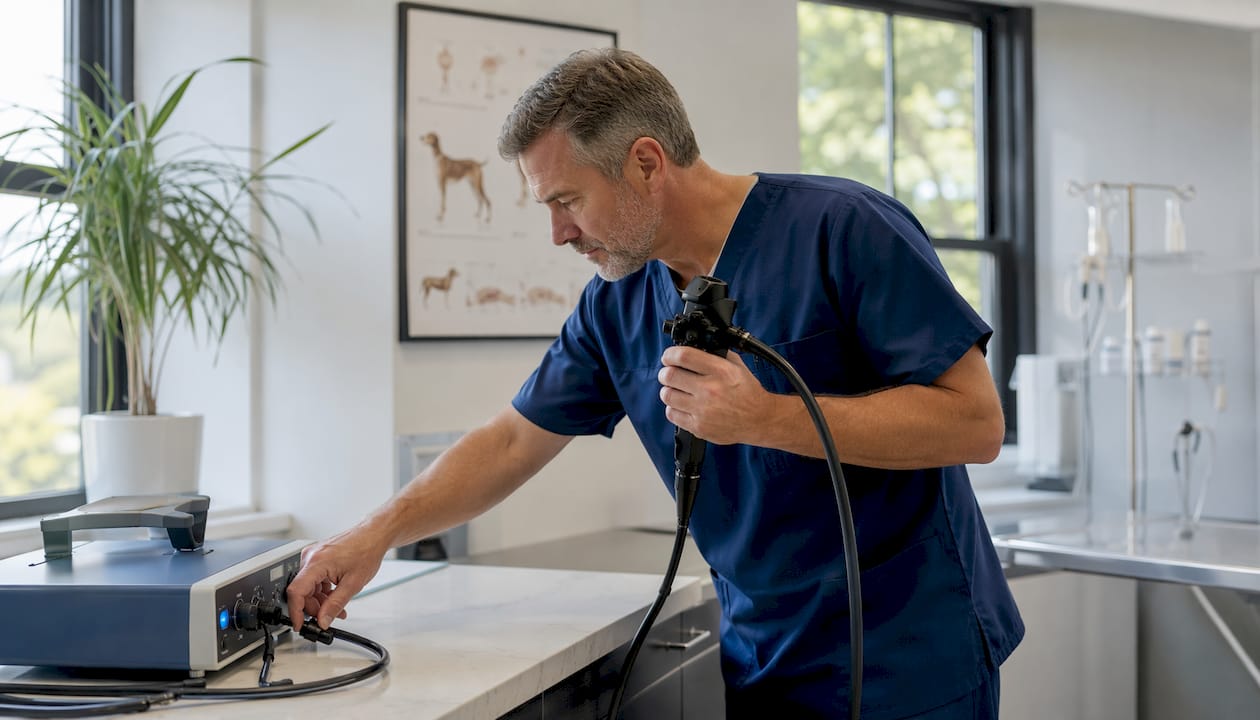
For detailed guidance on optimizing video recorder settings for veterinary systems, that resource covers integration specifics worth bookmarking.
How to sequence your capture checklist for a complete record
Use a fixed sequence and predefine the number of images per station before the procedure starts. Ad hoc shooting produces incomplete records; a predetermined sequence produces defensible ones. ESGE guidance and other societies recommend 8–10 standard images as the practical minimum set for typical upper GI exams; the WEO's SACE framework defines a complete map of 28 unique areas for reference-standard photodocumentation, but following a minimum set of 8–10 images at key anatomic landmarks is considered acceptable and defensible by major guidelines.
Standard capture sequence:
- Pre-procedure equipment and test shot (confirm focus, white balance, metadata active)
- Baseline landmark images in anatomical order (proximal to distal for GI; entry point to target zone for industrial)
- Pre-intervention images of any abnormality, captured before biopsy or therapy
- Video clip of the therapeutic maneuver or key inspection segment
- Post-intervention images showing the treated or inspected area
- Representative close-ups of abnormalities with a scale marker in frame
Capture images before biopsy or therapy. Mucosal cleaning with agents like simethicone before image capture preserves lesion appearance and improves diagnostic yield. Once you biopsy, the tissue is altered.
Veterinary-specific notes: Include sedation level and patient positioning in the metadata or report header. Add a scale marker or calibration object when lesion size matters clinically. Embed animal ID and species in the file metadata.
Industrial-specific notes: Record part ID, orientation relative to a fixed reference, and a calibration object in at least one image per inspection zone. For pipeline or bore inspections, note distance from entry point.
Pro Tip: Keep a laminated landmark checklist on the procedure room wall. Operators who can glance at a physical list miss fewer stations than those relying on memory alone.
Which equipment features actually move the needle on image quality?
Prioritize signal-chain compatibility over any single flagship spec. A 4K scope paired with an SD-era processor produces SD output. Every component has to match.
Essential hardware checklist:
- Scope with a high-resolution chip and adequate working channel diameter for your use case
- Processor with native HD output and support for enhanced imaging modes
- Recorder with hardware timestamp and metadata embedding (not just software-stamped post-capture)
- Light source with adjustable intensity and color temperature matched to your processor
- Ruggedized cabling for industrial environments; sterilization-compatible cabling for veterinary use
| Feature | Veterinary Priority | Industrial Priority |
|---|---|---|
| Portability | High (field and large-animal work) | High (remote sites, confined spaces) |
| Sterilization compatibility | Critical | Not applicable |
| Ingress protection (IP rating) | Moderate | Critical |
| Flexible length options | Moderate | High (long-reach borescopes) |
| Scale/calibration tool | Moderate | High (defect sizing) |
| Wireless connectivity | Useful | Useful |
Accessories matter more than most buyers expect. An external monitor lets a second operator verify image quality in real time. Fixed mounts and articulation locks free the operator's hands and reduce motion blur. For industrial work, a calibration reference block should travel with the scope kit.
Pro Tip: For veterinary buyers, confirm that the scope's insertion tube diameter and working length match your most common patient size before ordering. A veterinary rigid endoscope sized for small animals will not serve equine airway work.
How should you name, store, and protect your image files?
Standardize file naming and embed metadata at capture. Files named "IMG_0047.jpg" are not searchable, not auditable, and not defensible. A consistent naming convention solves all three problems at once.
Recommended naming template:
[ProcedureID]_[PatientOrPartID]_[YYYYMMDD]_[HHMMSS]_[OperatorID]_[DeviceID]
Example: VET-2026-0412_K9-Rufus_20260412_143022_DrSmith_VS-7
File format guidance:
- Stills: lossless PNG preferred; high-quality JPEG (quality 90+) acceptable
- Video: H.264 or H.265 MP4 for storage efficiency; lossless formats when forensic-grade preservation is required
- Avoid re-compressing files after initial save; each re-save degrades JPEG quality
Storage rules:
- Primary storage on a secure server or PACS with role-based access control
- Offsite encrypted backup updated at least daily
- Hashed checksums (SHA-256) on all archived files to verify integrity
- Retention aligned with your state veterinary board requirements and institutional QA policy
Structured reporting systems.pdf) with minimal free-text fields reduce transcription errors and make audits faster.
Pro Tip: Automate metadata capture through your recorder's integration with the reporting system. Manual metadata entry introduces errors; a recorder that writes operator ID and timestamp directly to the file header eliminates that risk.
Why photodocumentation is a legal document, not just a record
The endoscopy report and its associated images are part of the legal medical or inspection record. Expert commentary in the GI literature describes photodocumentation as a procedural "roadmap" that can be reviewed in court to verify standard of care. That framing applies equally to industrial inspection records in liability or insurance contexts.
"Photodocumentation of all anatomical landmarks during upper GI endoscopy can be considered an indicator of a complete examination." — European Society of Gastrointestinal Endoscopy, as cited in the WEO position statement
QA and legal practices to implement:
- Run quarterly audits of completeness: were all required stations imaged? Is metadata intact?
- Score image quality using validated scales (e.g., GRACE for gastroscopy visualization) and record the score in the report
- Document any incomplete procedure with a reason code; never leave a gap unexplained
- Maintain a chain-of-custody log for any image exported for legal or insurance review
- For U.S. veterinary practices, align retention and client data privacy with your state veterinary board's requirements and apply HIPAA-equivalent protections to client-identifiable data
Pro Tip: Assign one person per quarter to pull five random procedure records and check them against your minimum image checklist. Peer review catches drift before it becomes a liability.
This is general information, not legal or professional advice. Confirm current retention and privacy requirements with your state veterinary board or a qualified legal professional.
Where does AI actually help with photodocumentation?
AI improves consistency and helps enforce completeness, particularly for operators who are still building experience. Research shows that AI-assisted workflows can raise photodocumentation completeness and create a more uniform standard of care across operators. That is a real benefit. It is not, however, a replacement for operator skill or a substitute for legally defensible original files.
Reliable AI use cases:
- Automated landmark detection to flag missed stations before the procedure ends
- Image quality scoring (blur, exposure, coverage) as a real-time QC layer
- Preliminary annotation of abnormalities for operator review
- Audit assistance: flagging records with incomplete metadata or missing images
Current limits:
- AI systems require validation for your specific scope model and patient population
- False positives and negatives still occur; human review of every AI flag is mandatory
- AI annotations must be stored as a separate layer, never overwriting the original file
| AI Task | Reliable Now | Needs Human Review |
|---|---|---|
| Landmark completeness check | Yes | Confirm edge cases |
| Image quality scoring | Yes | Borderline scores |
| Abnormality annotation | Assistive only | Always |
| Legal documentation | No | Always human-signed |
Pro Tip: Ensure your AI system logs every version of its output and that your archive retains the unmodified original. An AI-annotated file that has overwritten the source image is not admissible as an original record.
A compact SOP your team can adapt today
Assign roles before the procedure, not during it. Ambiguity about who captures, who reviews, and who archives is the single most common reason records are incomplete.
Role assignments:
- Operator/endoscopist: executes capture sequence, confirms landmarks
- Recorder/technician: monitors metadata entry, flags missed stations in real time
- QA reviewer: checks completeness and image quality within 24 hours of procedure
- IT archivist: verifies backup integrity and maintains audit log
| Task | Role | Timing |
|---|---|---|
| Equipment and metadata check | Technician | Pre-procedure |
| Landmark capture sequence | Operator | During procedure |
| Immediate backup to server | Technician | Within 1 hour post-procedure |
| QC review and scoring | QA reviewer | Within 24 hours |
| Final archive and checksum | IT archivist | Within 24 hours |
For a deeper look at endoscopic imaging workflows, that resource covers pipeline specifics for both veterinary and industrial teams.
Daily/weekly maintenance: clean scope optics before each session, verify recorder media capacity, confirm metadata fields are active, and test backup connectivity weekly.
Quick fixes for the most common photodocumentation problems
When an image comes out wrong, triage in this order: lens cleanliness, focus lock, lighting level, recorder media status, metadata active.
Common problems and fixes:
- Blurry images: check lens for condensation or debris; warm the scope before insertion; confirm autofocus locked before capture
- Color cast: recalibrate white balance against a neutral reference; check light source bulb age
- Fogging: use anti-fog solution on the distal lens; allow scope to reach body temperature before insertion
- Bubble/mucus interference: flush with water or use a mucosal cleaning agent before capturing landmark images
- Missing metadata: check recorder integration settings; if metadata was not captured, add it manually immediately and flag the file as manually annotated
- Corrupted or unwritable files: swap to a preformatted spare storage card; verify the card's write speed meets the recorder's minimum requirement
When to re-document: if visualization was inadequate at a required station, capture a replacement image before withdrawing the scope. After a therapeutic intervention, capture post-treatment images even if pre-treatment images were suboptimal.
Pro Tip: Keep a spare preformatted storage card and a small calibration target in every procedure room. Both cost almost nothing and prevent the two most common reasons a record is incomplete.
For veterinary-specific troubleshooting, that guide covers scope-handling and image-recovery tactics in more depth.
Key Takeaways
Acceptable endoscopy photodocumentation requires a fixed capture sequence, HD-compatible signal chain, embedded metadata, and a secure auditable archive — all treated as a legal record from day one.
| Point | Details |
|---|---|
| Signal chain first | Every component from scope chip to recorder must be HD-compatible; an HD monitor cannot fix an SD processor. |
| Fixed capture sequence | Predefine landmark stations and image counts before the procedure; capture pre-intervention images before biopsy or therapy. |
| Metadata at capture | Embed timestamp, operator ID, device ID, and procedure ID at the recorder level to avoid manual entry errors. |
| Legal-grade storage | Use hashed checksums, encrypted offsite backups, and a chain-of-custody log; retain originals unmodified even when AI annotations are added. |
| 1800endoscope equipment fit | 1800endoscope's HD videoscopes, portable recorders, and rugged borescopes match the signal-chain and portability specs outlined above for both veterinary and industrial use. |
The part most teams skip until something goes wrong
The guidance above is straightforward. The hard part is getting a team of busy clinicians or field technicians to follow it consistently on day 200, not just day one. Time pressure is the most common reason photodocumentation degrades. The second is storage budget anxiety, which leads teams to compress files aggressively or skip backups. Both are false economies.
The teams that sustain good documentation practices share one trait: they automated the friction points early. Recorder integration that writes metadata without operator input, a QA reviewer with a 24-hour turnaround, and a quarterly audit that takes 30 minutes rather than a full day. None of that requires expensive infrastructure. It requires a written SOP and someone accountable for each step.
The wins are concrete. Teams that standardize capture and metadata report faster incident investigations, cleaner audit outcomes, and fewer repeat procedures caused by inadequate initial documentation. Incremental adoption works: start with the naming template and the pre-procedure equipment check, then add the quarterly audit in month two. Do not wait for a perfect system before starting.
HD-ready equipment that matches these specs, from 1800endoscope
Getting the documentation right starts with hardware that supports it. 1800endoscope stocks HD-capable veterinary scopes, portable recorders with built-in metadata embedding, and ruggedized industrial borescopes sized for confined-space inspections — the exact equipment categories this article recommends.

For mobile veterinary clinics or field industrial teams, the portable HD endoscope system delivers direct-monitor viewing with SD card recording in a compact, carry-anywhere package. Industrial inspection teams can browse the full borescope catalog for long-reach flexible probes with IP-rated housings. If you need help matching a scope, recorder, and light source to your specific procedure volume or inspection environment, contact 1800endoscope directly to spec a complete system.