
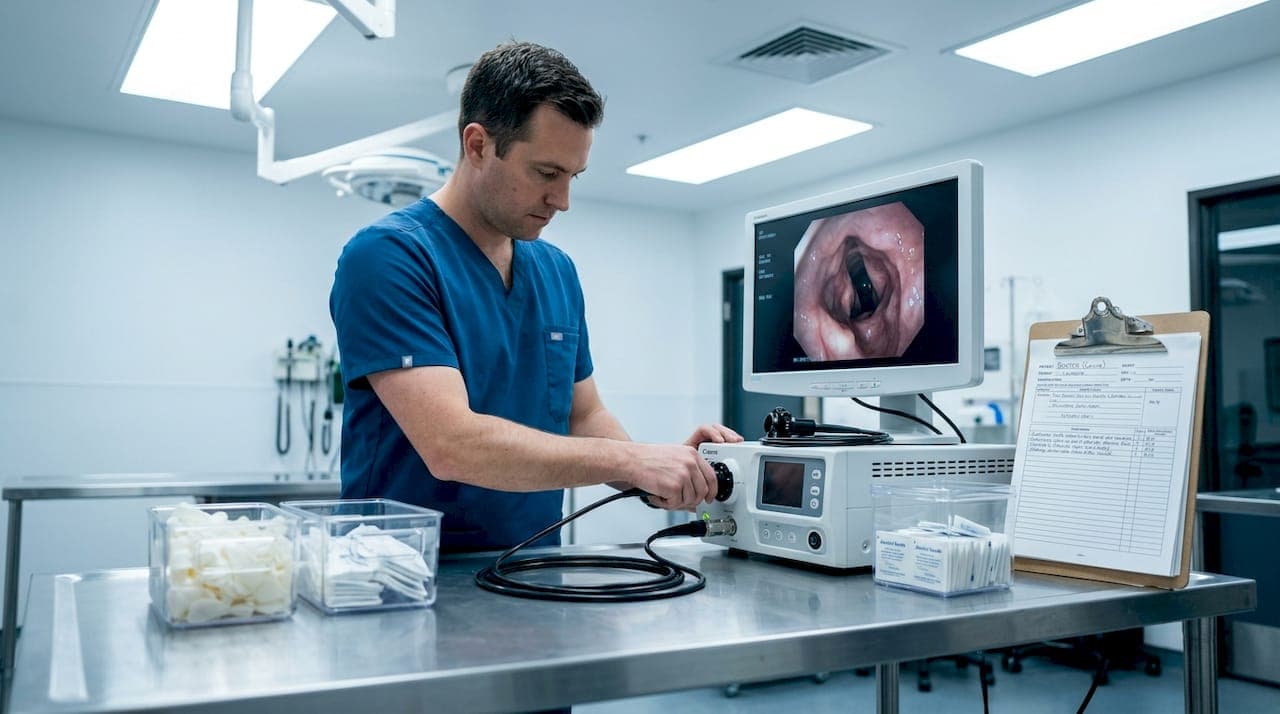
A blurry, interrupted video from a bronchoscopy exam can mean the difference between catching early tracheal collapse and sending a dog home with an unresolved diagnosis. For veterinary professionals, endoscope video quality is not a luxury — it directly shapes clinical decisions, legal documentation, and client communication. Whether you're scoping a 3 kg cat's airways or performing a pre-sale upper airway exam on a performance horse, how you set up and execute your recording workflow determines the diagnostic value of every procedure.
Table of Contents
- Choose the right endoscope and recording setup
- Prepare for successful recording: workflow and patient setup
- Step-by-step optimized endoscope video recording
- Review, troubleshoot, and improve your recordings
- What most guides miss about veterinary endoscope recording
- Upgrade your endoscope video solutions
- Frequently asked questions
Key Takeaways
| Point | Details |
|---|---|
| Matching scope size | Choose your endoscope diameter and length based on the animal’s size and procedure for best results. |
| Consistent recording workflow | Prepare endoscope and patient, and follow a standardized workflow to capture uninterrupted diagnostic footage. |
| Minimum larynx visualization | Always record at least 45-60 seconds of the larynx to ensure diagnostic clarity for respiratory exams. |
| Troubleshooting and review | Regular review and peer feedback help you catch mistakes and refine your endoscope video skills. |
| Leverage digital systems | Using digital recording systems increases video quality and makes sharing and documentation easier. |
Choose the right endoscope and recording setup
Having set the stage for why video quality matters, let's start where every successful recording begins — selecting the right tools for the patient in front of you.
Matching your endoscope's outer diameter (OD) and working length to the procedure and animal size is the single most important hardware decision you'll make. Too large a scope in a small patient risks tissue trauma and restricted maneuverability. Too small a scope in a large-breed dog or horse means poor image contact and weak illumination. According to established endoscope selection guidelines, use a 2.7 to 4.0 mm OD scope for cats and toy dogs under 5 kg during bronchoscopy, scaling up to 7.0 to 10.0 mm OD for large-breed dogs undergoing gastrointestinal procedures.
| Animal size | Common procedure | Recommended OD | Scope type |
|---|---|---|---|
| Cat / toy dog (<5 kg) | Bronchoscopy, rhinoscopy | 2.7–4.0 mm | Ultrathin flexible videoscope |
| Small to mid-size dog (5–20 kg) | GI, cystoscopy | 5.0–7.0 mm | Flexible videoscope |
| Large dog (>20 kg) | GI endoscopy, colonoscopy | 7.0–10.0 mm | Standard flexible videoscope |
| Equine / large animal | Upper airway, gastroscopy | 9.0–13.0 mm / 3 m+ length | Long flexible videoscope |
| Exotic / pocket pets | Rhinoscopy, cloacoscopy | 1.9–2.7 mm | Rigid or semi-rigid slim scope |
For exotics and very small patients, small diameter guidelines confirm that ultrathin scopes with ODs between 2.2 and 3.5 mm are necessary, and that dual-scope setups cover roughly 90% of cases across a mixed small animal and exotic practice.
Your video capture system deserves equal attention. Here's what it should include:
- Minimum 1080p HD resolution for reliable visualization of mucosal lesions and subtle color changes
- On-board digital storage (SD card or SSD) for local recording without dependence on external computers
- Real-time monitor output at 60 fps to allow fluid on-screen navigation during procedures
- Date, time, and patient ID overlay capability for documentation compliance
- USB or wireless connectivity for efficient transfer to PACS or client-facing platforms
Pro Tip: If your practice handles both small companion animals and large animals like horses, investing in a portable airway endoscope with quick-change tip adapters means you won't need entirely separate systems for every species. One core unit with interchangeable components can dramatically reduce equipment overhead while maintaining HD output for each patient type.
If you want a broader overview of scope options across species and procedures, browse the veterinary endoscope catalog to compare specs side by side.
Prepare for successful recording: workflow and patient setup
Once you have the right equipment, focus shifts to preparing both patient and tools for smooth recording from the first second to the last.
A pre-procedure checklist reduces the chance of mid-scope surprises. Before anything enters the patient, run through these steps:
- Inspect the scope tip for physical damage, lens contamination, or bending channel stiffness
- Boot up your recording unit and confirm storage space and battery charge
- Set up the patient ID overlay including name, species, date, and procedure type
- White balance the camera under the ambient lighting conditions in your procedure room
- Confirm the monitor resolution and check that the live image is sharp before insertion
- Have your sedation protocol confirmed and the animal properly positioned for scope access
The table below outlines a complete recording workflow to protect diagnostic integrity across all three phases of the procedure.
| Phase | Action | Purpose |
|---|---|---|
| Before recording | Confirm scope cleanliness, ID overlay, and storage capacity | Prevent mid-exam interruptions |
| Before recording | Test-record 10 seconds, review on monitor | Verify focus, color balance, and ID stamp |
| During recording | Keep footage unbroken from insertion to withdrawal | Meet compliance and legal standards |
| During recording | Narrate or annotate key landmarks verbally or via timestamp | Improve post-review clarity |
| After recording | Label the file with date, patient ID, and procedure code | Enable fast retrieval and sharing |
| After recording | Back up to cloud or external drive immediately | Prevent data loss |
Pro Tip: Always preview the live monitor image before inserting the scope. Even experienced endoscopists sometimes skip this step under time pressure, only to discover a fogged lens or an incorrect white balance setting after they've already begun the procedure.
Critical reminder: For official veterinary documentation — particularly for pre-sale equine upper airway exams — the AAEP protocol requires digital equipment for excellent image quality, plus unbroken video footage with patient ID and date/time stamps. The larynx must be visualized continuously for a minimum of 45 to 60 seconds. Any break in footage can invalidate the recording for official use.
If you have questions about compatible digital recording systems or storage options, the video recording FAQs are a practical starting point before you call your equipment rep.
Step-by-step optimized endoscope video recording
With all preparations set, now is the time to follow a proven workflow for capturing diagnostic-grade footage from insertion to scope withdrawal.
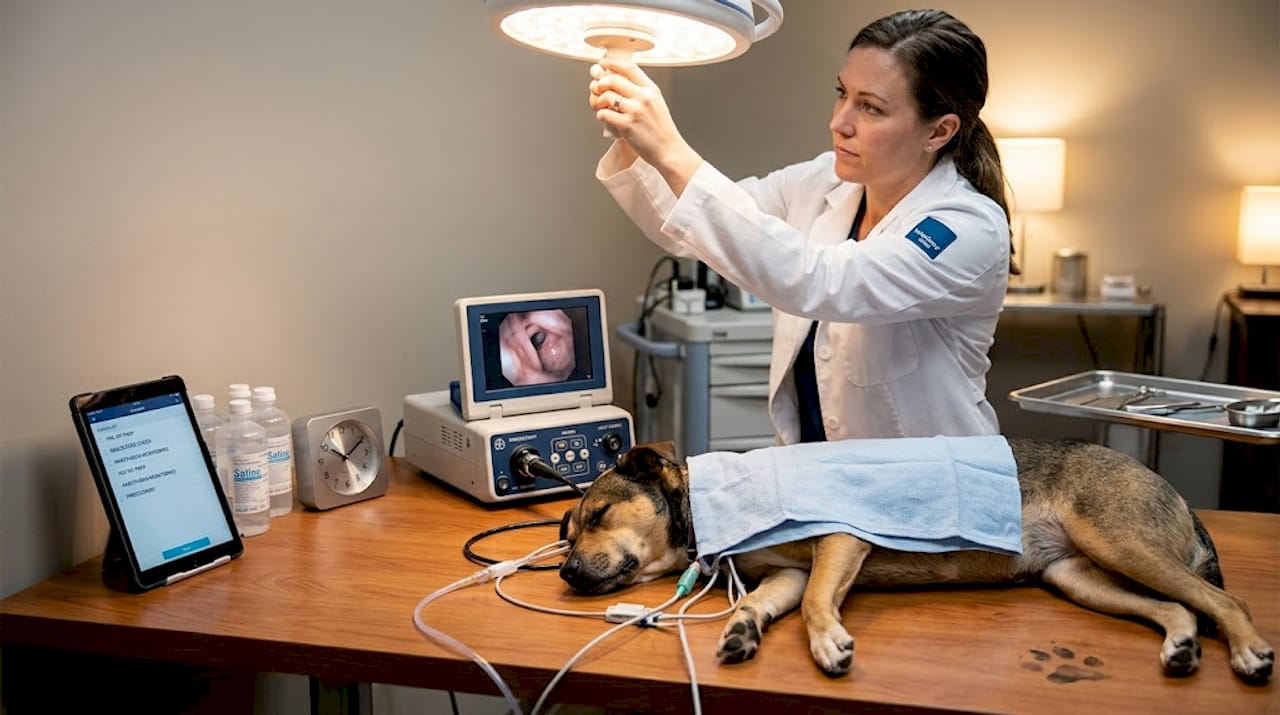
Step 1: Start recording before insertion. Press record while the scope tip is still outside the patient. This gives you a clean footage start that shows the approach and confirms the timestamp is running continuously.
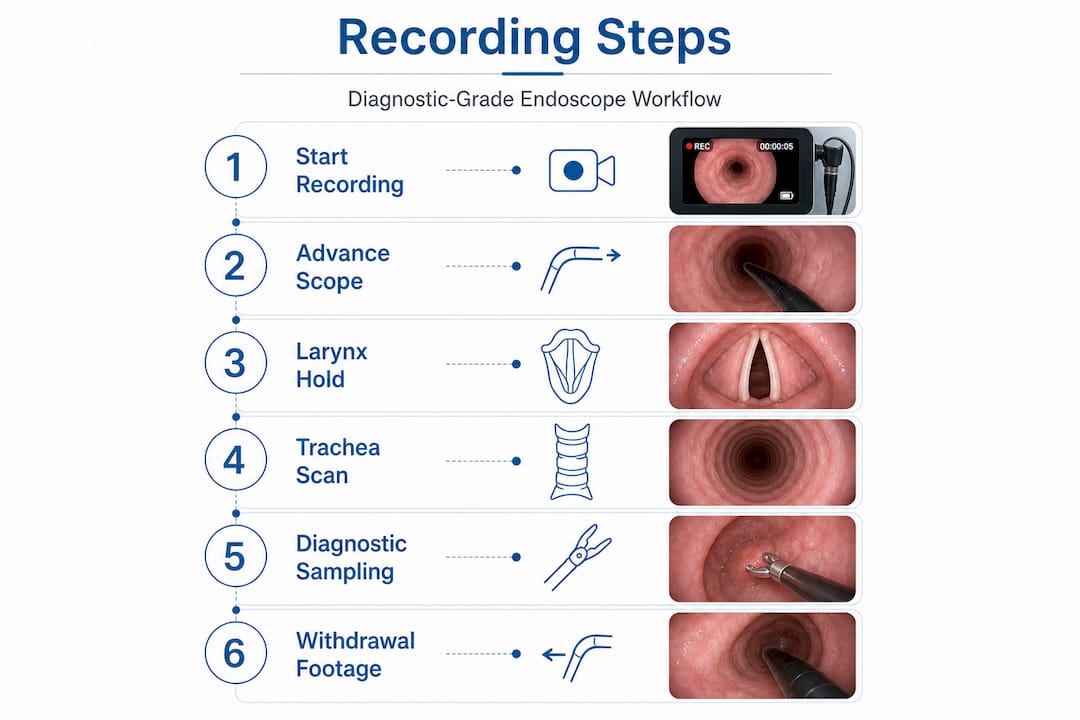
Step 2: Advance slowly through each anatomical region. During upper airway exams in horses or large dogs, narrate each landmark — nasal passage, nasopharynx, soft palate, larynx. Move at a pace the camera can track without motion blur.
Step 3: Hold still at the larynx for a minimum of 45 to 60 seconds. This is the gold standard duration for pre-sale equine exams and applies equally to diagnostic small animal cases. Rushing through the larynx is one of the most common failures in clinical recordings.
Step 4: Record the trachea systematically. During small animal respiratory endoscopy, document tracheal collapse, mucus presence, and mucosal color changes with deliberate slow passes. Note any dynamic changes during breathing cycles.
Step 5: Complete diagnostic sampling before any retrieval. If biopsies or bronchoalveolar lavage (BAL) are planned, perform them before any foreign body removal. Removing the foreign body first contaminates the local tissue and airway secretions, corrupting your biopsy or BAL results.
Step 6: Capture withdrawal footage. Record the scope pull-back through the same anatomical regions for a second pass. This often catches lesions missed on the inward sweep and provides additional documentation.
Step 7: Stop recording only after full scope withdrawal. End the footage cleanly with the scope outside the patient. This confirms an unbroken record and shows the scope was fully removed.
Here's a quick procedural checklist to keep on your tray during the exam:
- Focus sharp at all times, no prolonged blur acceptable
- Consistent illumination with no overexposed (washed-out) highlights
- No unplanned video breaks or gaps
- ID overlay visible throughout the recording
- Key anatomical landmarks annotated or verbally noted
Pro Tip: For procedures that involve both airway and gastrointestinal evaluation in the same session, use rigid endoscopy options for nasal or oral cavity work and switch to a flexible scope for the lower GI component. Keeping a separate file for each scope pass simplifies review and avoids one excessively long clip that's difficult to navigate.
For equine cases specifically, equine recording scopes with extended working lengths and integrated USB recording output make it easier to capture the full upper airway from a single continuous pass.
Review, troubleshoot, and improve your recordings
After recording, quality control and troubleshooting ensure that your footage is diagnostic-ready and professionally documented before it ever reaches a client or referring veterinarian.
Start with these quick post-procedure checks on every file before you close out the case:
- Focus: Is the image sharp during key anatomical holds, or are critical segments blurry due to scope movement?
- Lighting: Are mucosal surfaces visible with true color representation, or are areas overexposed or too dark?
- ID labeling: Is the patient name, date, and procedure type visible on screen throughout the recording?
- Continuity: Is the footage unbroken from start to finish, with no accidental pauses or file splits?
- Duration: Did the key visualization targets (e.g., larynx, tracheal segments) meet the minimum time requirements for documentation standards?
Here's a quick-reference table covering the most common recording errors, why they matter, and how to fix them going forward:
| Error | Diagnostic impact | Practical fix |
|---|---|---|
| Interrupted video | Invalidates documentation for official use | Record continuously; disable screen timeout on capture device |
| Out-of-focus footage | Lesions missed or unclassifiable | Slow scope advance; manually focus before critical holds |
| Missing ID/timestamp | Non-compliant, unusable for legal purposes | Set ID template in device settings before every procedure |
| Overexposed (white-out) image | Loss of mucosal color and texture detail | Reduce light source intensity by 10–15% in reflective cavities |
| Poor file management | Lost footage, delayed sharing | Use standardized naming (PatientID_Date_Procedure) and auto-backup |
For practices performing dental or oral procedures, dental videoscopes with integrated lighting and recording systems make it easier to maintain consistent image quality in confined oral spaces where standard scopes may struggle.
On the improvement side, peer review is highly underutilized in veterinary endoscopy. Schedule a monthly 30-minute session where your team watches three to five case recordings together. This builds collective skill and catches recurring technique gaps far faster than solo review alone.
What most guides miss about veterinary endoscope recording
Here's a reality we've seen across many veterinary practices: teams spend significant budget on HD videoscopes, then record footage that would fail basic compliance standards. The problem is almost never the hardware.
The real bottleneck is workflow discipline at the team level. Most guides focus on the veterinarian's technique, but a recording is only as good as the preparation the technician completed before the scope was ever handed over. If the device wasn't charged, the ID overlay wasn't configured, or the storage card wasn't checked, no amount of expert scoping technique will save that footage. Recording quality is a team output.
Training every team member — not just the lead clinician — to set up the recording unit, verify the pre-procedure checklist, and review footage for basic quality standards is what separates practices that generate consistently reliable documentation from those that scramble to repeat procedures. This isn't about micromanagement. It's about building a repeatable standard that holds even when the senior vet is managing anesthesia at the same time.
There's also an uncomfortable truth about post-processing. Many practices invest in software to enhance brightness or sharpen footage after the fact. These tools can help marginally, but they cannot recover diagnostic information that wasn't captured in the first place. An overexposed laryngeal image will stay overexposed no matter how many filters you apply. The only fix is getting the exposure right during the procedure.
Consistent ID stamps and unbroken footage are not bureaucratic formalities. They are what allow a recording to serve as a legal document, a referral tool, or a teaching case. Skipping them to save 30 seconds of setup time creates problems that take hours to address later — or worse, forces a repeat procedure under sedation.
If you are evaluating video system options for your practice, prioritize systems that make ID entry fast and automatic, rather than systems loaded with post-processing features that compensate for poor capture habits. The best recording workflow is one that your entire team can execute correctly, every time, without relying on the clinician to supervise every step.
Upgrade your endoscope video solutions
If this guide has clarified where your current recording workflow can improve, the next step is ensuring your equipment actually supports those improvements.

At 1800endoscope.com, we offer veterinary endoscopy systems designed specifically for the documentation standards, portability requirements, and species diversity that real veterinary teams face daily. From compact portable airway endoscope systems with integrated HD recording to full-system setups with USB and wireless output, our equipment is matched to the actual workflow demands of small animal clinics, equine practices, and mixed-species facilities. Explore the full shop endoscope catalog to compare specifications across scope types, and reach out to our team for personalized recommendations based on your procedure mix and patient population.
Frequently asked questions
What endoscope size should I use for small cats or toy dogs?
Use a scope with an outer diameter of 2.7 to 4.0 mm for cats or toy dogs under 5 kg to ensure safe bronchoscopic access without tissue trauma.
How long should I record the larynx during respiratory endoscopy?
Record at least 45 to 60 seconds of uninterrupted laryngeal footage to meet diagnostic and compliance standards for official documentation.
What are the most common mistakes when recording veterinary endoscopy videos?
Frequent errors include interrupted video, poor lighting, out-of-focus images, and missing ID or timestamps — all of which can invalidate documentation for official or referral use.
Why is digital recording preferred for veterinary endoscopy?
Digital video meets compliance requirements for official exams, supports easy sharing and storage, and delivers the consistent image quality needed for accurate diagnosis and documentation.
When should biopsies or BAL be performed in an endoscopic procedure?
Always perform biopsies or BAL before any foreign body removal to prevent tissue contamination that would compromise your sample results.