
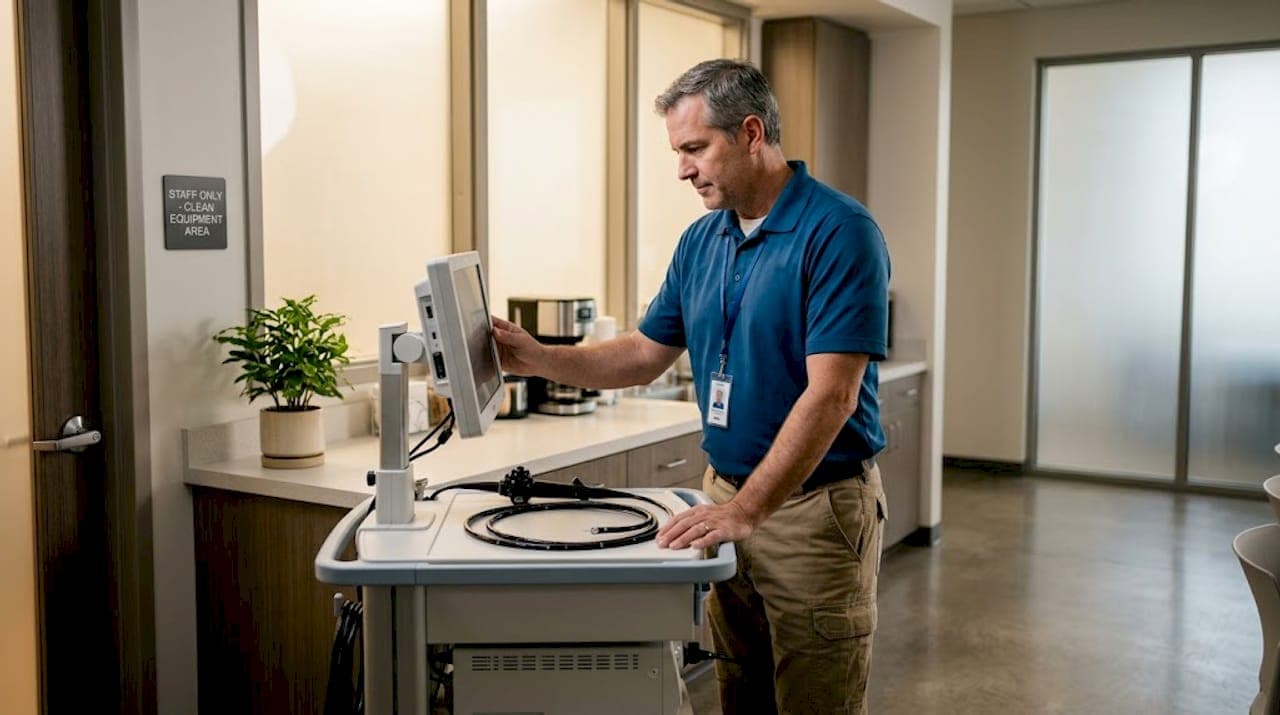
Leaks hiding inside walls, pipelines, pool systems, or mechanical assemblies are not just difficult to find. They're expensive to ignore. Knowing how to detect leaks with videoscope technology gives you a direct line of sight into areas that would otherwise require demolition, disassembly, or costly guesswork. Videoscopes thread into cavities, bends, and confined spaces to deliver live video exactly where you need it. This guide covers every phase of the process: gear prep, step-by-step inspection, common mistakes to avoid, and how to confirm your findings for reporting and repair.
Table of Contents
- Key takeaways
- How to detect leaks with videoscope: getting your gear ready
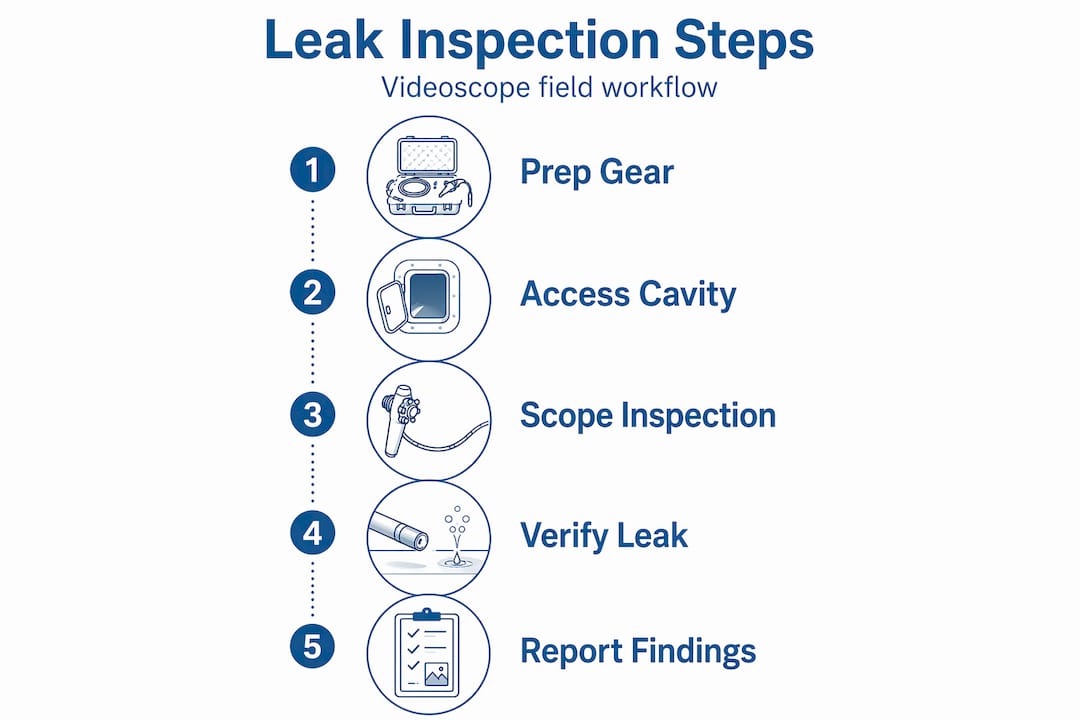
- Step-by-step process for videoscope leak inspection
- Troubleshooting common videoscope inspection challenges
- Verifying results and planning next steps
- My take on what actually makes videoscope leak detection work
- Tools and support for your next leak inspection
- FAQ
Key takeaways
| Point | Details |
|---|---|
| Videoscopes replace demolition | A 6 to 10 mm access hole lets you inspect cavities without structural damage. |
| Pair tools for accuracy | Combine thermal imaging with visual videoscope inspection to locate and confirm leaks faster. |
| Document everything on-site | Capture images and video during inspection to support reporting, insurance claims, and repair planning. |
| Avoid false positives | Use clear water only during wet testing. Detergent creates bubbles that mask or mimic real leaks. |
| Verify with moisture meters | Numerical moisture readings provide the evidence base that insurers and stakeholders require. |
How to detect leaks with videoscope: getting your gear ready
Before you insert a scope into any structure or system, your equipment selection determines how useful the inspection will be. Not all videoscopes perform the same way in leak detection scenarios. You need the right combination of diameter, articulation, and lighting for the cavity you're entering.
What to bring to a videoscope leak inspection:
- A flexible videoscope with at least 360-degree articulation for navigating bends and tight corners
- A small diameter scope (6 mm or less) for inserting through minimal access holes without major structural impact
- An infrared thermal camera to detect temperature anomalies caused by moisture before visual confirmation
- A moisture meter to quantify water content in walls or substrates after visual findings
- A portable light source or a scope with integrated LED lighting for low-visibility cavities
- A recording system, either built-in or external, to capture images and video for your report
- Drill and appropriate drill bits for creating access points when no existing opening is available
- Patching compound or plugs to restore access holes after inspection
Calibrate your scope before every job. Check the articulation controls, confirm the image quality on your monitor, and test the recording function. A scope that loses image mid-inspection wastes your time and the client's money.
Pro Tip: If you're inspecting a structure where moisture is already suspected, run your thermal camera scan first. Thermal and videoscope combination narrows your access point locations before you drill, saving time and minimizing unnecessary holes.
Environmental conditions matter too. High ambient humidity can create condensation inside cavities that looks like active moisture. Note the outdoor temperature and relative humidity before the inspection so you can account for environmental factors when interpreting what you see.
Step-by-step process for videoscope leak inspection
Once your gear is confirmed and ready, the inspection itself follows a logical sequence. Rushing through any of these steps produces incomplete findings.
-
Map the suspect zone. Talk to the client or review maintenance records to understand where the leak symptom is appearing. Water staining, mold growth, pressure drops, or performance loss all point toward a starting zone. Don't start drilling until you have a logical target area.
-
Perform a thermal scan of the surface. Use your infrared camera to identify cold spots, temperature gradients, or moisture signatures along walls, floors, or around pipe runs. This step dramatically reduces the number of access holes you need.
-
Select your access point. Choose a location that puts the scope tip closest to the suspected leak source. Access holes between 6 and 10 mm are standard for building cavity inspections. That size is large enough for most flexible scopes and small enough to patch cleanly after.
-
Drill or open the access point carefully. Use a low-speed drill to avoid heat buildup in the substrate. In older structures, check for electrical wiring or plumbing behind the surface before drilling. A stud finder and pipe detector reduce risk here.
-
Insert the videoscope slowly. Feed the insertion tube gently and let the articulation do the work. Forcing the scope around corners stresses the bending section and can damage the internal fiber bundle or camera cable. Move in small increments and watch the live feed for orientation cues.
-
Scan for visual leak indicators. Look for standing water, water tracks on surfaces, rust streaks, efflorescence on concrete, active dripping, or discoloration on pipe walls. In pool and plumbing systems, look at return line joints, fittings, and seal surfaces where most leaks originate.
-
Document every finding in real time. Take still images and short video clips at each point of interest. Label your documentation with location references, depth of scope insertion, and a timestamp. This makes report writing faster and gives stakeholders clear visual evidence.
-
Mark and note the precise location. Once you identify a leak indicator, note the access point location, insertion depth, and orientation of the scope tip. This data tells the repair team exactly where to open the structure.
Pro Tip: Many technicians using videoscopes for industrial pipe inspection also carry dye-injection tools. Dye injection through the scope can confirm a suspected leak point in return lines by showing which joint or crack carries the dye downstream.
Troubleshooting common videoscope inspection challenges
Even experienced technicians run into problems during videoscope leak inspections. Knowing what to expect keeps you from misreading findings or damaging your equipment.
Distinguishing real leaks from false positives is the most common challenge. Condensation inside a cool cavity can coat surfaces and look like active moisture. The key difference is distribution. Condensation coats broad surfaces evenly. Active leaks produce concentrated tracks, pooling at low points, or dripping patterns originating from a specific source.
Low light and image quality issues in deep cavities are frustrating but manageable. If your integrated LED lighting is insufficient, consider a scope with adjustable brightness or an external light source inserted through a second small access hole. Dirty scope tips also degrade image quality significantly. Wipe the lens before each insertion.
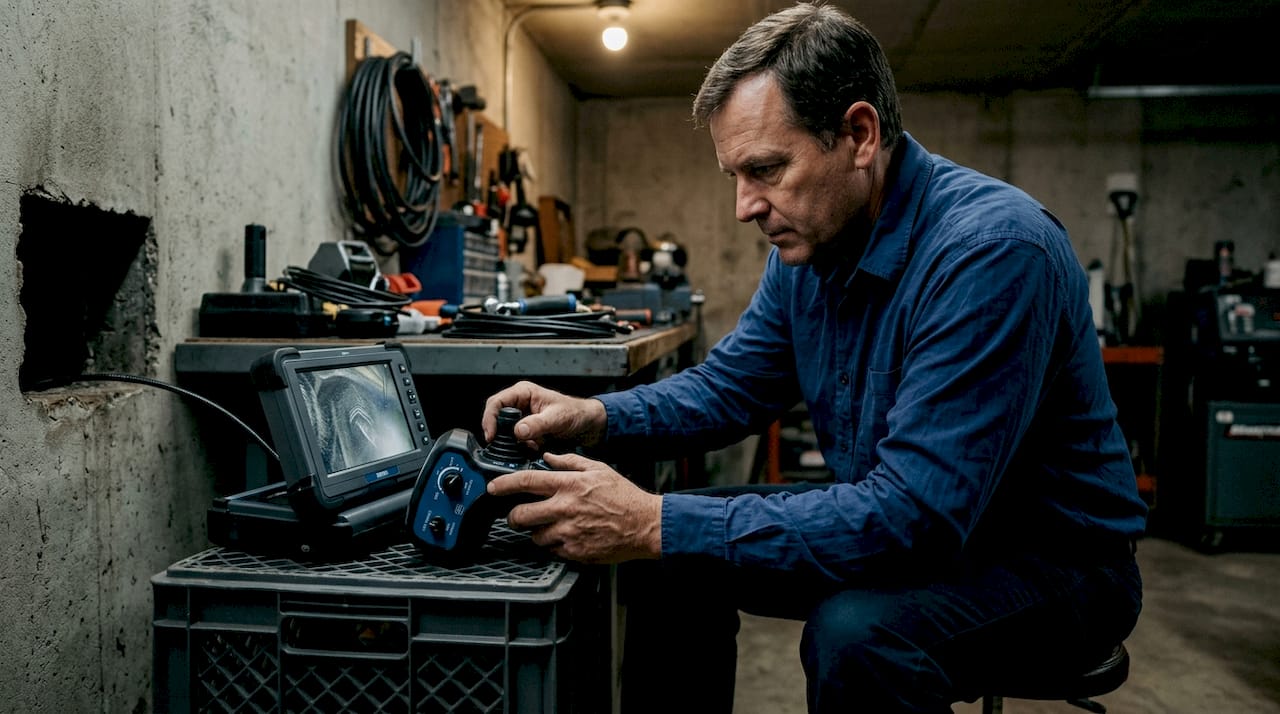
Protecting the scope during inspection matters more than speed. Flexible endoscopes are most vulnerable at the bending section. Inspection of bending sections during pressurized testing is the standard approach to catching damage before it worsens. If you feel resistance during insertion, pull back and reassess the angle before pushing further.
Watch out for these specific procedural errors:
- Inserting too far without checking orientation, which causes the scope to loop back on itself
- Using the scope in spaces with standing corrosive liquid without confirming the scope's chemical resistance rating
- Skipping the post-inspection cleaning protocol, which accelerates internal wear
- Relying solely on visual inspection without backing up findings with moisture meter readings
Water leak inspections in building cavities also benefit from a brief pressurization check. Standard leak test timing runs 30 seconds with automated systems and up to 2 minutes for manual gauge verification. Watching for slow pressure drops during that window catches leaks that show no immediate visual symptom.
Verifying results and planning next steps
A videoscope image is visual evidence, not a measurement. To build a finding that holds up to insurance review, stakeholder scrutiny, or maintenance planning, you need to confirm what you saw with secondary methods.
| Verification method | What it confirms | When to use it |
|---|---|---|
| Moisture meter | Water content percentage in substrate | After visual identification of suspected moisture |
| Thermal imaging | Temperature anomalies from cooling moisture | Before and after videoscope insertion to compare findings |
| Pressure drop test | Loss of containment in sealed systems | For pipe runs, pool lines, and HVAC ductwork |
| Wet leak test | Active leak in pressurized components | On endoscopes and sealed equipment before return to service |
Moisture meters deliver the numerical data that insurers require to authorize claims. A visual finding from your videoscope tells you where to look. The moisture reading tells the insurer and client how serious the problem is.
For wet leak testing on pressurized components, use clear water only. Detergent in the test water creates artificial bubbles that can mask real leaks or generate false positives. Pressurize the component before submerging and keep pressure steady until you remove it from the water.
Once your findings are confirmed, prioritize repairs based on active versus potential leaks. Active leaks with measurable moisture readings above threshold values need immediate attention. Hairline corrosion tracks or minor structural discoloration can be flagged for monitoring and scheduled repair. Your report should include the access point location, scope insertion depth, documented images, secondary measurement data, and a recommended repair timeline.
Videoscopes reduce dismantling costs by letting you identify exactly what needs repair before any cutting or demolition begins. That specificity is what separates a useful inspection report from a guess.
My take on what actually makes videoscope leak detection work
I've worked with technicians across building inspection, HVAC, veterinary, and industrial NDT settings. The pattern that separates fast, accurate inspections from frustrating ones has almost nothing to do with the scope itself.
Preparation is what actually moves the needle. The technicians who document job history before they arrive, run thermal scans before they drill, and confirm calibration before they insert the scope consistently find leaks faster and with fewer access holes. The ones who skip prep and rely on the scope to do all the thinking end up drilling three holes when one would have done the job.
There's also a persistent misconception that a more expensive scope automatically produces better leak findings. It doesn't. A portable 6 mm videoscope in skilled hands will outperform a high-spec unit used without a clear inspection plan every time. The industrial videoscope market is valued over $1.4 billion and growing fast. That tells you professionals across industries have recognized the value. But the technology is only as good as the protocol behind it.
My advice: build a written pre-inspection checklist specific to each type of job you run. Building cavity leaks have different environmental variables than pool line leaks or HVAC coil inspections. Tailor your checklist accordingly. And always document more than you think you need. The one image you skip is the one the client asks for six weeks later.
— Endoscope
Tools and support for your next leak inspection
If you're ready to improve your leak detection capability, 1800endoscope carries a full range of videoscopes and accessories matched to the demands of industrial, building, and veterinary inspection work.

From portable small-diameter scopes designed for tight cavities to HD recording systems that make documentation effortless, 1800endoscope serves technicians who need reliable gear that holds up in the field. Explore the full inspection catalog to compare scope diameters, articulation ranges, and recording options for your specific application. If you're new to videoscope leak detection or need help selecting the right model, the inspection procedures FAQ covers common setup and usage questions in detail. Getting the right tool matched to the right job is where every successful inspection starts.
FAQ
What size access hole do I need for a videoscope?
Most flexible videoscopes fit through access holes between 6 and 10 mm in diameter, which causes minimal structural damage and is straightforward to patch after inspection.
Can a videoscope confirm a leak on its own?
A videoscope provides visual evidence but works best when paired with a moisture meter and thermal camera, which together deliver the measurement data needed for reporting and insurance documentation.
How do I avoid false positives during videoscope leak detection?
Check for condensation patterns versus concentrated water tracks, and when performing wet testing, use clear water only. Detergent creates false bubble signals that can mimic or obscure actual leaks.
How long should a pressurization leak test last?
Automated systems typically run for 30 seconds, while manual gauge testing runs up to 2 minutes. Monitoring pressure carefully across that window catches slow leaks that produce no immediate visual sign.
What industries use videoscopes for leak detection?
Videoscope leak detection is used across building inspection, HVAC, plumbing, pool and aquatic systems, veterinary endoscopy maintenance, and industrial NDT applications where non-destructive access to hidden areas is required.