
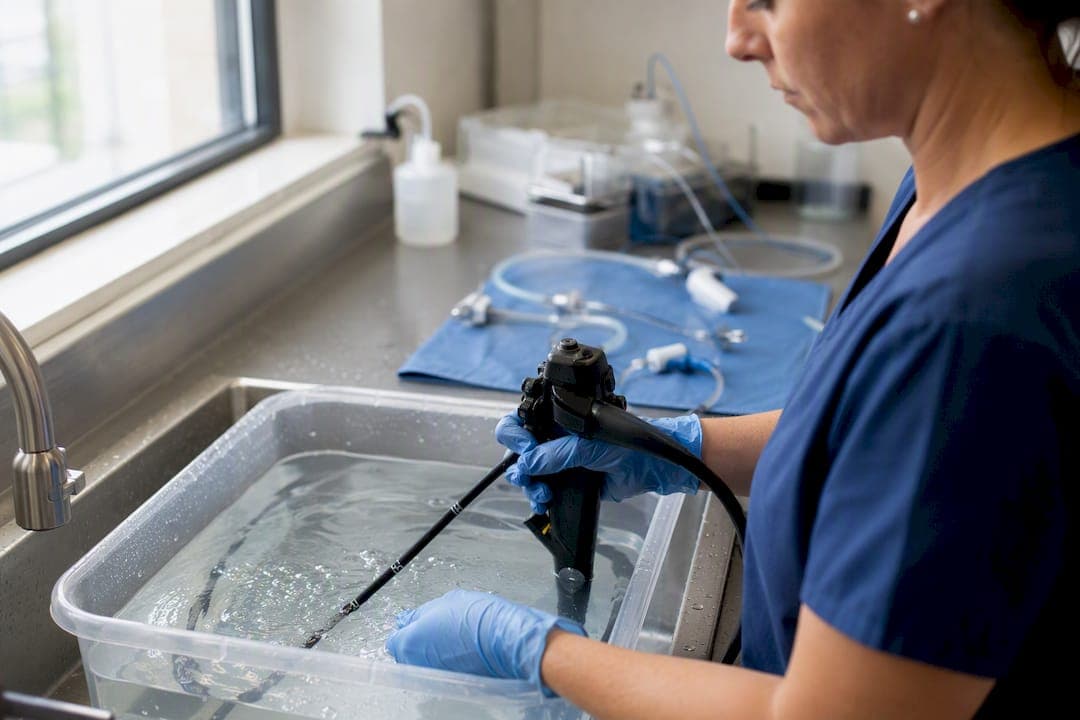
Perform a dry leak test before every manual cleaning and reprocessing cycle, and follow with a wet submersion test whenever the device passes dry testing or the manufacturer's IFU calls for it. Any scope that fails either test gets pulled from service immediately, tagged, and sent for repair. This isn't optional housekeeping. It's the single step standing between a small seal failure and a five-figure repair bill for internal fluid damage.
TL;DR:
- A leak test must be performed before each reprocessing cycle, including both dry and wet tests, to prevent costly internal fluid damage.
- Use a verified, properly calibrated leak tester and follow time guidelines of approximately 30 seconds of pressurization and 60 seconds of observation.
- Bubble locations during submersion indicate specific component failures, with the bending rubber and channel tubes being common leak sites.
- False results often come from contaminated water, worn O-rings, or inadequate hold times; always perform thorough equipment checks beforehand.
- Immediate repair or replacement is required for scopes that fail the leak test, with documentation and vendor routing per strict standards like ANSI/AAMI ST91.
Table of Contents
- How Do You Perform a Leak Test Step By Step?
- What Equipment Do You Need for Leak Testing?
- How Do You Read Bubbles and Locate a Leak?
- What Causes False Leak Test Results?
- What Do You Do When a Leak Test Fails?
- What Standards Govern Endoscope Leak Testing?
- Field Tips From Technicians Who Test Scopes Daily
- Why Consistent Leak Testing Protects Your Equipment Budget
- Get the Right Tools for Reliable Leak Testing
- Sources
How Do You Perform a Leak Test Step By Step?
The sequence matters as much as the test itself. Skipping straight to submersion, or rushing the hold time, is how technicians miss slow leaks that only show up under sustained pressure.
Start dry. Confirm the scope's connectors are completely dry before you attach anything. A wet connector can trick a dry tester into reading a false pressure drop, sending you chasing a leak that doesn't exist.
- Gather PPE, a basin of clean plain water large enough for full submersion, the correct leak tester and adapter for the scope model, and a verified air source with the gauge zeroed.
- Attach the dry leak tester to the scope's dry connectors and pressurize to the range specified in the manufacturer's IFU, typically holding for a period sufficient to detect any pressure drop while watching the gauge.
- If the dry test holds steady, keep the tester attached and pressurized, then fully submerge the scope in the water for the wet leak test.
- Angulate the bending section through its full range in every direction while observing for a steady stream of bubbles, not the occasional stray one.
- If bubbles appear, flush the suspect channel with a syringe. This clears trapped air pockets and confirms whether you're looking at a true leak or just an air bubble working its way out.
- Record the result, hold time, and pressure reading according to your facility's SOP, whether the scope passed, failed, or needs a repeat test.
The University of Toledo's endoscope reprocessing SOP recommends roughly 30 seconds of pressurization before submersion and a full 60 seconds of observation while angulating, a rhythm worth building into your muscle memory so you're not eyeballing the clock mid-test.
Pro Tip: Angulate slowly and pause at full deflection in each direction for a few seconds. Leaks in the bending rubber often only open up under maximum flex, and a fast sweep will miss them.
What Equipment Do You Need for Leak Testing?
Most failed tests trace back to setup, not the scope. A leak tester with a worn O-ring or an unzeroed gauge will hand you a false result before you even touch the endoscope.
- A leak tester, either a manual hand pump unit or an automated tester, matched with the correct model-specific adapter for the scope's connector.
- A verified air source with a gauge checked against zero, plus a visual inspection of the tester's own O-rings for cracking or flattening.
- A basin of plain clean water only, sized for full submersion of the insertion tube and control body. No detergent, soap, or enzymatic solution.
- Syringes sized for the scope's channels, for flushing during the wet test.
- PPE per your facility's exposure control plan, and a documentation form ready before you start.
Skipping the calibration check on the gauge is the most common shortcut technicians take, and it's the one most likely to hand you a bad result.
How Do You Read Bubbles and Locate a Leak?
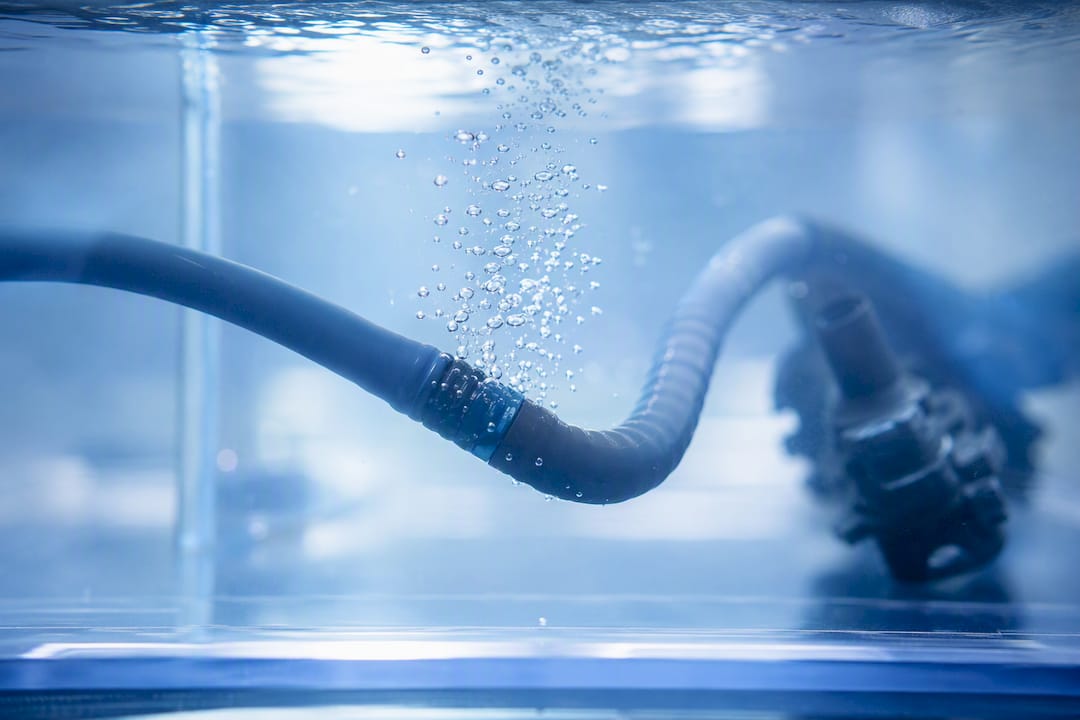
A slow, steady pressure drop on the dry test tells you air is escaping somewhere, even before you see a single bubble. Continuing to a wet test at that point is still the right move: submersion is what turns "there's a leak" into "here's exactly where."
Bubble location correlates strongly with the failed component, and reading that correlation correctly saves a repair vendor time and saves you a guessing game.
| Bubble location | Likely failed component |
|---|---|
| Distal bending section | Bending rubber |
| Mid-shaft, along insertion tube | Insertion tube sheath |
| Biopsy or suction port | Channel tube |
| Light guide connector | Light guide sheath |
Work the scan from tip to proximal connector, methodically, rather than scanning the whole device at once. A single continuous bubble stream at one location is a true leak. Sporadic single bubbles that stop after a few seconds are usually trapped air working free, which is exactly why flushing the channel before you call a result is worth the extra thirty seconds.
Pro Tip: If bubbles seem to come from everywhere at once, check your own tester's seal against the connector first. A loose adapter fitting mimics a device-wide leak and sends techs looking for damage that isn't there.
What Causes False Leak Test Results?
Most false positives and false negatives trace back to a handful of repeat offenders, and they're almost all avoidable with a five-minute equipment check before you start.
- Detergent or any foaming agent in the water bath creates bubbles that have nothing to do with the scope, masking real leaks entirely. Use plain clean water only.
- A worn or cracked O-ring on the leak tester itself can cause both false passes and false fails; inspect it before every shift and replace it on a set schedule, not just when it visibly fails.
- Insufficient hold time is the most common technique error. Thirty seconds of pressurization before submersion and sixty seconds of observation, as recommended in facility SOPs, isn't arbitrary. Slow leaks need that window to show themselves.
- Wrong pressure range, either too low to reveal a leak or high enough to stress a borderline seal, will skew results in either direction.
When a result is ambiguous, don't guess. Repeat the dry test, inspect your tester's O-rings, flush the channels again, and cross-check the pressure range against the device IFU before recording anything final.
What Do You Do When a Leak Test Fails?
A failed test triggers an immediate, specific sequence. Improvising here is where damage gets worse and documentation gets thin.
- Release pressure and remove the scope from the water immediately, minimizing further fluid ingress into any breached area.
- Tag the device as damaged and physically remove it from the reprocessing workflow so no one downstream mistakes it for clean and ready.
- Document the scope's serial number, test type, observed leak location, timestamp, and staff name, with photos or video of the bubble site if possible.
- Quarantine the scope and route it to the manufacturer or an authorized repair vendor per the device IFU. Don't attempt an in-house fix beyond an authorized O-ring swap.
- Notify the clinical team of the downtime and log the event for asset tracking, since repeat failures on the same unit often signal a pattern worth flagging to procurement.
What Standards Govern Endoscope Leak Testing?
ANSI/AAMI ST91:2021 requires leak testing for every flexible endoscope before each manual cleaning and reprocessing cycle, a tightening from the 2015 version of the standard. That frequency requirement isn't a suggestion your facility can trim down during a busy shift.
- Follow AAMI ST91:2021 for testing frequency and general technique expectations across your reprocessing workflow.
- Always defer to the device-specific IFU for exact pressure ranges and adapter requirements. The IFU overrides any generic default whenever the two disagree.
- Facility SOPs should mirror both AAMI guidance and the manufacturer's IFU line for line, not paraphrase them loosely.
- Build in regular training and competency checks. A skipped test performed by an unverified technician defeats the entire purpose of the standard.
Clinical literature on leak testing frames this less as a paperwork requirement and more as the front line against fluid invasion that damages optics and electronics while raising infection risk for the next patient.
Field Tips From Technicians Who Test Scopes Daily
Keep a small stock of spare O-rings, valve seals, and syringes in common sizes on hand. A missing seal shouldn't be the reason a working scope sits idle for a week.
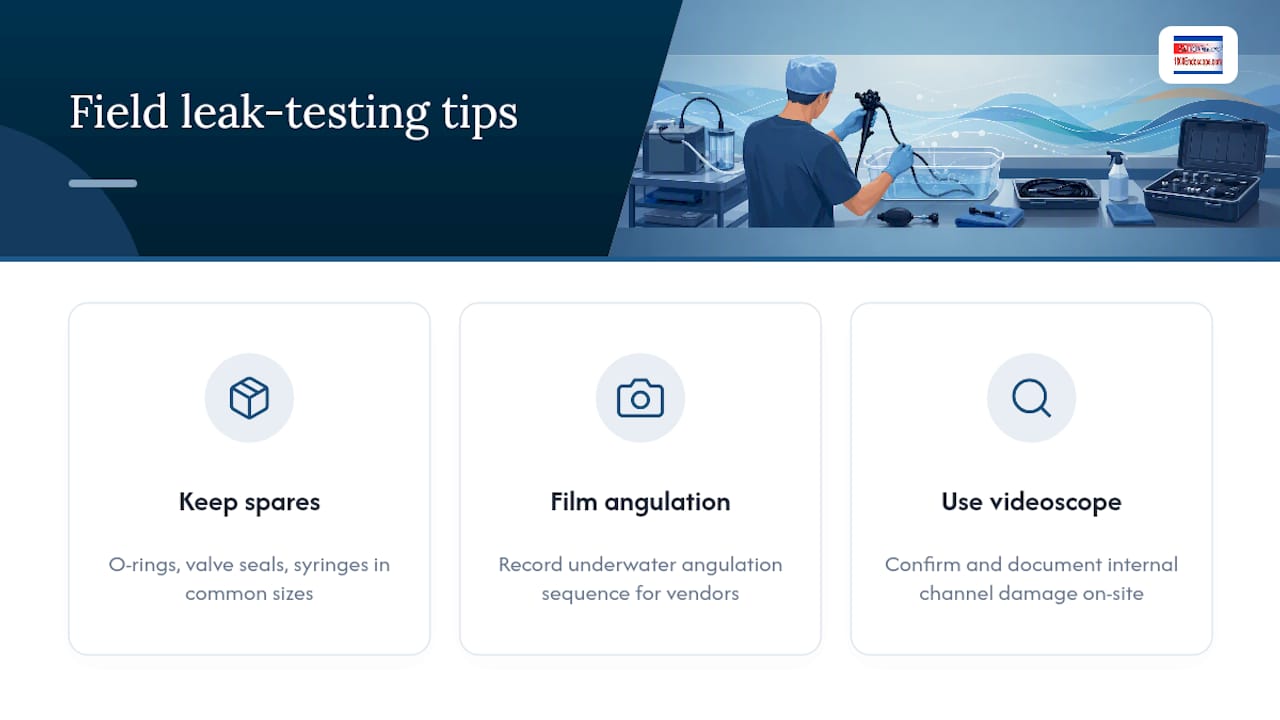
When you find a leak, film the angulation sequence underwater. It gives repair vendors a head start on diagnosis before the scope even arrives, and it's far more useful than a written description alone. A portable videoscope can help confirm and document internal channel damage once you've localized the leak externally, especially in a mobile or constrained field setup.
Why Consistent Leak Testing Protects Your Equipment Budget
A leak test that takes two extra minutes has, in practice, caught small bending-rubber failures before they let fluid reach the internal wiring and optics. That's the difference between an O-ring swap and a full internal repair invoice. Build the checklist into training, run it the same way every time, and treat the hold time as non-negotiable, not a step to shortcut on a busy list.
— Endoscope
Get the Right Tools for Reliable Leak Testing
Running a leak test correctly depends on having the right tester, the right adapter, and a way to confirm what you find. 1800endoscope stocks manual leak testers with model-matched adapters, O-ring kits, syringes, and basins sized for full submersion, so your setup checklist stops being the weak link in your reprocessing workflow.

For facilities that need to localize a leak fast or document a failed test for a repair vendor, a portable video inspection system gives you a direct view and recorded evidence without shipping the scope out blind. Technicians who need broader diagnostic reach across multiple scope types can browse the full borescope and videoscope catalog for portable options that fit a mobile cart or a tight exam room. Every part ships ready to match standard connector types used across common flexible endoscope models, so replacing a worn tester O-ring doesn't turn into a multi-week wait. Check current stock and place an order through the catalog to keep your leak testing kit complete before your next reprocessing cycle.
Sources
- Wet vs. Dry Leak Testing - Infection Prevention (Olympus)
- Reprocessing flexible endoscopes: leak testing (University of Toledo SOP)