
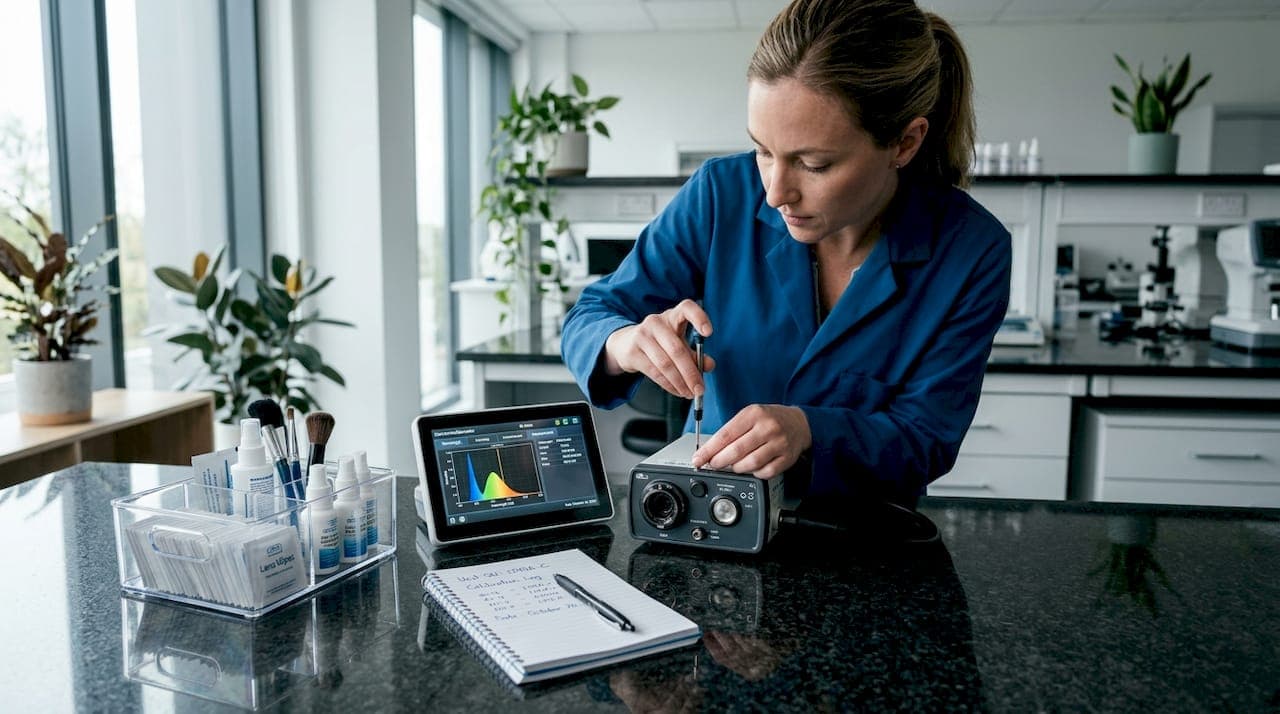
When a light source drifts out of calibration, the consequences reach further than a dim image. In veterinary endoscopy, inaccurate light output obscures tissue detail that changes a diagnosis. In industrial inspection, it produces measurement errors that compromise a whole audit trail. The light source calibration process addresses these risks directly, covering everything from environmental prep and spectral measurement to correction factor application and ongoing verification. This guide gives you the full picture, structured around how calibration actually happens in the field and in the lab, so you can execute it with confidence.
Table of Contents
- Key takeaways
- The light source calibration process: prerequisites and tools
- Step-by-step calibration procedure
- Common calibration challenges and troubleshooting
- Verifying results and maintaining light source accuracy
- My take on what actually goes wrong in the field
- Equip your practice with calibrated systems from 1800endoscope
- FAQ
Key takeaways
| Point | Details |
|---|---|
| Preparation determines outcome | Controlled environment, calibrated reference instruments, and traceability documentation must be in place before any measurement begins. |
| Correction factors are non-negotiable | Lamp aging, distance geometry, and environmental contributions each introduce errors that must be corrected, not approximated. |
| On-site calibration is a viable option | Factory-level results are achievable on-site when transfer standards and validated methods are properly applied. |
| Annual recalibration is the baseline | Reference light sources used for luminance meter calibration require recalibration at least once per year to maintain operational accuracy. |
| Uncertainty documentation protects traceability | Every calibration must include a documented uncertainty analysis per GUM to survive audit scrutiny and maintain traceability chain integrity. |
The light source calibration process: prerequisites and tools
Before you take a single measurement, your setup determines how reliable your results will be. Skipping preparation is the fastest way to produce calibration data that looks correct but fails under audit.
Required instruments and reference materials
The core tools for a traceable calibration include:
- A calibrated spectroradiometer with UV-VIS-NIR range coverage
- A calibrated FEL tungsten-halogen standard lamp (your primary irradiance reference)
- A Spectralon diffuse reflectance target with certified reflectance data
- Order-sorting long-pass filters to suppress stray light in spectral measurements
- A calibrated power supply with current stabilization
- Transfer standards with documented uncertainty propagation records
Each instrument must carry current calibration certificates. If any certificate has lapsed, the entire traceability chain breaks.
Environmental controls
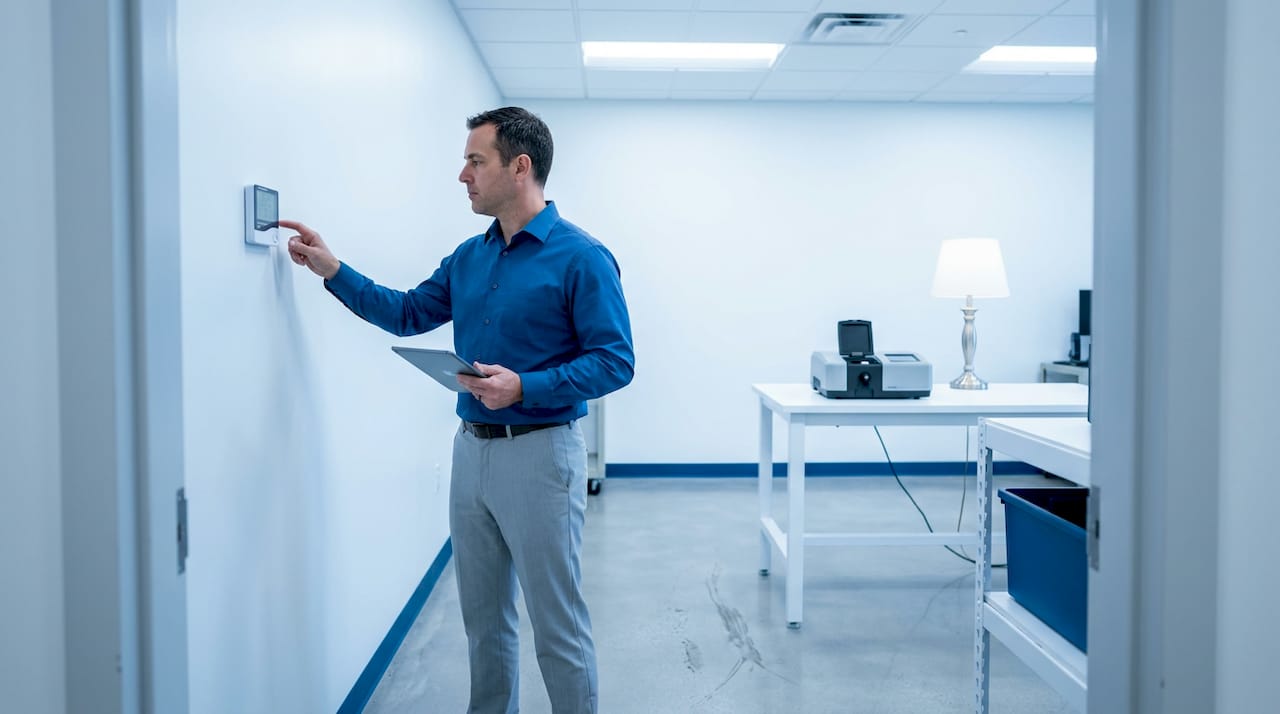
Temperature variation warps spectral output. You need a controlled measurement space, stable within ±1°C, with no stray light from windows, overhead fluorescents, or adjacent equipment. For on-site veterinary or industrial work, black-out curtains and portable baffles are a practical fix. Confirm air handling is not directed at the source or detector, because thermal drafts cause measurable output fluctuations.
Regulatory and documentation requirements
Calibration hierarchies require accredited procedures and documented uncertainty propagation, even when successive results appear consistent. You need a pre-calibration baseline record, a log of all equipment serial numbers and certificate expiry dates, and a completed uncertainty budget before you begin. If you are operating under ISO or NIST-traceable requirements, this is not optional paperwork. It is the structure that makes your results defensible.
On-site vs. factory calibration
| Factor | On-site calibration | Factory calibration |
|---|---|---|
| Cost and downtime | Lower travel cost, no shipping, minimal downtime | Higher cost, equipment removed from service |
| Traceability | Achievable with transfer standards and validated methods | Full access to primary standards lab |
| Complexity | Requires skilled technician and portable reference instruments | Handled by lab personnel with dedicated equipment |
| Best for | Routine annual recalibration, field verification | Initial certification, post-repair validation, dispute resolution |
On-site NIST-traceable calibration can mirror factory standards when you use validated methods and proper transfer standards. The key limitation is that you are working one step further from the primary standard, which widens your uncertainty budget slightly. Know that going in.
Pro Tip: Before any on-site calibration job, pre-condition your FEL lamp for at least 30 minutes at its rated current. Lamp output is not stable during the first phase of operation, and measuring during warm-up introduces a systematic error that no correction factor will fix.
Step-by-step calibration procedure
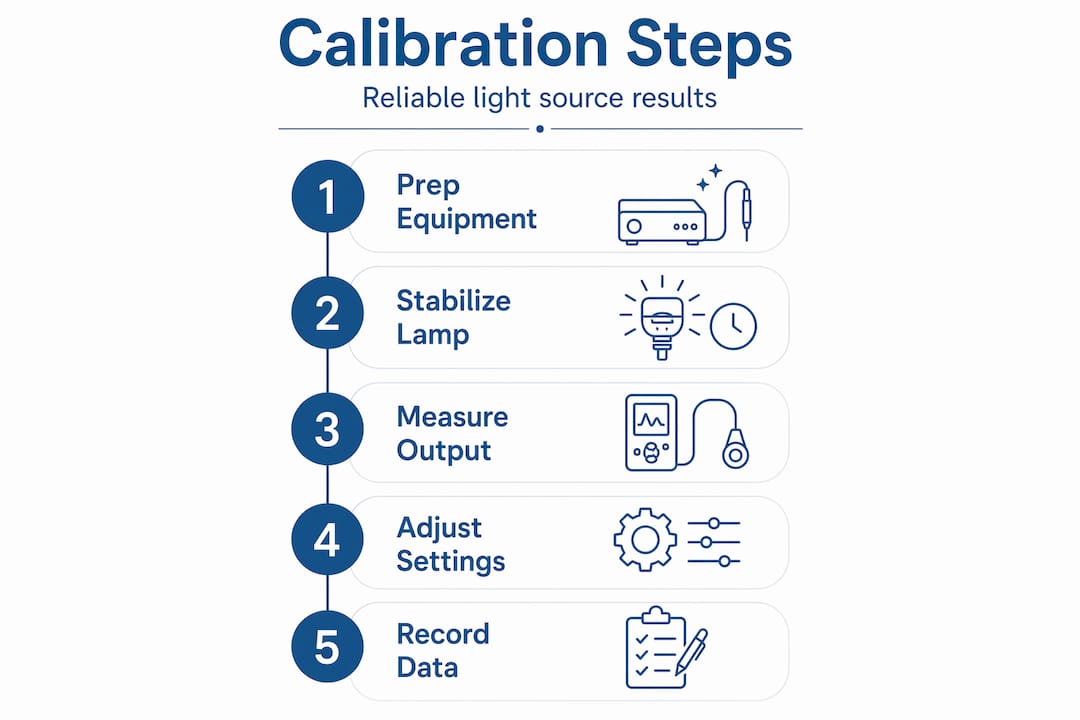
Calibration is not a single adjustment. It is a staged measurement process with defined checkpoints. Follow this sequence precisely.
-
Inspect all internal components. Sphere calibration inspection must include coatings, lamps, baffles, and internal optical components because small changes in any of these elements can bias output measurements significantly. Document the condition of each component before proceeding.
-
Record baseline measurements. Power the source to its rated operating point and collect baseline spectral radiance readings using your spectroradiometer. These before-measurements are your reference point and your proof of the pre-calibration state.
-
Set up the Spectralon target and FEL lamp. Position the Spectralon diffuse reflectance target at the certified measurement distance from your FEL lamp. Verify geometry with a precision tape and level. The Spectralon target converts irradiance to a known radiance factor, giving you a traceable reference surface for your measurements.
-
Install order-sorting long-pass filters. Stray light is the most underappreciated source of spectral measurement error. Fit order-sorting filters to your spectroradiometer input before data collection. This step directly affects the integrity of your UV and blue-spectrum readings.
-
Acquire full spectral irradiance data. Run the spectroradiometer through its full measurement range while the FEL lamp irradiates the Spectralon target. Your acquisition software should collect data at each wavelength increment defined by your calibration protocol. Collect at least three independent scans and average them.
-
Apply correction factors. This is where most technicians underinvest. You must apply corrections for lamp aging (tracked via cumulative operating hours), measurement distance deviations, Spectralon reflectance wavelength dependence, and any documented environmental contributions such as ambient temperature or humidity. Recalibration workflows include stray light management via order-sorting filters alongside correction models for aging, geometry, and environmental effects.
-
Perform lamp replacement if indicated. If output cannot be corrected to within specification, replace the lamp and repeat steps 2 through 6. Post-replacement after-measurements confirm the new lamp's baseline performance.
-
Verify power supply output. Confirm the supply voltage and current match rated specifications. Deviations as small as 1% in lamp current can shift color temperature measurably on tungsten-halogen sources.
-
Document and close out. Record all post-calibration measurements, correction factors applied, uncertainty calculations, and component states. Sign and date every record. Your calibration is only as valid as its documentation.
Pro Tip: When working with an equine inspection videoscope or a small-animal airway scope in a field setting, always carry a pocket-sized luminance reference to verify light output before a diagnostic procedure. A full spectroradiometer is not always practical in a barn or a mobile clinic, but a calibrated luminance check takes under two minutes and catches obvious drift before it affects your results.
Common calibration challenges and troubleshooting
Even a well-prepared technician will encounter problems. Knowing what causes them, and how to resolve them, is what separates reliable calibration practice from guesswork.
Persistent output drift after calibration is almost always traced to one of three sources: an aging lamp still within its rated hours but past its stable output window, a degraded sphere coating that alters radiance uniformity in ways not visible to the eye, or an unstable power supply with voltage ripple not captured in a single spot check.
Here are the most common issues and their solutions:
- Spectral output does not match certified values after correction. Check your FEL lamp's cumulative hour log. If the lamp is past 80% of its rated service life, correction models lose accuracy. Replace the lamp and repeat the calibration sequence.
- Uniformity measurements fall below 95%. Inspect baffles and sphere coatings for discoloration or contamination. A single dirty baffle can create a hot spot that kills uniformity across a large portion of the output aperture.
- Uncertainty budget exceeds acceptable limits. Trace each uncertainty contributor. The most common culprits are detector nonlinearity, stray light suppression inadequacy, and geometric positioning errors at the Spectralon target.
- Results vary across repeated scans. This points to an unstable source. Allow longer warm-up time, check current regulation, and re-examine the thermal environment. Drafts and temperature changes produce scan-to-scan variation that looks like random noise but is actually systematic.
- Traceability chain cannot be closed. If any instrument in your reference chain has an expired calibration certificate, stop the job. Using an uncalibrated in-house reference is one of the most cited operational calibration pitfalls and will invalidate your results under audit.
Pro Tip: Schedule calibration jobs immediately after any lamp replacement, not at your next annual interval. A new lamp needs a measured baseline, and waiting 12 months means you have no documented starting point for that lamp's aging trajectory.
Verifying results and maintaining light source accuracy
Calibration produces a snapshot. Maintaining light source accuracy over time requires a structured verification and maintenance schedule.
Post-calibration verification
After completing calibration, verify uniformity across the output aperture. Reference illumination light sources for luminance meter calibration maintain brightness uniformity above 95%, and your target should meet or exceed this. Any reading below that threshold means something changed during calibration that requires investigation before you sign off.
For daily or field verification between full calibrations, a calibrated luminance reference is the practical tool. It does not replace a full spectral measurement, but it confirms the source has not drifted outside its operating band overnight or between inspection jobs.
Recalibration scheduling
Annual recalibration of reference light sources supports stable operation and measurement consistency. This is the minimum frequency for any source used in traceable measurement work. High-use sources, sources operating in elevated-temperature environments, and sources used after any component repair should be recalibrated on a shorter cycle, typically every six months.
Maintenance activity table
| Maintenance activity | Recommended frequency | Purpose |
|---|---|---|
| Full spectral calibration | Annually or after repair | Restore traceable accuracy and update uncertainty documentation |
| Luminance reference verification | Before each use session | Detect drift before it affects diagnostic or inspection results |
| Lamp hour log review | Monthly | Track remaining service life and plan replacement proactively |
| Power supply voltage/current check | Quarterly | Identify supply degradation before it causes output error |
| Sphere coating and baffle inspection | Annually or if uniformity drops | Catch physical degradation that alters spectral output |
| Software and firmware update | Per manufacturer schedule | Maintain alignment with calibration algorithm accuracy |
Software-based monitoring tools can automate some of this work. Several spectroradiometer platforms now include drift-alert thresholds that flag when accumulated readings deviate from the baseline. This is particularly useful in veterinary clinics or industrial facilities where the technician responsible for calibration is also managing other equipment. The automation does not replace judgment, but it reduces the chance that drift goes unnoticed between scheduled checks.
Advanced detector systems using stable monochromatic laser sources can achieve combined relative uncertainties near 0.46%, which represents the current frontier for minimizing uncertainty in spectral irradiance calibration. Most field applications will not require that level of precision, but knowing what is achievable clarifies what your uncertainty budget should realistically target.
My take on what actually goes wrong in the field
I have seen calibration logs that looked complete on paper and were completely wrong in practice. The problem was not the technician's competence. It was the assumption that calibration is a one-time correction you apply and move on from.
In my experience, the single biggest risk in veterinary and industrial calibration work is over-reliance on in-house references that have not been recalibrated in over a year. You get comfortable with a source that "looks right" and stop questioning it. Then an audit comes, and the traceability chain falls apart because nobody can document when the in-house reference was last validated. That is an entirely avoidable failure.
The other pattern I keep seeing: technicians applying correction models for lamp aging without actually tracking lamp hours. They estimate. And estimates compounded over a two or three-year period introduce enough systematic error to matter, especially in veterinary diagnostic work where tissue color rendering directly affects clinical judgment.
What I have found actually works is treating calibration as a living process rather than a checklist event. That means logging every lamp-on hour, reviewing the uncertainty budget every time you replace a component, and keeping your transfer standards current even when the budget makes it tempting to defer. The importance of light calibration is not abstract compliance. It is the difference between data you can defend and data you have to apologize for.
— Endoscope
Equip your practice with calibrated systems from 1800endoscope

Calibration knowledge is only as useful as the equipment supporting it. At 1800endoscope, the product catalog is built around veterinary and industrial professionals who need light sources they can trust from the first inspection to the hundredth. Whether you are running airway evaluations on small animals with a portable videoscope system or performing equine field inspections where consistent light output affects diagnostic confidence, the right integrated system matters. Browse the full range of endoscopy systems and light sources for veterinary clinics, large-animal practices, and industrial NDT teams. You can also explore specialized tools at Lab4Paws for veterinary research and diagnostic support. Reliable calibration starts with equipment designed to hold its performance between calibration cycles.
FAQ
What is the light source calibration process?
The light source calibration process is a traceable measurement procedure that compares a light source's output against certified reference standards, applies correction factors for aging and environment, and documents the results with a formal uncertainty analysis.
How often should light sources be recalibrated?
Annual recalibration is the standard minimum frequency for reference light sources used in traceable measurement work. High-use or post-repair sources typically require recalibration every six months.
What tools are needed for calibrating light sources?
A calibrated spectroradiometer, a FEL tungsten-halogen standard lamp, a Spectralon diffuse reflectance target, order-sorting long-pass filters, and a stable calibrated power supply are the core instruments required.
Why does LED calibration process differ from lamp-based calibration?
LED sources age differently than tungsten-halogen lamps, with gradual spectral shift and lumen depreciation that requires more frequent output monitoring and shorter recalibration intervals in high-output applications.
What happens if light source calibration is skipped?
Uncalibrated sources produce spectral and intensity errors that propagate through all downstream measurements, compromise traceability, and fail audit requirements. In veterinary diagnostics, this directly affects tissue visualization and clinical judgment.