
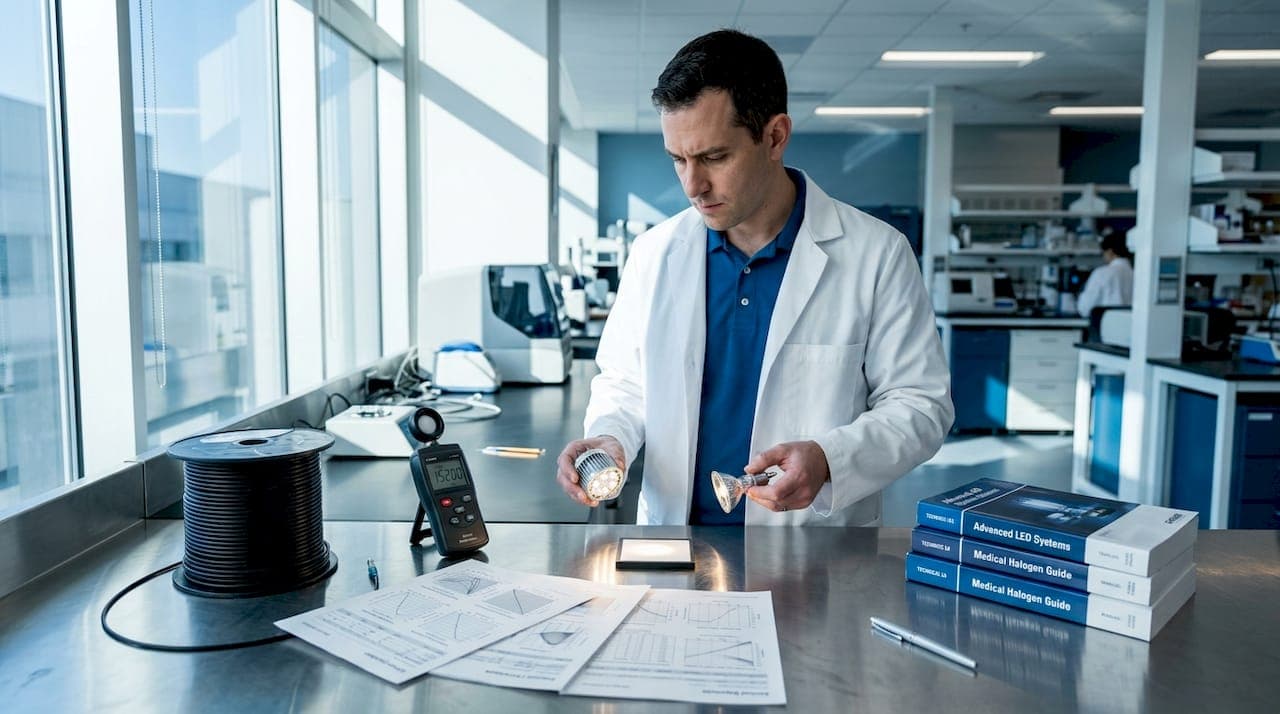
Getting visibility right during an endoscopic or industrial inspection is not a matter of plugging in the brightest bulb you can find. The wrong light source creates color distortion, poor tissue contrast, premature equipment failure, and missed diagnoses. Knowing how to select light sources that match your specific application, spectral requirements, and equipment configuration is the difference between a confident read and a compromised one. This guide walks veterinary and industrial professionals through every factor that shapes that decision, from spectral irradiance to thermal management to layered lighting strategy.
Table of Contents
- Key takeaways
- How to select light sources: understanding your options
- Key criteria for choosing the right light source
- Building a layered lighting strategy for inspections
- Common mistakes in light source selection
- Verifying and maintaining light source performance
- My perspective on light selection in practice
- Find the right light source for your scope system
- FAQ
Key takeaways
| Point | Details |
|---|---|
| Spectral matching beats wattage | Always compare spectral irradiance curves to your target tissue or material, not input power ratings. |
| LED offers the best long-term value | LED technology runs 80 to 90% more efficiently and outlasts incandescent sources by decades. |
| Layer your lighting intentionally | Combining ambient, task, and accent lighting improves visibility and reduces eye strain in inspection settings. |
| Thermal management is non-negotiable | Proper lamp housing and cooling prevents premature failure in high-intensity continuous-use environments. |
| CRI and color temperature shape accuracy | Low color rendering index bulbs distort tissue color and material surfaces, leading to missed findings. |
How to select light sources: understanding your options
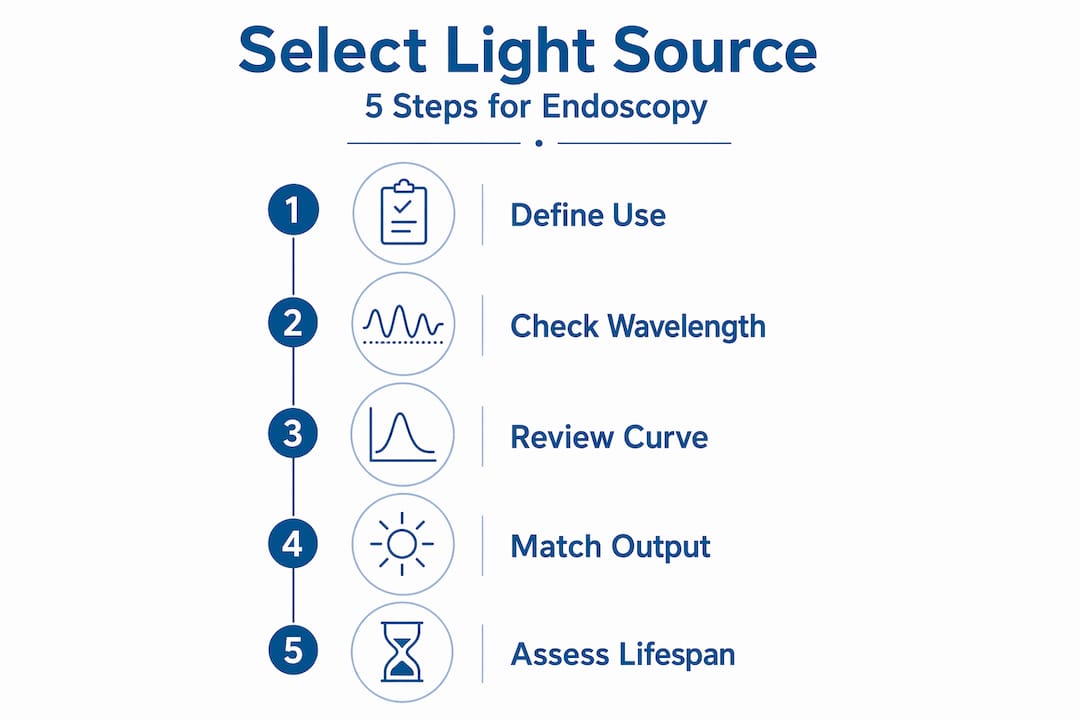
Before you can make a sound selection decision, you need to understand what each light source type actually delivers, not what the marketing copy says. The spectral wavelength range of a source tells you whether it will illuminate your target material or tissue effectively, and the differences between source types are significant.
Deuterium lamps produce output in the 160 to 400 nm UV range, making them the preferred choice for UV spectroscopy applications. If you are inspecting materials or biological samples that absorb or fluoresce in the ultraviolet region, deuterium is your starting point.
Arc lamps cover a much broader range, from 200 to 2500 nm, and offer very high irradiance. Their arc design also matters for endoscopy specifically: small, bright arcs couple light far more efficiently into fiber optic bundles than larger arcs, which waste irradiance at the coupling point and reduce effective illumination inside the scope.
Quartz Tungsten Halogen (QTH) lamps operate from 240 to 2700 nm and are valued for output stability over time, which matters in calibration-sensitive inspection workflows.
LEDs have changed the calculation across the board. They now cover a wide usable visible range and use 80 to 90% less energy than incandescent sources, with operational lifespans of 30,000 to 50,000 hours compared to roughly 1,000 hours for incandescent bulbs. For portable field veterinary work or continuous industrial inspection, that lifespan difference has a direct impact on cost and downtime.
| Light Source | Wavelength Range | Best Use Case | Lifespan |
|---|---|---|---|
| Deuterium | 160 to 400 nm | UV spectroscopy, fluorescence imaging | Moderate |
| Arc Lamp | 200 to 2500 nm | High-intensity endoscopy, fiber optic coupling | Low to moderate |
| QTH | 240 to 2700 nm | Stable broadband inspection | Moderate |
| LED | Visible to near-IR | Portable and continuous inspection | 30,000 to 50,000 hours |
Pro Tip: Request the spectral irradiance curve from the manufacturer before purchasing any lamp. This curve tells you exactly how much output power is delivered at each wavelength, which is the only reliable way to match a source to your inspection target.
Key criteria for choosing the right light source
With a clear understanding of source types, you can now apply the specific criteria that differentiate a good selection from a poor one in your working environment.
Spectral irradiance, not wattage. This is the single most misunderstood aspect of light source selection. Higher input wattage does not guarantee better performance; spectral irradiance curves must be compared against the absorption or reflection profile of your target tissue or material. A 150-watt lamp with poor spectral coverage in the relevant range will underperform a 75-watt source optimized for that range.
Brightness in lumens, not watts. For professional inspection environments, brightness is measured in lumens rather than wattage. Wattage describes energy consumption. Lumens describe the light your eyes and your camera sensor actually receive.
Here are the remaining selection factors to evaluate before committing to a light source:
- Color Rendering Index (CRI): A CRI of 90 or above is the minimum standard for accurate tissue or material color reproduction. Low CRI light makes tissue look uniformly pale or shifts material colors in ways that obscure defects.
- Color temperature: For task-intensive inspection work, cooler whites in the 4000 to 5000K range support alertness and visual acuity. Warmer whites in the 2700 to 3000K range reduce eye fatigue during extended procedures.
- Lamp housing compatibility: Your light source must physically and thermally match your endoscope or inspection device. Mismatched housing affects coupling efficiency and can cause heat damage.
- Thermal management: Proper lamp housing and cooling systems are not optional for continuous-use professional environments. Inadequate cooling is the primary cause of premature arc lamp failure.
- Energy efficiency and lifespan: Choosing LED where your spectral requirements allow it dramatically reduces replacement costs and downtime, especially in high-volume clinical or industrial settings.
Pro Tip: For equine airway inspections or other large-animal procedures where portability matters, prioritize LED sources with integrated thermal management. The field conditions in those environments are unforgiving to sources that run hot or require frequent bulb changes.
Building a layered lighting strategy for inspections
A single light source rarely solves every visibility challenge in a complex inspection environment. The professionals who get the most consistent results use a layered approach, combining multiple source types with deliberate placement. The concept of ambient, task, and accent lighting layers applies directly to veterinary procedure rooms and industrial inspection bays.
Here is how to implement it in practice:
- Start with ambient lighting. This is your baseline room illumination. It needs to be even, glare-free, and high enough CRI that you can accurately assess general conditions without relying entirely on the endoscope's internal light. Flickering fluorescent ambient light introduces visual noise that slows diagnosis.
- Add task lighting at the point of inspection. For external inspection work that complements endoscopic procedures, a high-CRI, adjustable task light positioned to eliminate shadows and specular glare on instruments or surfaces is worth the investment. In industrial NDT settings, this often means portable LED inspection lights placed at specific angles to highlight surface defects.
- Use accent or targeted lighting for specific materials. Certain materials, tissues, or defect types require targeted illumination at specific angles or wavelengths. In veterinary endoscopy, this might mean using a light source with enhanced output in the green channel to improve vascular contrast. In industrial inspection, angled lighting at low angles reveals surface irregularities that straight-on illumination misses entirely.
- Control beam angle and glare. A light source with a wide beam angle that fills a cavity evenly is not the same as one with a narrow, focused beam. For fiber optic endoscopes, coupling efficiency depends on the source producing a concentrated arc that enters the fiber bundle cleanly. Glare from reflective surfaces inside metal tubes or moist tissue walls degrades image quality significantly.
- Use tunable color temperature where possible. Adaptive lighting that shifts between cooler and warmer whites based on the phase of a procedure helps maintain alertness during long inspection sessions without fatiguing the visual system.
Common mistakes in light source selection
Poor lighting design affects diagnostic accuracy and productivity in ways that are not always immediately obvious. Most errors in choosing lighting options come down to a few repeatable patterns:
- Treating wattage as output. Input power is a poor proxy for effective output; this mistake leads professionals to over-invest in high-wattage sources that underdeliver in their actual wavelength range of interest.
- Ignoring spectral matching. Using a broadband visible source for a procedure that benefits from targeted near-infrared or UV illumination leaves diagnostic information on the table.
- Choosing low-CRI or incorrect color temperature bulbs. These are the most common causes of color distortion in tissue assessment. A CRI below 80 makes it genuinely difficult to differentiate tissue conditions by visual inspection.
- Skipping thermal management. In busy veterinary clinics or industrial inspection operations running multiple shifts, an arc lamp without adequate convective cooling fails months before it should. The repair and replacement cost almost always exceeds the cost of proper housing from the start.
- Ignoring beam angle. A source with the right spectral profile but the wrong beam geometry still wastes light. In endoscopy, the coupling loss from a mismatched beam angle can reduce effective illumination inside the scope by 30% or more.
Verifying and maintaining light source performance
Selecting the right source is only the beginning. Sustained diagnostic accuracy depends on verification and maintenance of that lighting system over time.
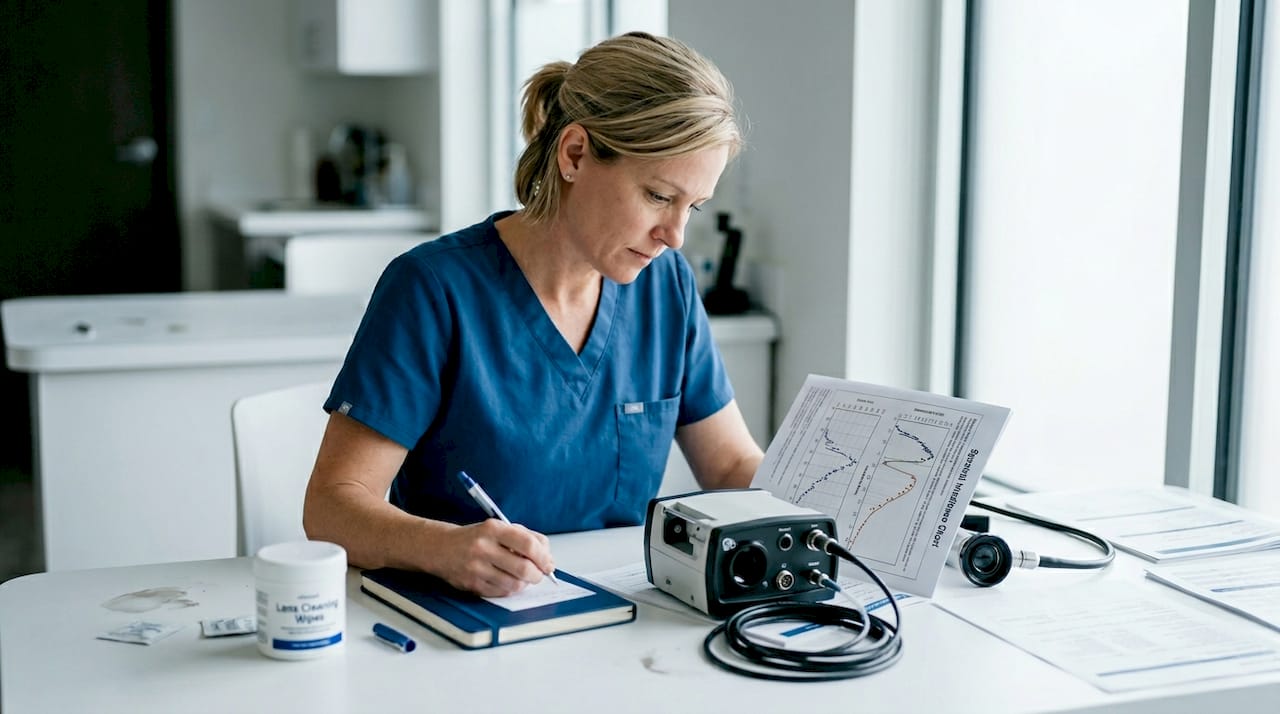
Start by reviewing the spectral irradiance curve provided with your specific lamp model. This is your performance baseline. As a lamp ages, output shifts, particularly in arc lamps, where electrode wear progressively narrows the usable wavelength range and reduces total output.
| Performance Indicator | What It Signals | Recommended Action |
|---|---|---|
| Reduced image brightness | Lamp aging or fiber degradation | Test spectral output, replace if below threshold |
| Color shift in tissue images | Spectral drift or low CRI source | Check lamp curve, verify CRI rating |
| Lamp cycling or shutoff | Thermal overload | Inspect cooling system, check housing fit |
| Visible arc instability | Electrode wear | Replace lamp immediately |
Regular cooling system checks extend lamp life meaningfully. Dust buildup on cooling fins reduces airflow and raises operating temperature. In continuous-use environments, monthly inspection of the cooling pathway is a minimum standard, not an extra precaution.
LED systems require less maintenance but are not maintenance-free. Check driver efficiency and heat sink performance annually. An LED running too hot due to a failing heat sink will degrade faster than its rated lifespan suggests.
Pro Tip: Keep a log of each lamp's installation date and total hours of use. Replacing arc lamps on a schedule slightly before their rated end-of-life prevents the degraded-output period that compromises diagnostic quality before the lamp visibly fails.
My perspective on light selection in practice
I've worked with enough veterinary and industrial professionals to know that the wattage misconception causes more problems than any other single factor in choosing lighting options. People see a 300-watt arc lamp and assume it will outperform a 150-watt LED. It often doesn't, because spectral irradiance data tells a different story than the spec sheet headline.
What I've found consistently is that professionals who treat lighting as a system rather than a component get better results. Thermal management and proper housing are not accessories to the lamp. They are part of the lamp's effective performance specification. A correctly housed and cooled source outperforms an improperly managed one within weeks of installation.
The other thing I want to be direct about: even small improvements in lighting design substantially enhance productivity and diagnostic accuracy. This is not a marginal gain. In a veterinary practice running 10 scopes per day or an industrial NDT firm inspecting welds on critical infrastructure, the cumulative benefit of accurate light selection compounds quickly. Invest in understanding spectral irradiance, get the thermal management right, and build your lighting in layers. The diagnostic accuracy improvements follow.
— Endoscope
Find the right light source for your scope system
If you are putting together or upgrading an endoscopy system and want to make sure the light source matches your equipment and clinical needs, 1800endoscope stocks a full range of professional-grade options built for veterinary and industrial applications.

From compact portable units to high-intensity systems designed for large-animal procedures, the 1800endoscope product catalog includes light sources matched to specific scope diameters and fiber optic configurations. The portable 6mm airway videoscope system integrates illumination and recording in a single field-ready unit, which is ideal for clinics that need reliable visibility without complex setup. For equine specialists, the 8mm USB field scope delivers targeted airway illumination built for the demands of large-animal practice.
FAQ
What is the most reliable way to compare light sources?
Compare spectral irradiance curves rather than wattage ratings. Input power does not predict effective output at the wavelengths relevant to your inspection or diagnostic procedure.
What CRI rating should a veterinary inspection light source have?
A CRI of 90 or above is the standard for accurate color reproduction in tissue assessment. Sources below 80 CRI risk obscuring tissue differentiation and diagnostic detail.
How long do LED light sources last compared to arc lamps?
LED sources last 30,000 to 50,000 hours versus the significantly shorter lifespan of arc lamps, making them more cost-effective for high-volume inspection environments.
Why do arc lamps fail early in continuous-use settings?
Premature arc lamp failure in continuous-use environments is most often caused by inadequate thermal management. Proper convective cooling and compatible housing are required to reach rated lifespan.
Can I use the same light source for both small-animal and equine endoscopy?
Not always. Scope diameter, fiber bundle configuration, and insertion tube length all affect coupling requirements. Select a light source matched to the specific scope model you are using for each application.
Recommended
- Pre-Owned Olympus� Pentax� Fujinon� Endoscopes, Endoscopy Systems 1800Endoscope.com
- Veterinary Rigid Endoscopy Catalog
- Medical Veterinary Endoscope Endoscopy Systems, Light Sources, Accessories, Industrial NDT Borescopes
- Medical Veterinary Endoscope Endoscopy Systems, Light Sources, Accessories, Industrial NDT Borescopes